
Corgi Build Log
How to build a Corgi
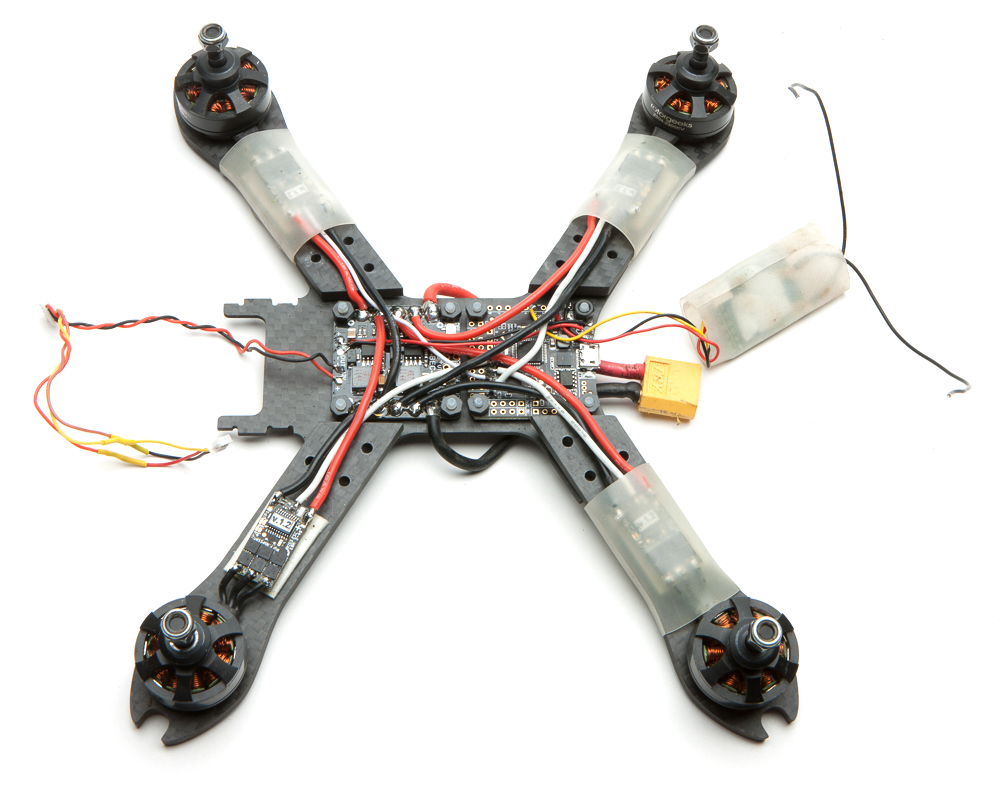
Corgi's a different build in that the pdb and fc are not stacked, but instead sit next to each other. In some ways it's easier: just lay out the boards and connect the dots. In other ways it's a hellscape that'll leave you shellshocked.
There's only 8mm of space here, so mount them as close to the bottom plate as possible. I use some double stick tape on them and screw them down without any spacers on the nylon screws. Make sure the USB port is pointed straight back.

Chris (Patient 0) runs his signal wires under the fc, so he puts a nut under the boards.

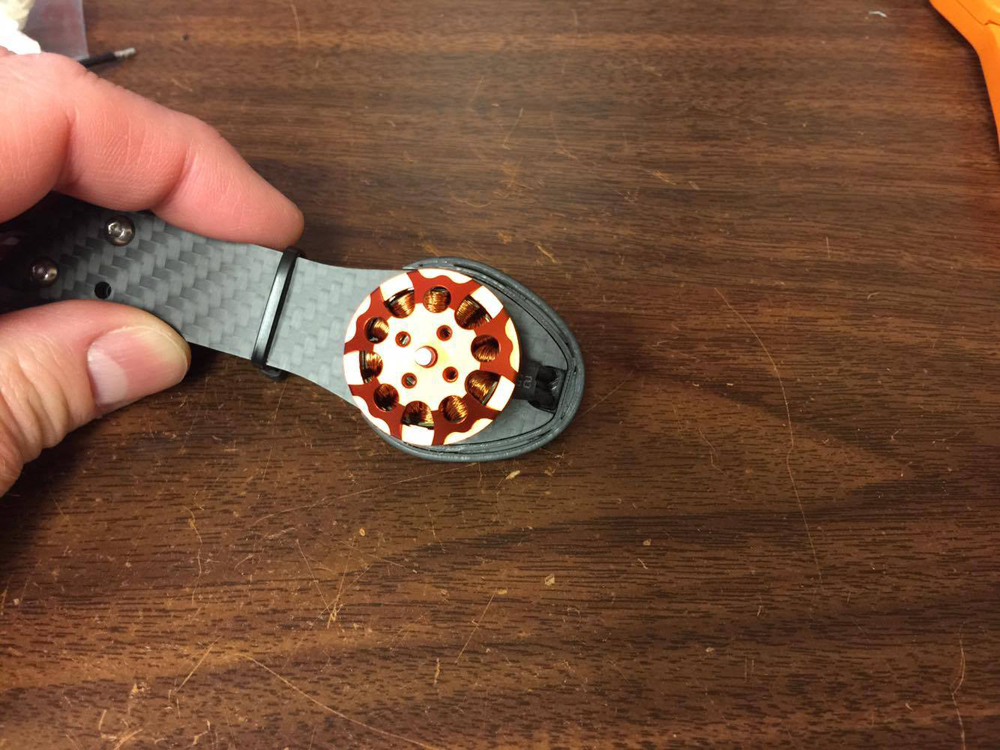
Chris had bigger esc's that don't fit between the motor and the spacer, so he ran his motor leads out and under the arm...
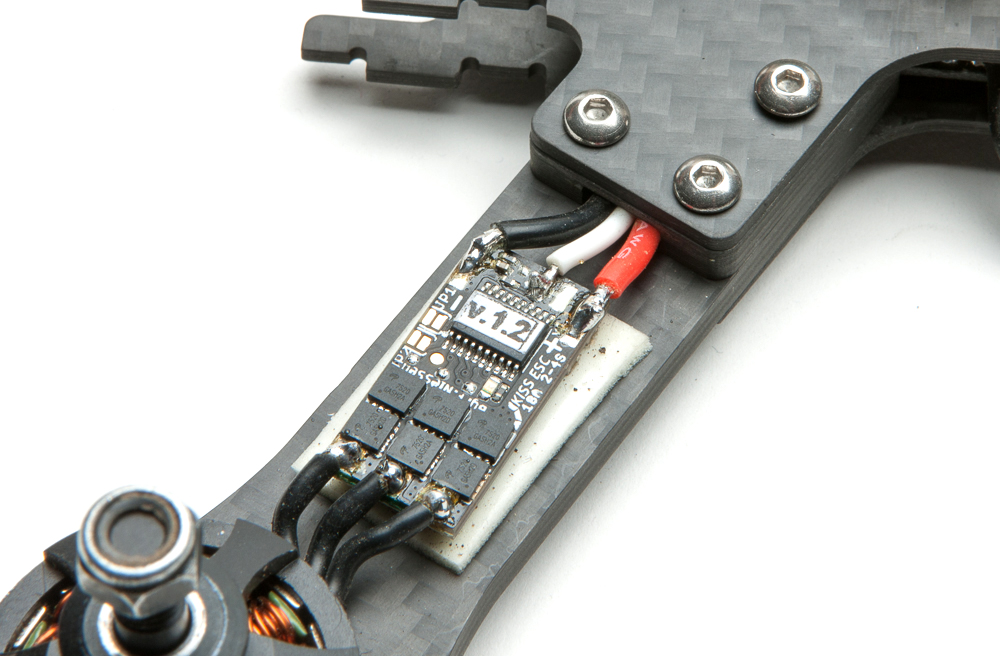
...and to the bottom, with a 3d printed arm guard to protect the motor leads. The arm guard files are here.

Here's Chris' pdb/fc setup, cleaner with some wires underneath.

The esc leads will have to go through a narrow channel in the arm spacers, so you might need to solder them on at an angle to facilitate that.
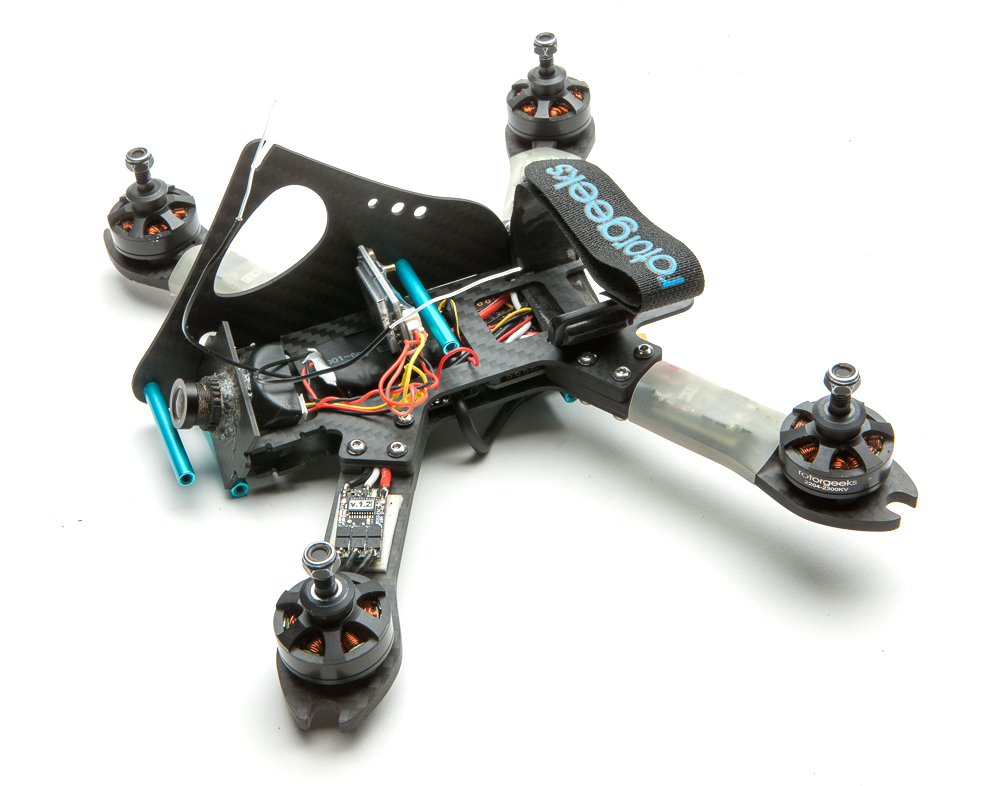
Line everything up and bolt it all together. Don't forget to route your vtx harness and rx through the middle plate. And don't forget the strap as well! Be mindful of pinched wires and shorts.

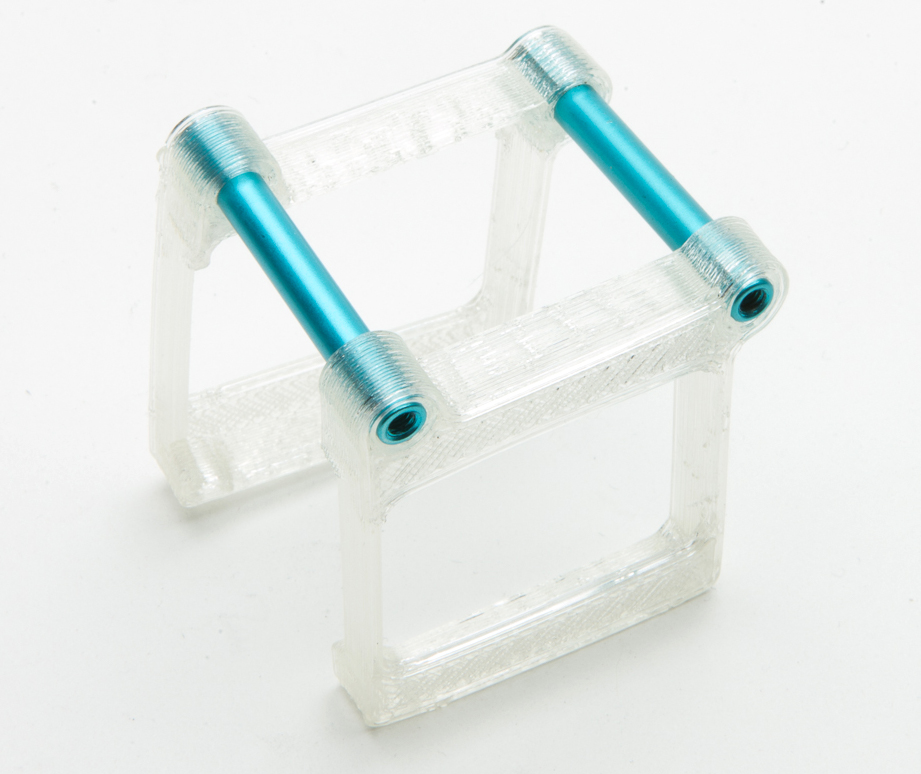
Attach four standoffs to one of the vertical plates.

Glue your camera. I took a super closeup shot of my fine glue job just to make Alex's eyes twitch.

Slide the vertical plate on and lock it into the tabs at the front of the middle and bottom plates.

Get your vtx and cam situated. I'm using a FX799T here, with the push button facing back so it's accessible.
Press the last two standoffs into the Session mounts.
Slide the other vertical plate on and screw the two sides together, making sure the cam plate tabs are in the holes. Get your camera angle set before you tighten it all up. Screw on the Session mount.

A ziptie to keep the antenna from rotating down into the props, and rx antennas heatshrink'ed onto zipties.
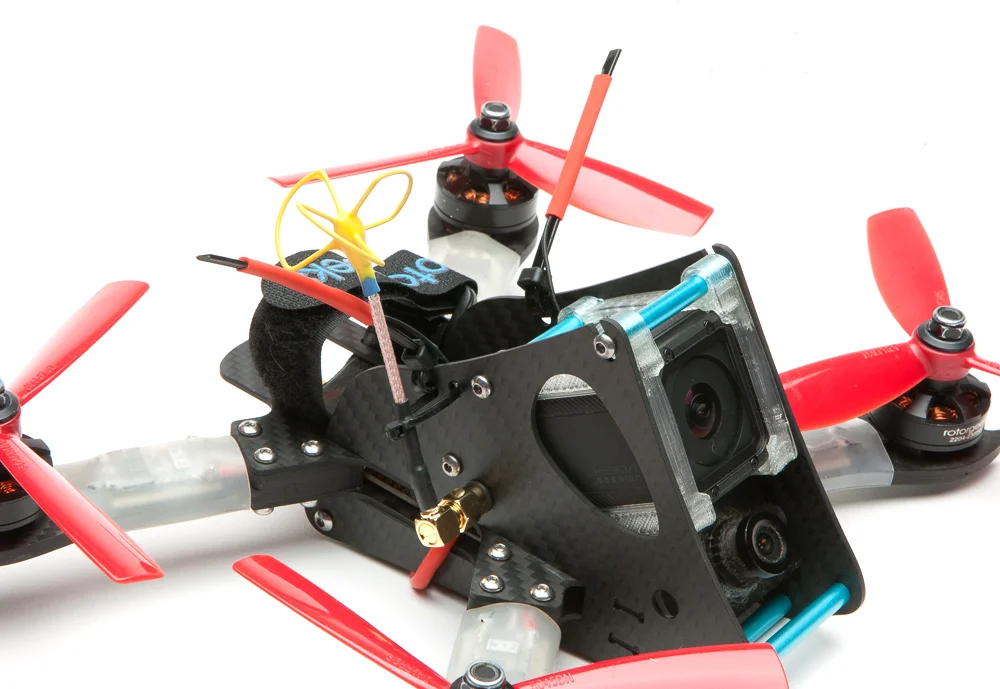
And yer done! I highly recommend printing up landing skids for the vertical plates, the files are here.

