Digital Flaco
Once I got the DJI fpv system I found it increasingly difficult to fly analog. Not only was the video superior, I also didn’t want to bike around with two sets of controllers and goggles every time I went flying. All my DJI rigs were cine rigs, so I wanted a racer/basher for some stupid fun while I tested my video rigs.
The DJI air unit is nice and convenient in that it combines the vtx and rx, but that also gives it an unwieldy size and shape. The design of this frame would be more akin to interior decorating than engineering – it’s about arranging things in a pleasant configuration. It’s well established what a racing drone should look like, I just wanted a clean and tight arrangement of the components.
My first thought was to use 8mm thick arms and a 20x20 fc and esc, and put the two boards in tandem in the 8mm space between the plates, and then putting the air unit on top. The downside of this configuration is that the arms wouldn’t extend to the center of the frame and reinforce it, and it’d be a pain to build as well. So I started brainstorming on an arm layout that would extend to the center of the frame while avoiding the 8 screws securing the fc and esc.
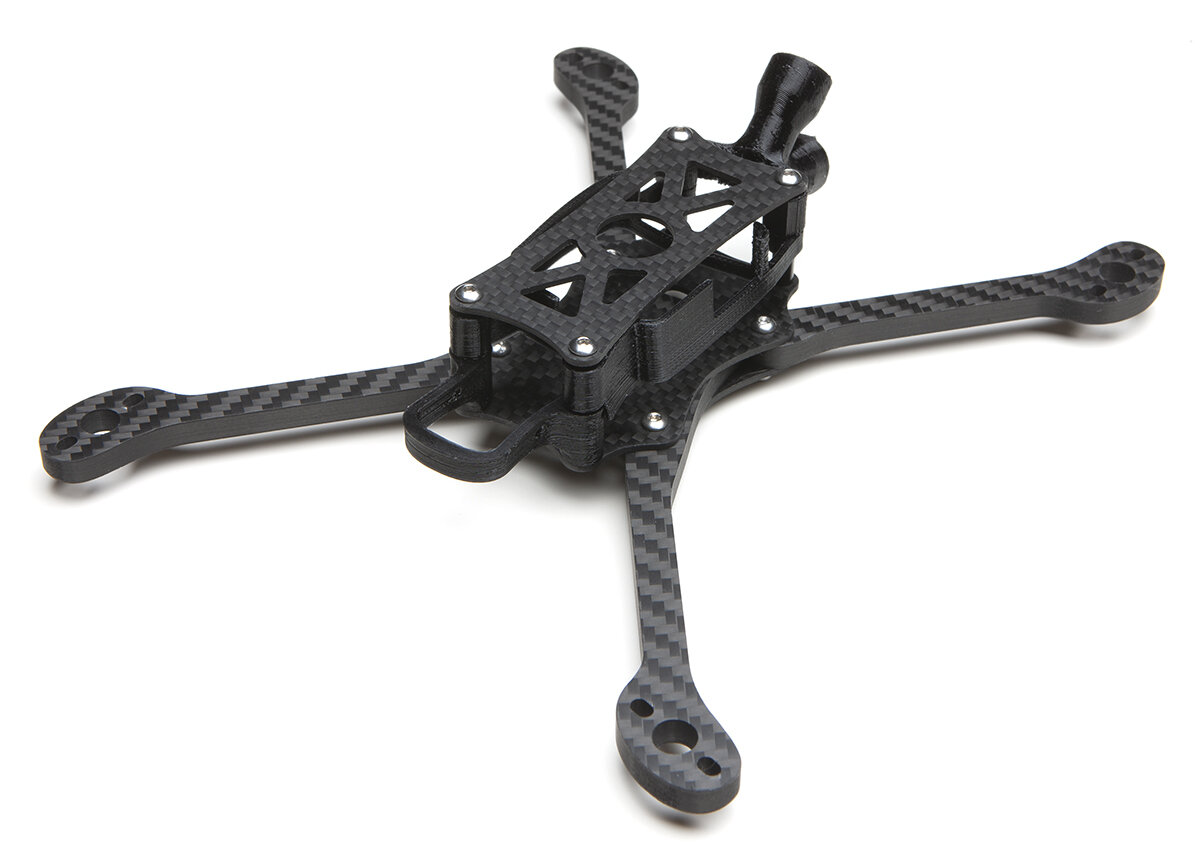
I drew a blank for a couple of weeks ‘til it suddenly occurred to me that Flaco’s arms would be perfect. The two boards would straddle the crossing arms, so that they wouldn’t interfere with the stacks. The arms would only need one screw each to be secured, and an extended middle and top plate would take care of the components.
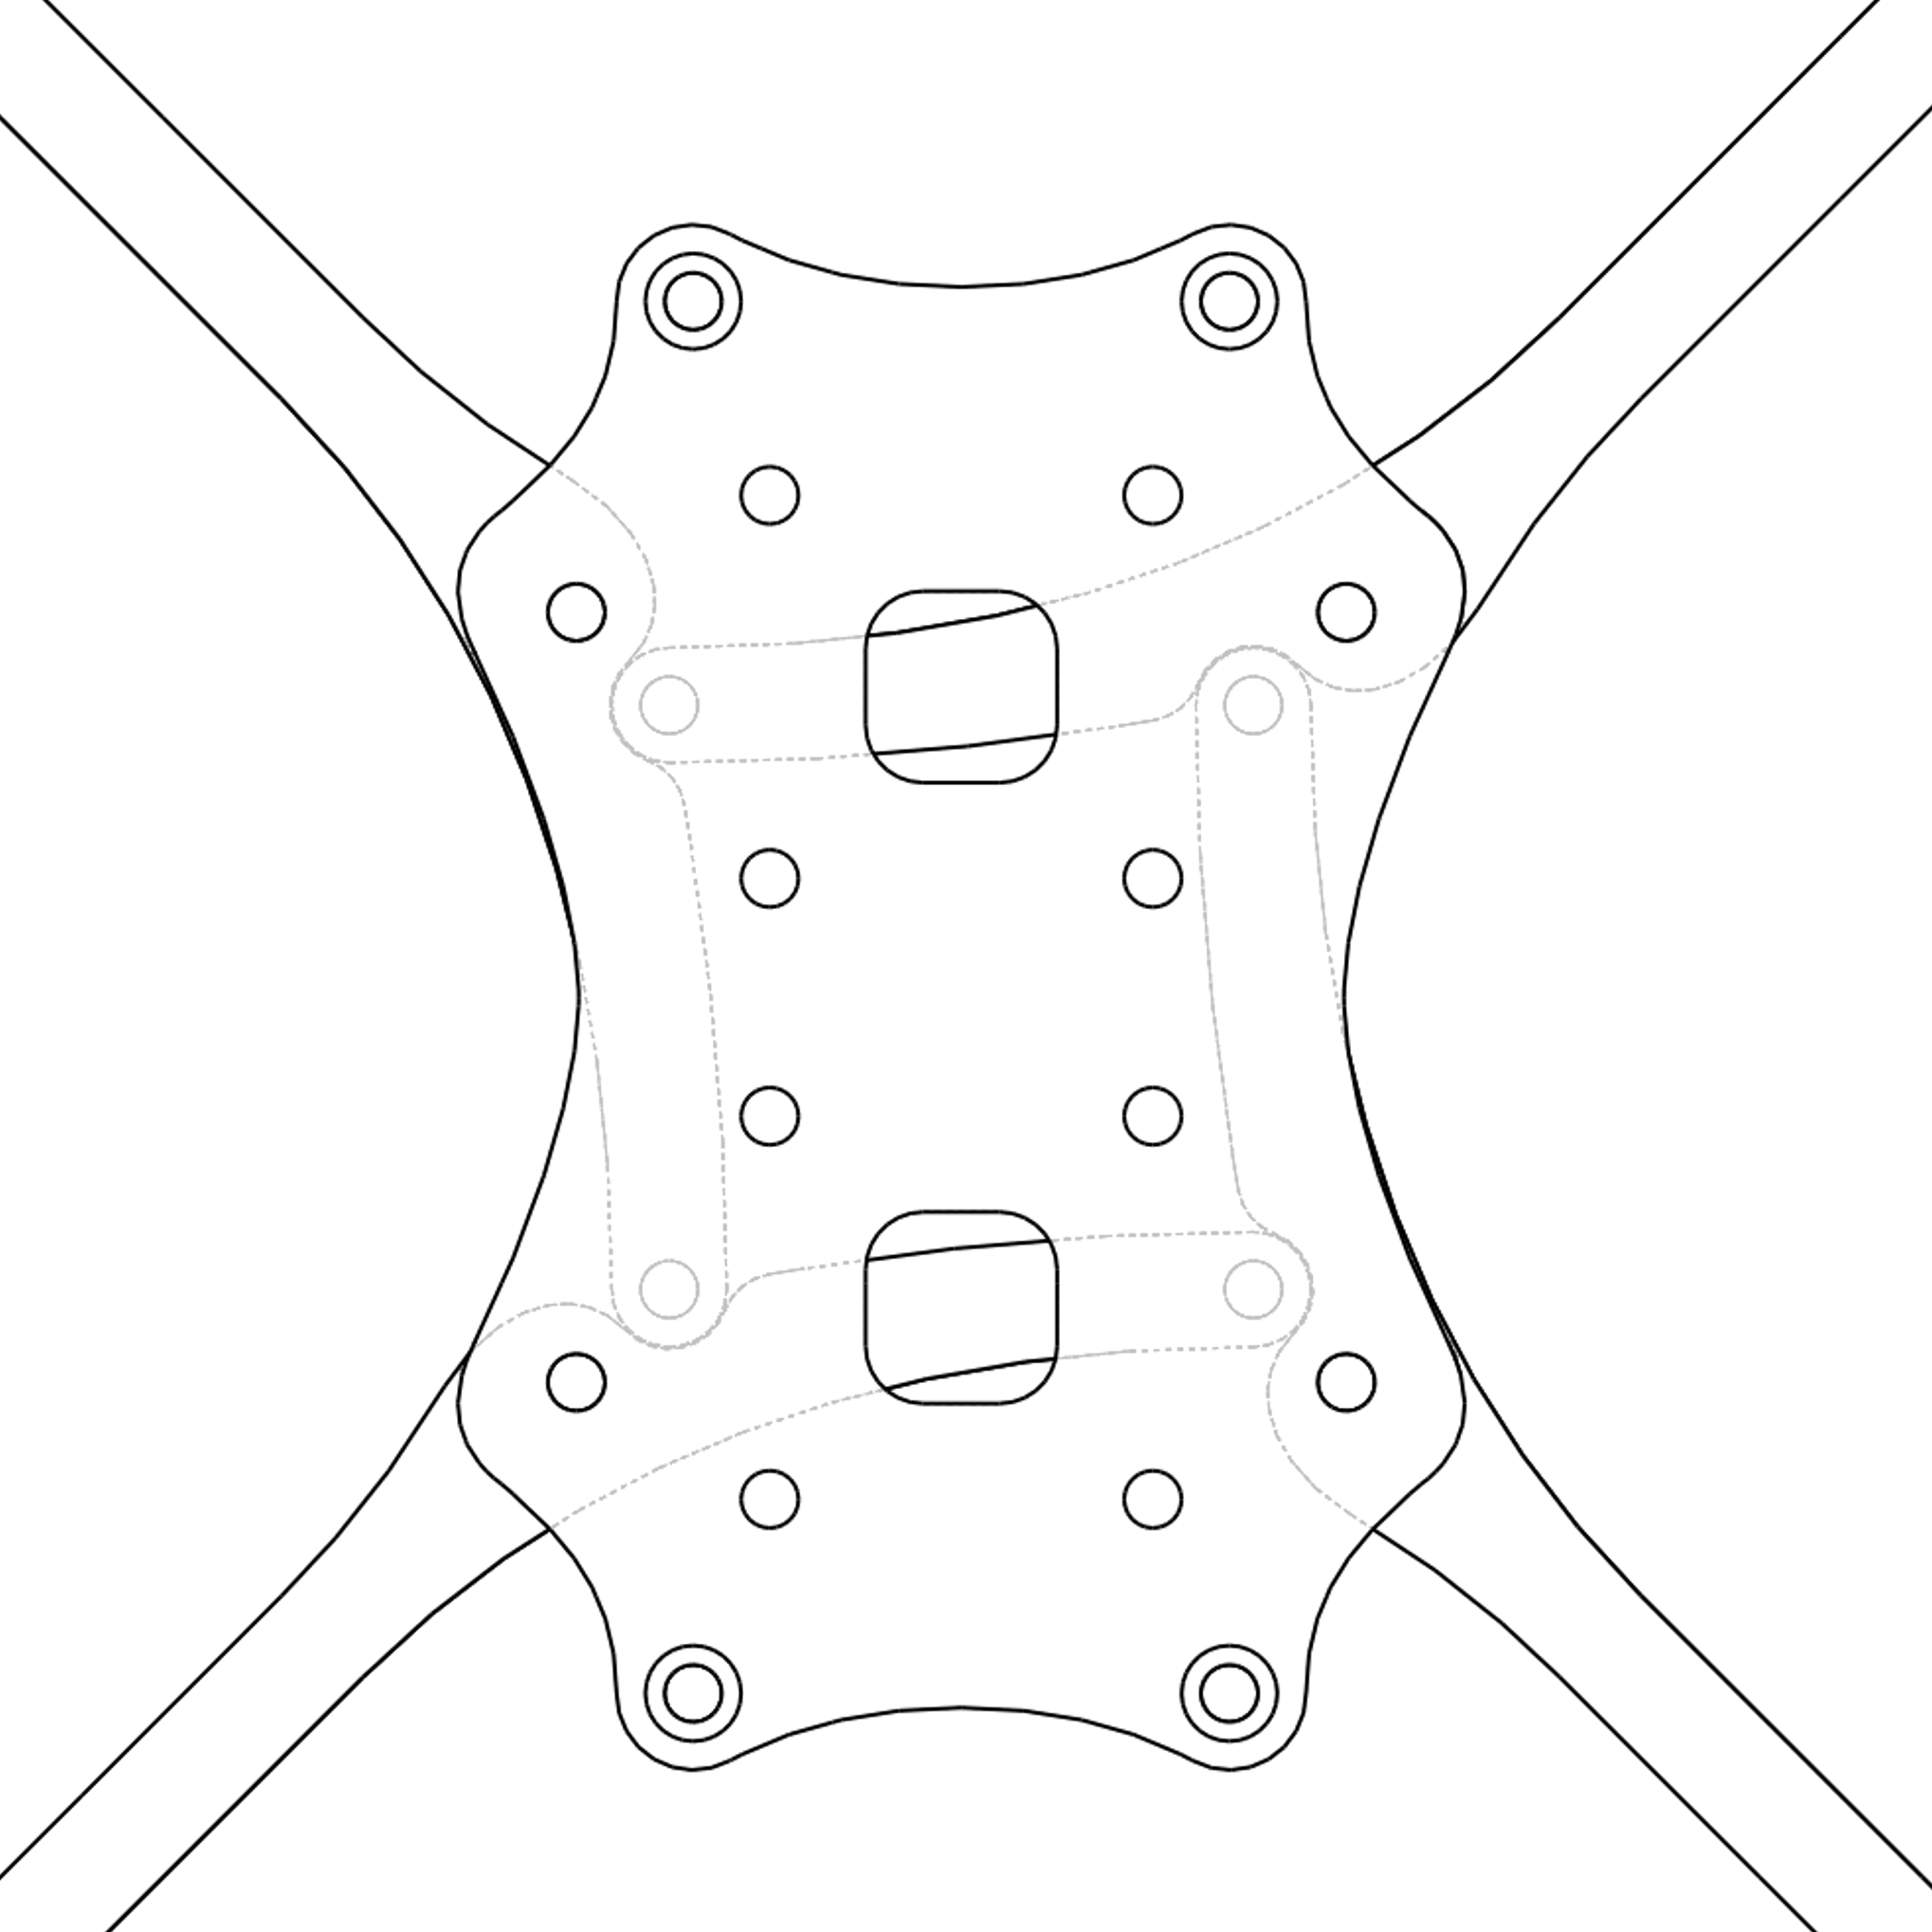
The interlocking arms just happen to accommodate two sets of 20x20 mounting holes. Better to be lucky than good.
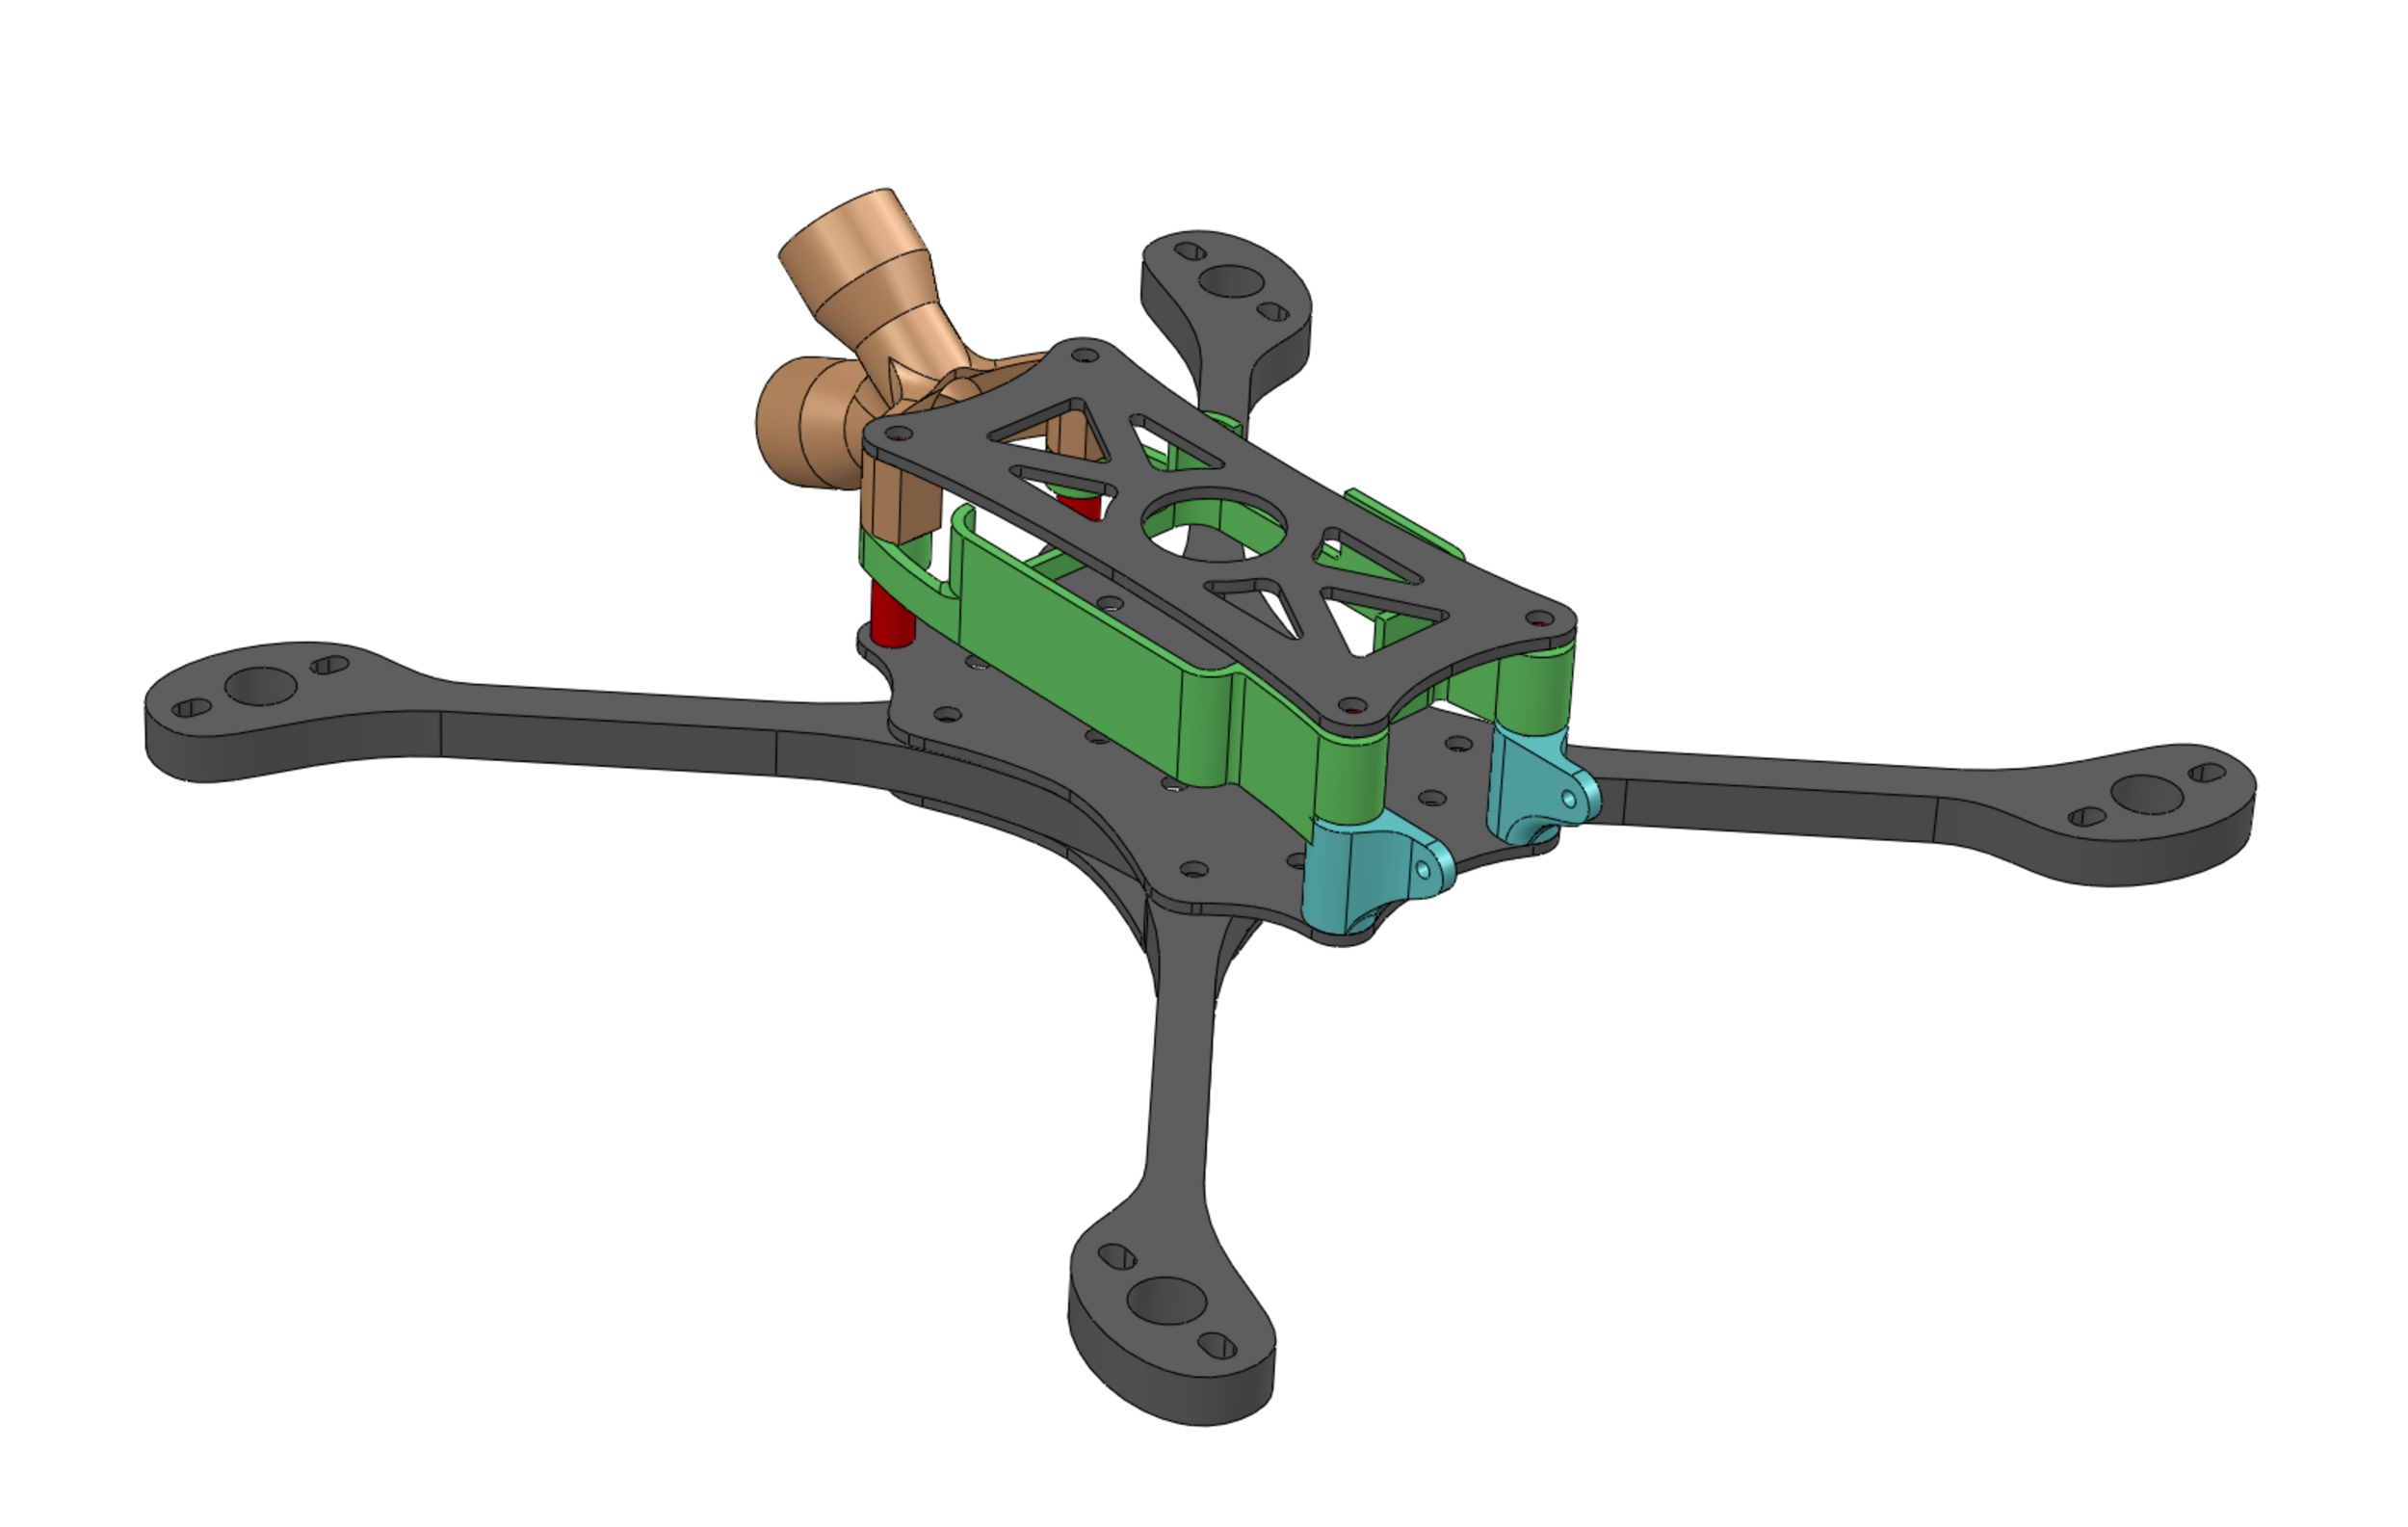
The air unit is 15mm tall, so 25mm standoffs would leave 10mm for the fc and esc, more than enough room. I used the original flaco body plate for the bottom (adding new holes for access to the fc/esc screws), and added a simple top plate.

Next I needed 3d printed parts. The fpv cam holder was simple enough, as was the air unit holder. The antenna holder was a bit tougher. I tried to come up with something cleverer but ultimately I couldn’t do better than the vertical design so many people are using (sorry but I have no idea who was first and so can’t credit the original designer).

It’s cool to break parts up into pieces so each can print in their optimal orientation.
And here it is all put together.
I built it up with old motor, a Radix LI, and a HobbyWing 4in1. After a couple flights I added a chinstrap to the fpv cam mount for a little extra protection.
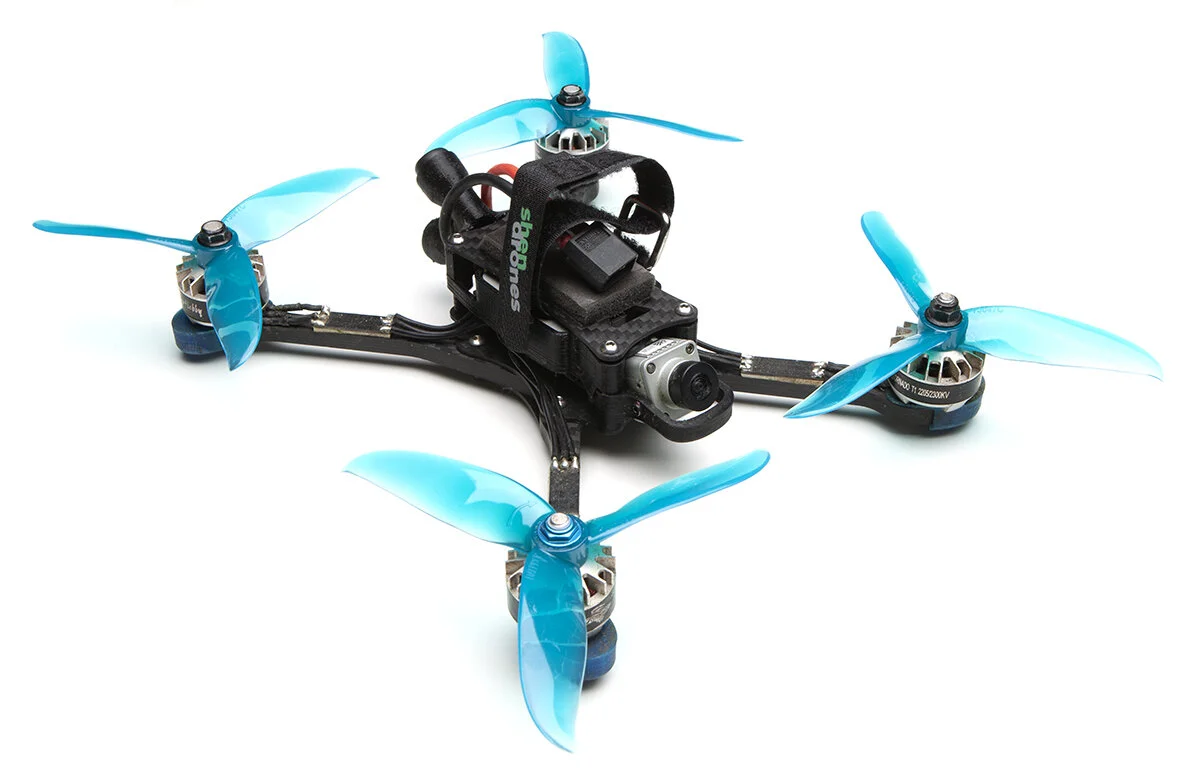
Yes they’re old motors. Note the mismatched prop nuts and nasty beat-up motor wires.

It was fun to fly a basher at 45 degrees or more of cam tilt after a whole summer of flying cine rigs, be it slow little rigs like Squirt or large terrifying rigs like Hevi. And while I thought the on board video from the air unit was lacking on a cine rig, it’s a huge bonus on a racer, way better than analog dvr.
You can buy one here.