Squirt V2
The Squirt started out as a special project for Robert McIntosh, Godfather of slow super proximity cinematic flying. Thanks to improvements to the Hero and content from great pilots like Nurk, it became part of a new movement dubbed Cinewhooping by Nurk. This all reached a peak for me when I was invited by Armando Gallegos to fly the City Museum in St. Louis with Nurk, Shawn Ames, and Winston Garthwaite.
My first reaction was that since they were all superior pilots it was pointless for me to be there, to which Nurk responded ‘but it’d be fun’. As a parent of human, canine, and feline children, home duties usually put the kibosh on any thoughts of frivolous travel. But the human child is pretty independent now, so I decided to go ahead and have a little fun. I had so many goodies to bring all the boys that I forgot to bring my Hero, which worked out perfectly because I got to witness these great videos being created, all of which would’ve rendered any video I shot irrelevant.
The Squirt was originally conceived to fly slow and stable, but in the hands of great pilots, it got pushed way beyond its original intent. Time with the boys made a couple weaknesses apparent. For starters, the nylon ducts weren’t meant for high speed abuse. Yes they can be glued or re-fused with a soldering iron, but they could be more durable.
Secondly, with the Hero up front for an unobstructed view, weight is pretty spread out and yaw performance is compromised. Nurk found that it flew better with the battery centered instead of counterweighting the Hero. Yes that makes the overall craft unbalanced but it reduces the yaw moment and the quad performs better.
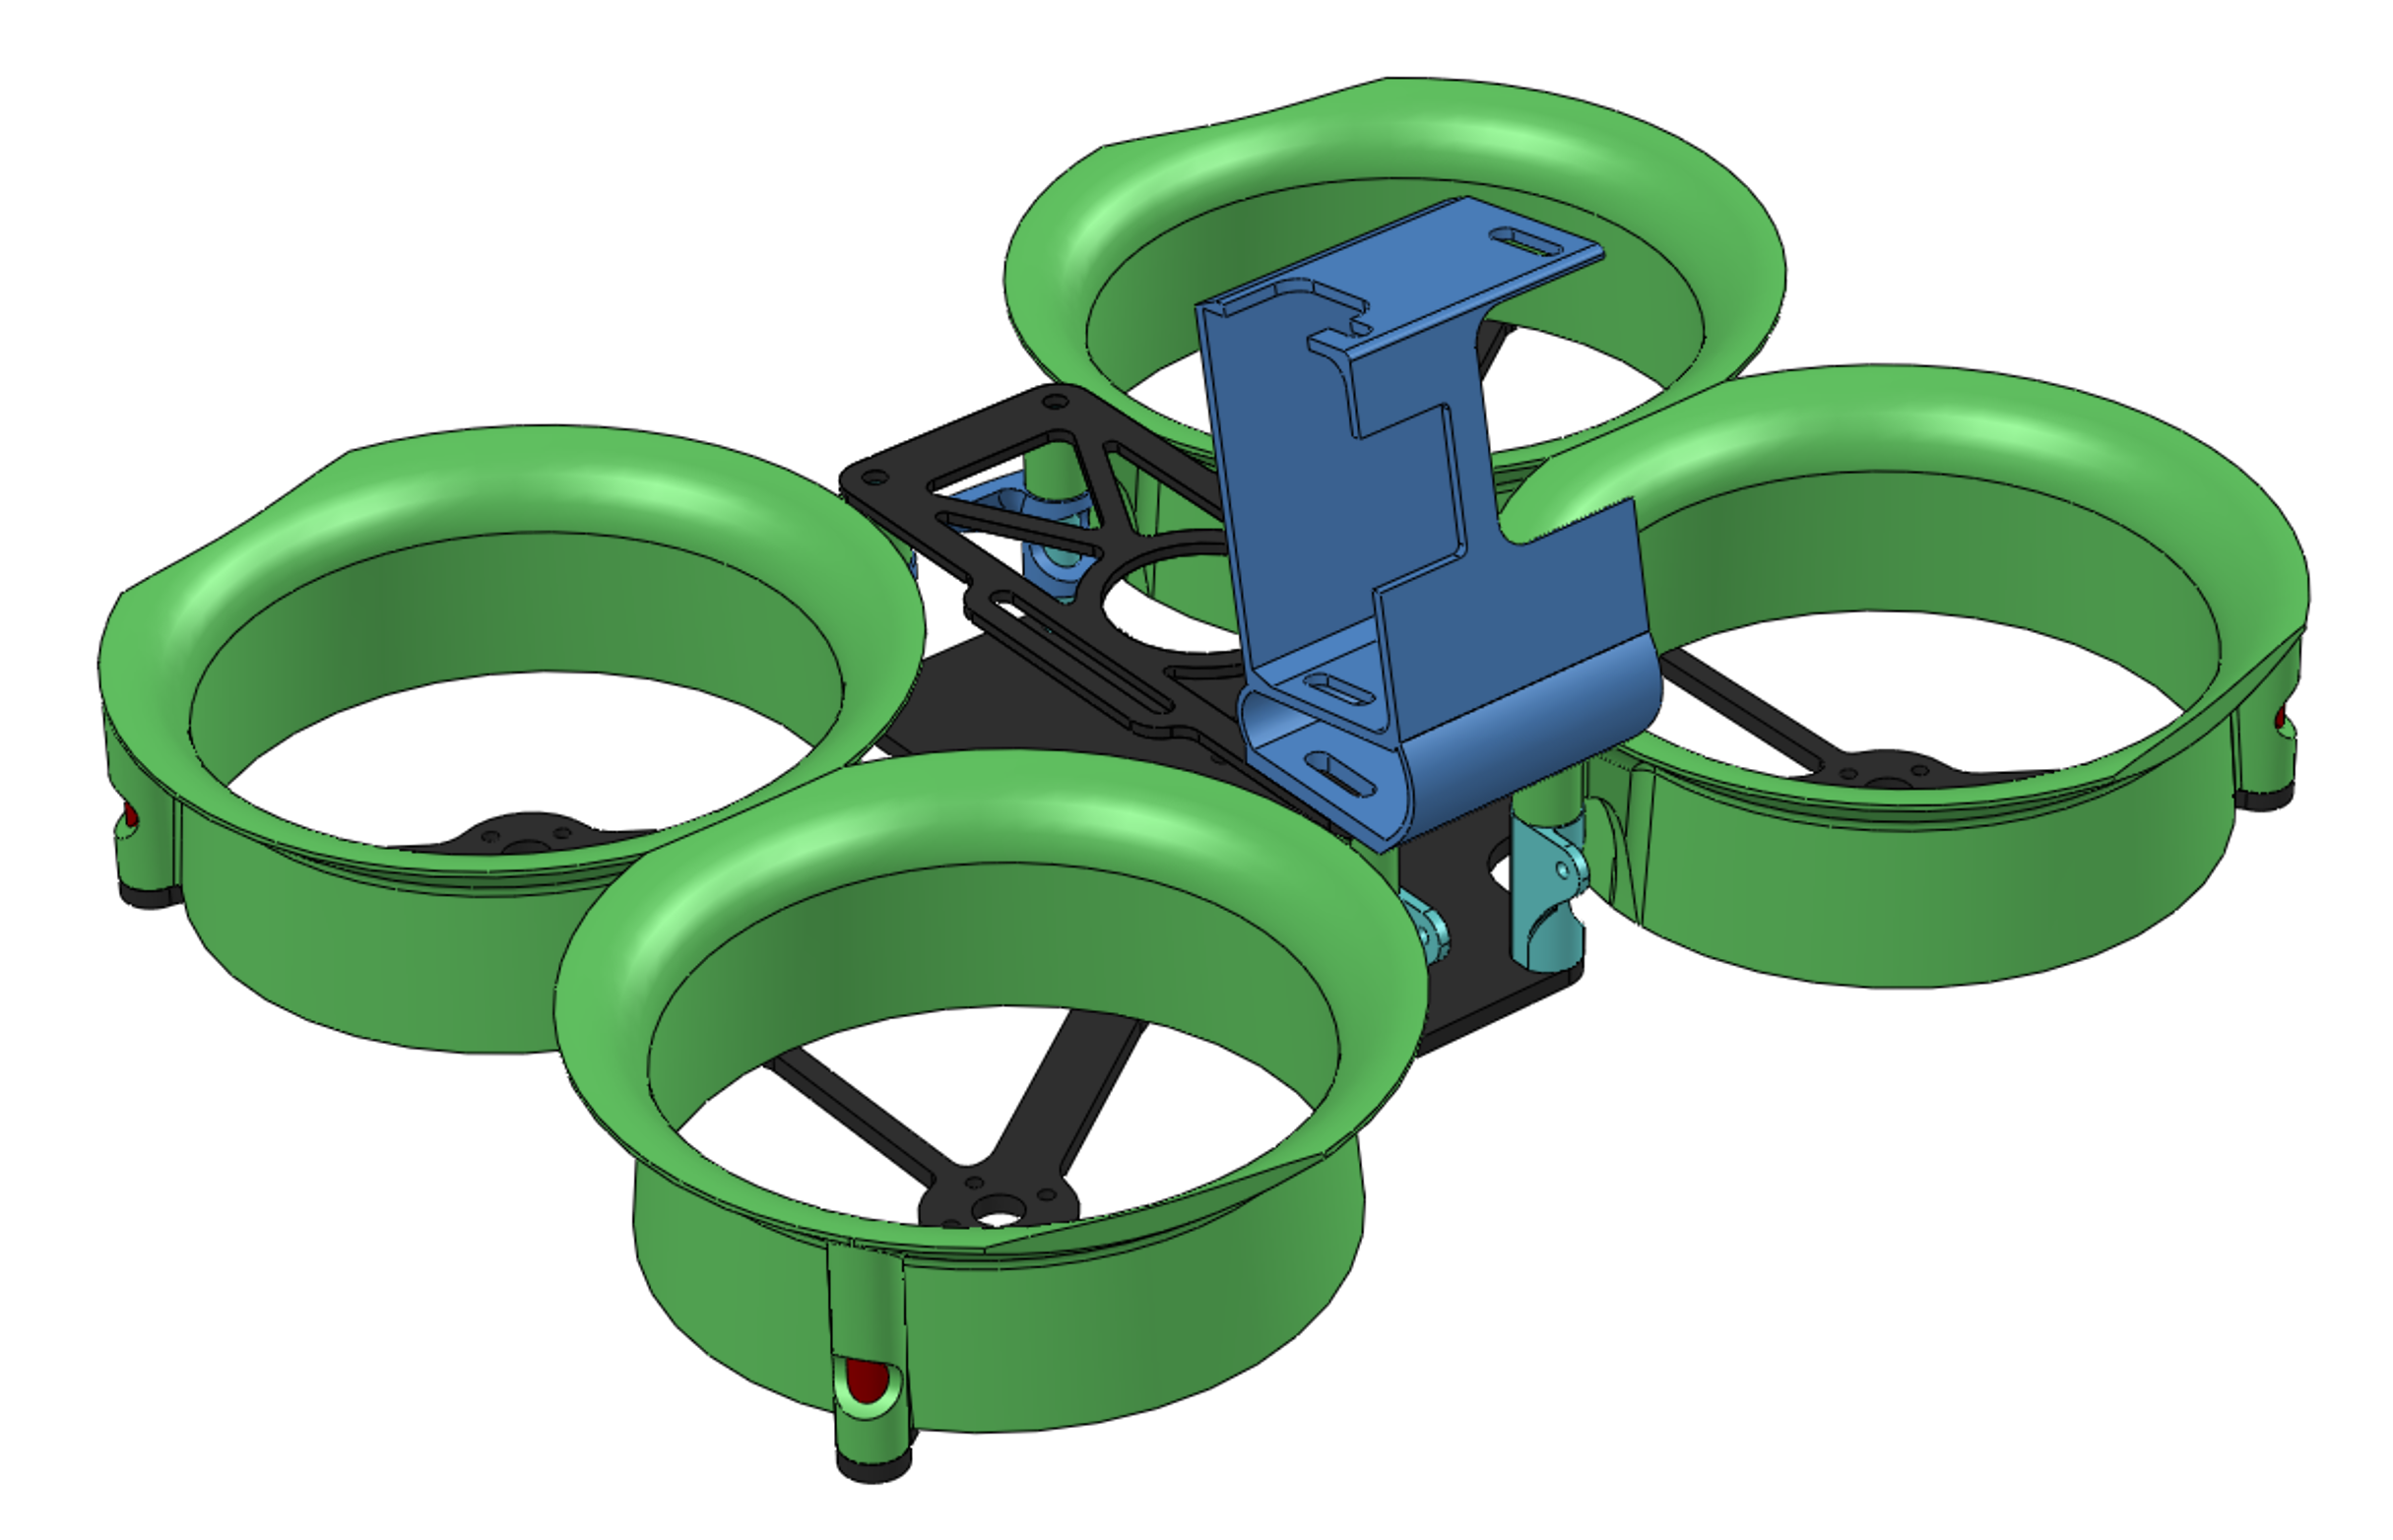
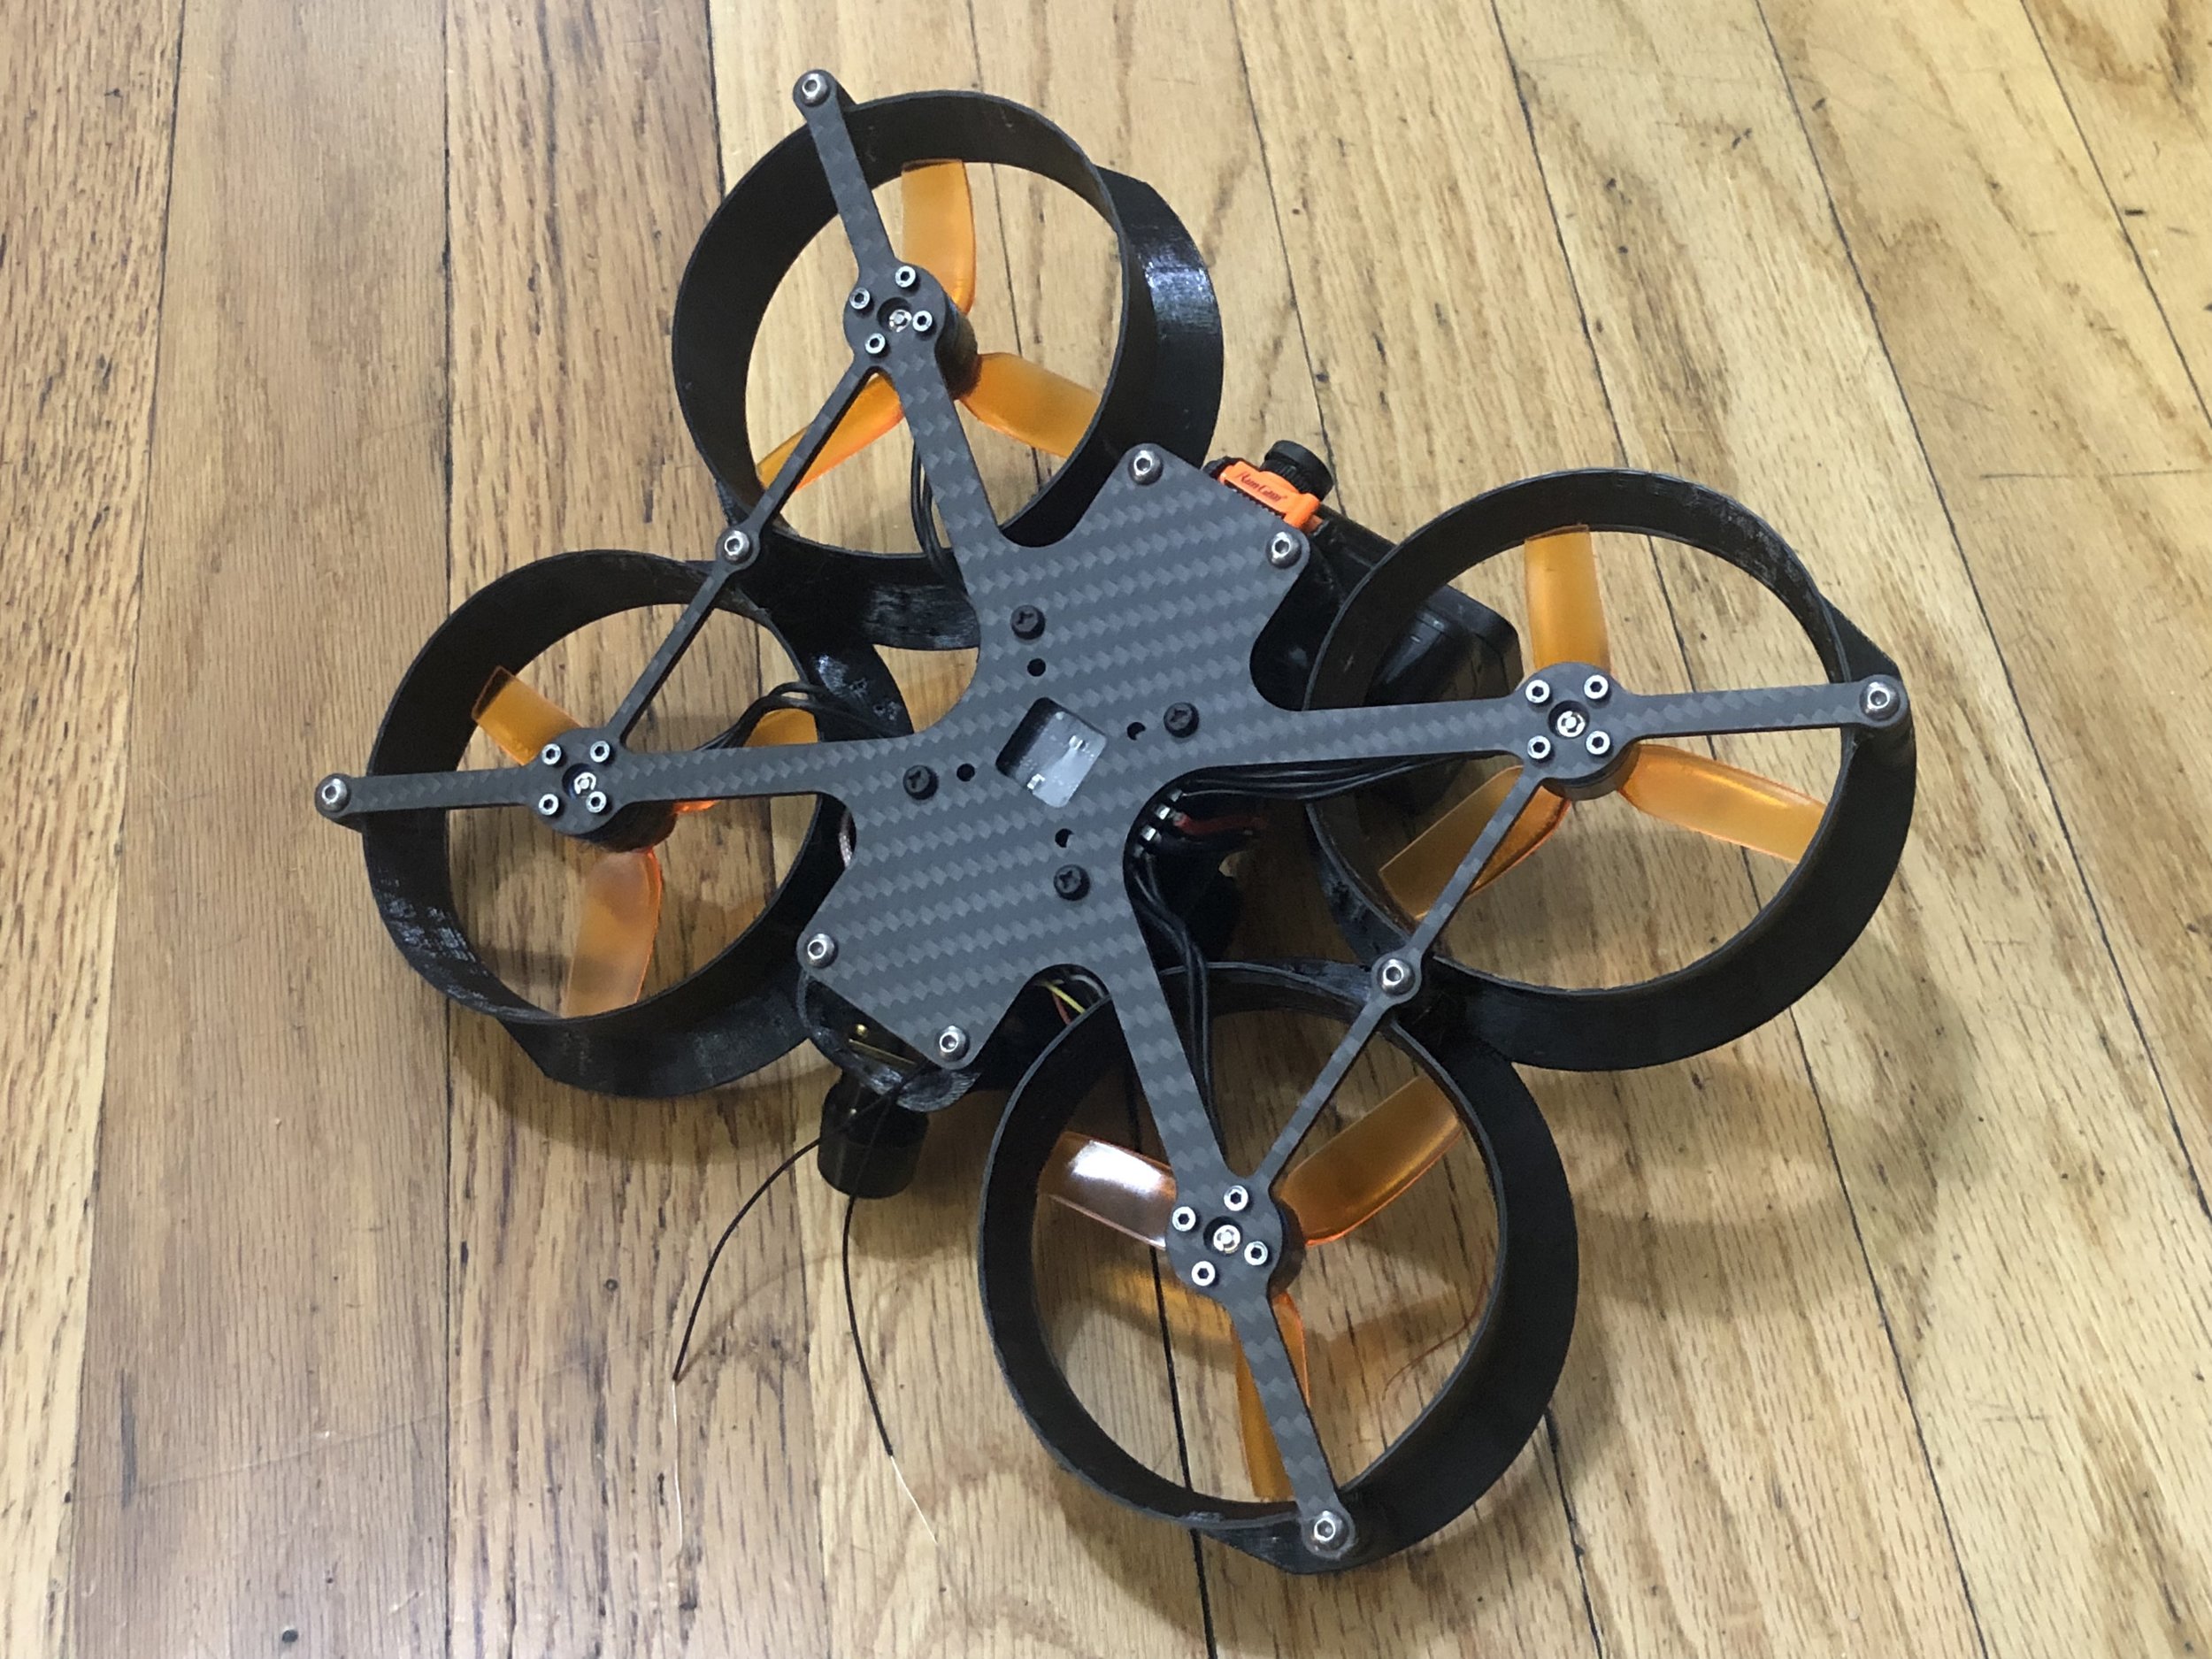
I could solve the first problem by switching to TPU for the ducts. But the nylon ducts are anchored at just two points per motor, and I didn’t think TPU could hold its shape with so little bracing. So I started a new baseplate by replicating the original Squirt’s motor layout, but adding a cross brace which provided an anchor point. The standoffs in the main body are another anchor point. Added to the one at the far corner, that’s three anchor points per duct. And instead of having an M3 at the anchor points, the duct will slip over 20mm standoffs at the outer points and over a 30mm standoff within the main body. This should do a better job of making the duct maintain its original round shape.
Quick FAQ
Wait, whaddaya mean ‘maintain its original round shape’? Aren’t the ducts round? Did you draw them wrong? No, I didn’t draw them wrong. It’s pretty straightforward to CAD revolved shapes.
So why aren’t they perfectly round? 3d printing is amazing and all but something is lost when you go from idea to reality. Plastic contracts as it cools, prints want to warp off the bed, we fly drones into walls, etc., etc. A variance of 1mm or so on the duct’s radius is pretty typical. The new design is a little better because it has more bracing, and TPU doesn’t contract as much as it cools, but they’re still imperfect.


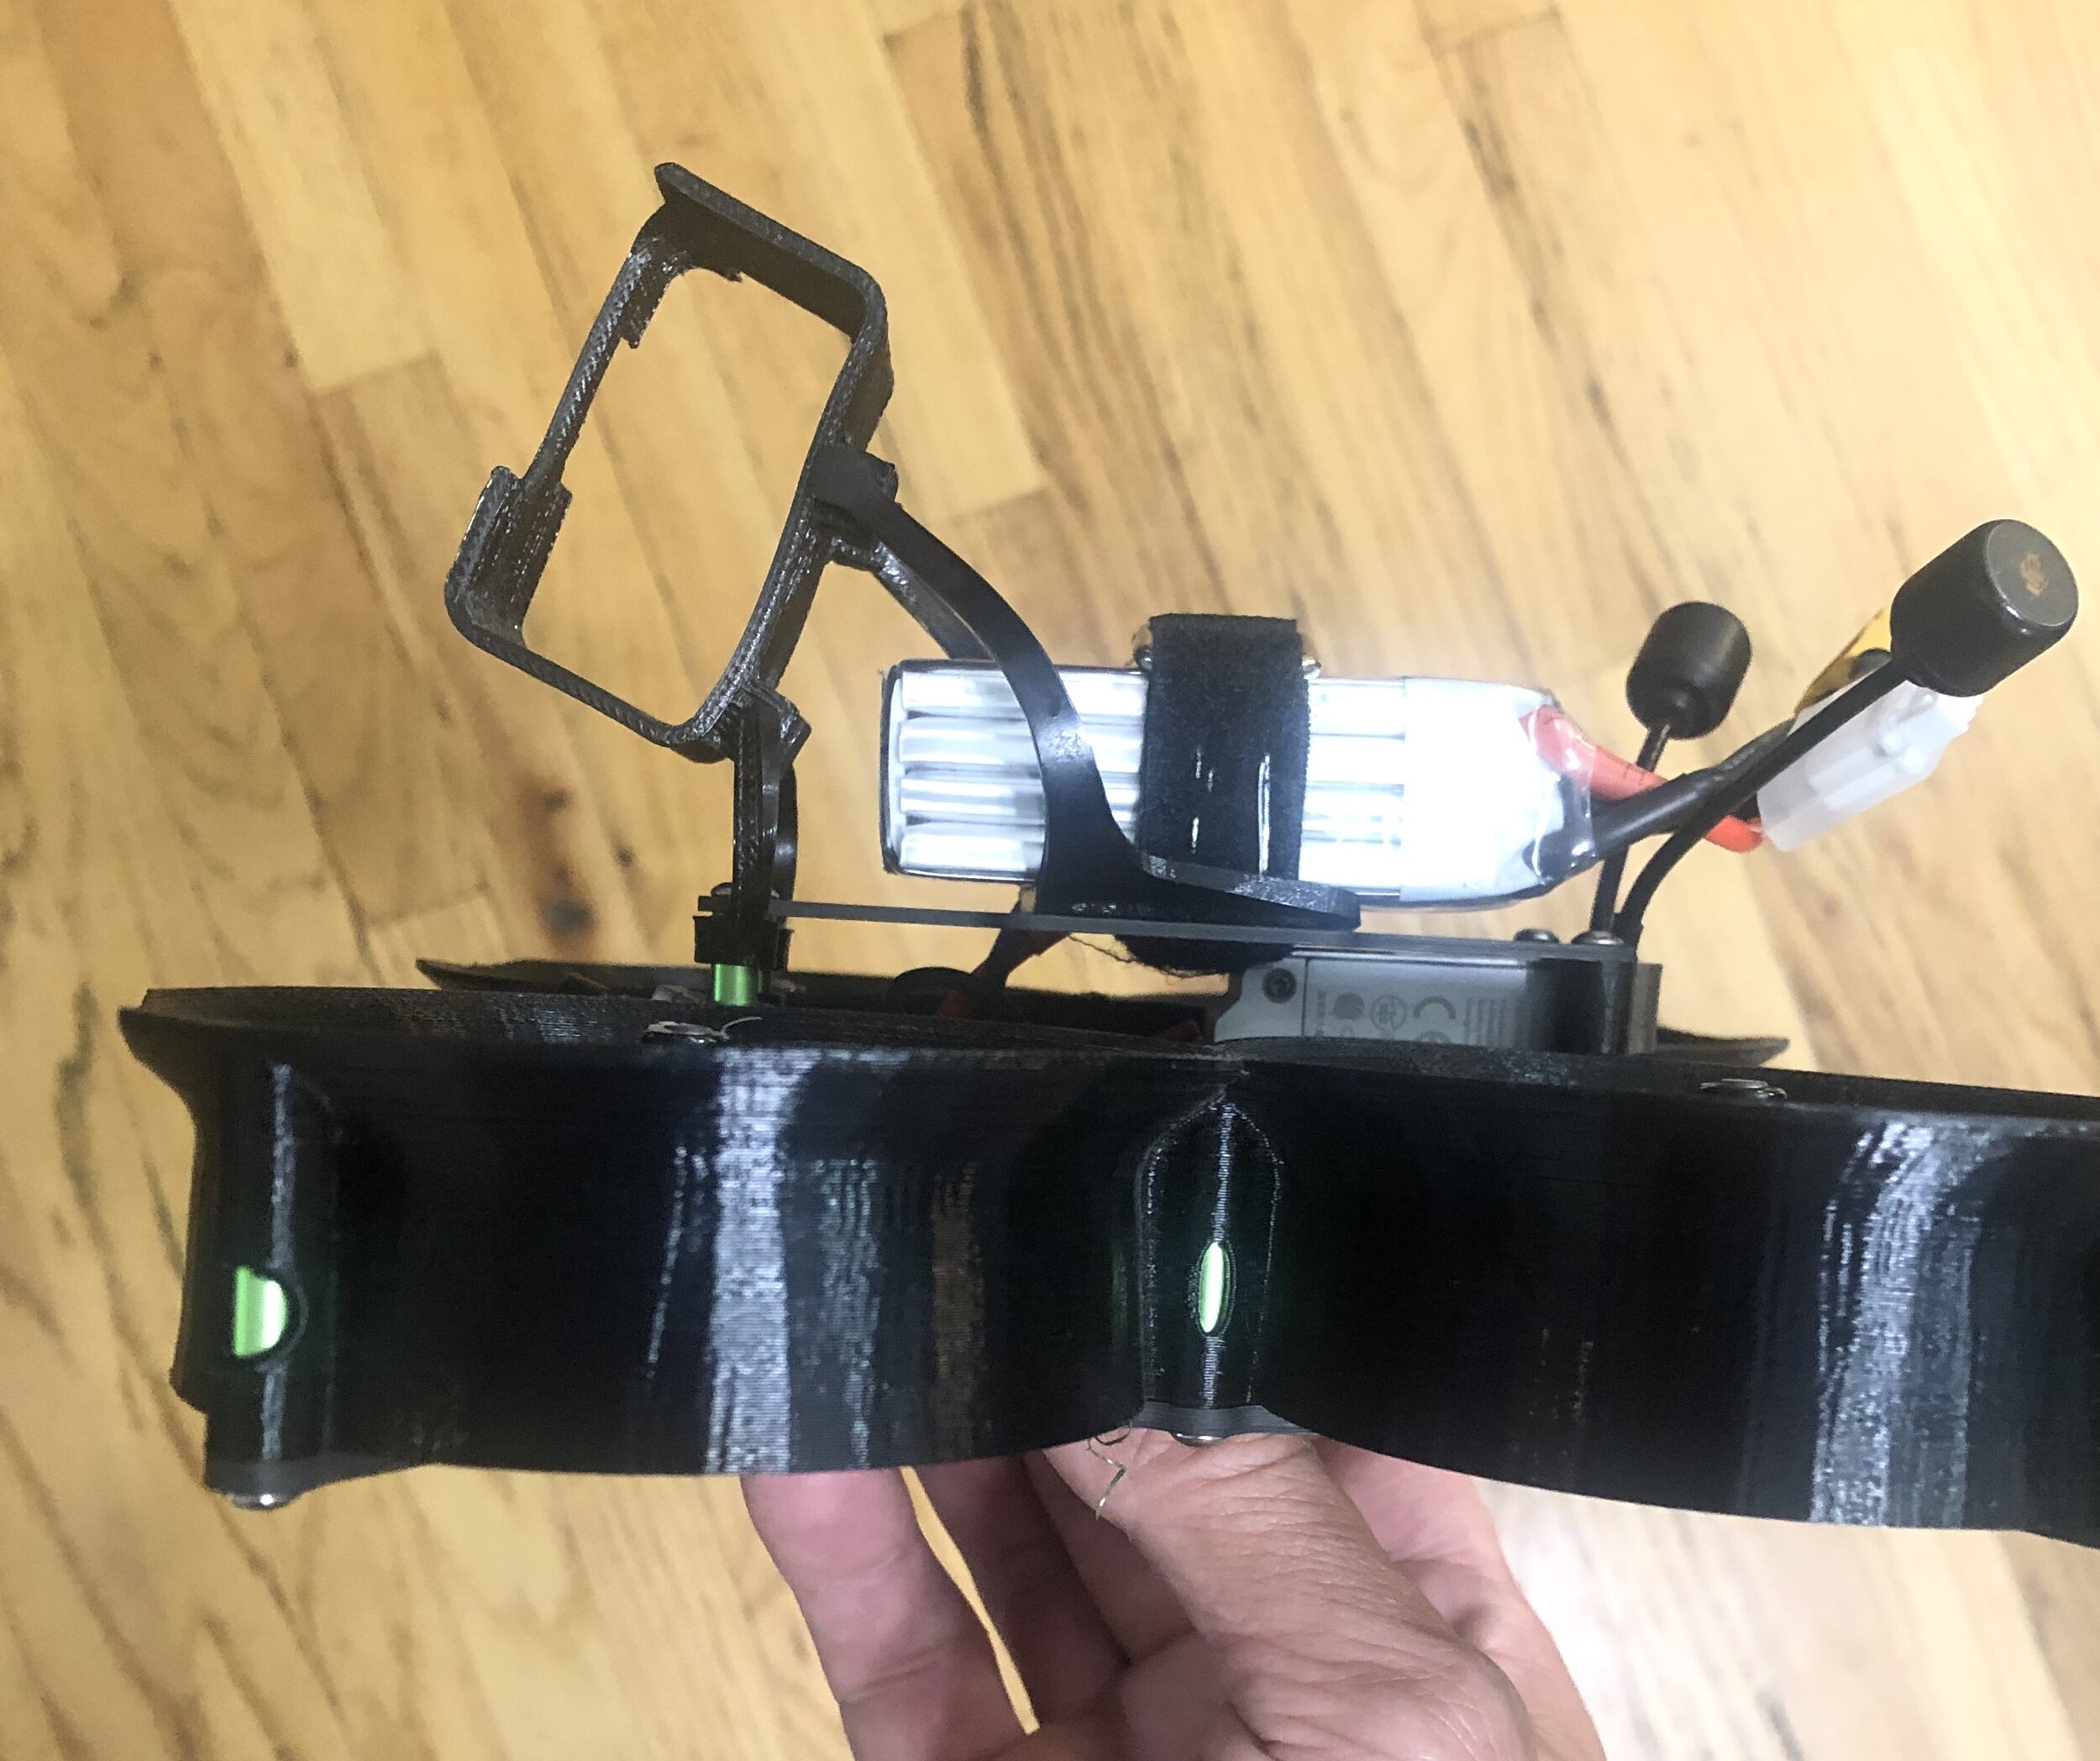
Now, for problem #2, weight distribution. People are flying the Squirt faster now, so I want to ship it with the 10 degree Hero mount instead of 0. The uptilt buys a little clearance in the video frame. I could nip the corners of the ducts a little, and that’ll net a few more mm. Finally, I can have the Hero mount have slots for mounting holes, so you can adjust it to your fov (slide it back if you’re shooting 16:9, move it up for 4:3). With those adjustments I can shorten the main body, which will reduce its overall weight as well.
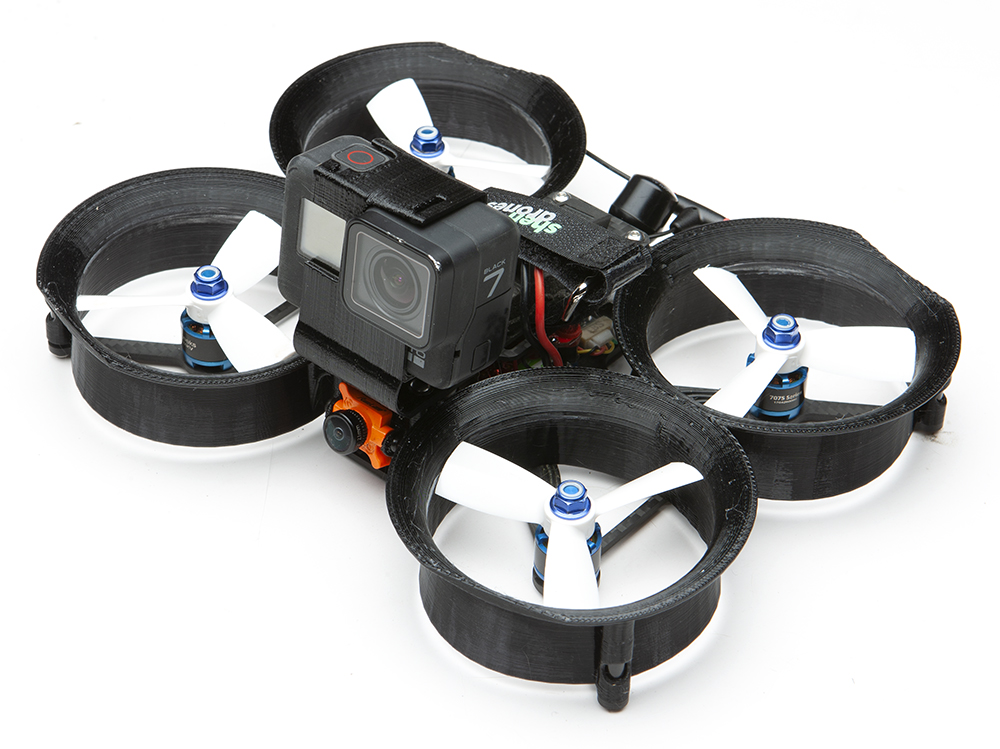
Finally, I changed the fpv cam mount to hold micro cams instead of full size cams. Here’s how the whole enchilada turned out:
The Hero mount’s pretty rigid. If you see jello in your video remove material from those curved parts until you get the damping you need. You can also hit those parts with a heat gun to fine tune cam angle.

The underside of the ducts have a straight beveled edge to stiffen it up a bit, and it also eliminates the need for supports.
Printing the duct turned out to be way more of a challenge than I expected. For reasons I still don’t totally understand, the inner wall was coming out rough though the outer wall was nice and glossy. I finally got it dialed, but on just one of three printers. One machine couldn’t meet the demand, so I enlisted Chris Griffin’s help in producing a batch. Chris further refined the g-code (something about another command overriding the ‘don’t cross open spaces’ thing) and got them real beautiful.
The carbon came in and I was pleased to find that despite the addition of 6 20mm standoffs the overall frame lost 5 grams. I moved the parts over and took a lap around the apartment, and it flew the same, no surprise there. I sent the other two to Nurk and Armando.
Quick Diversion
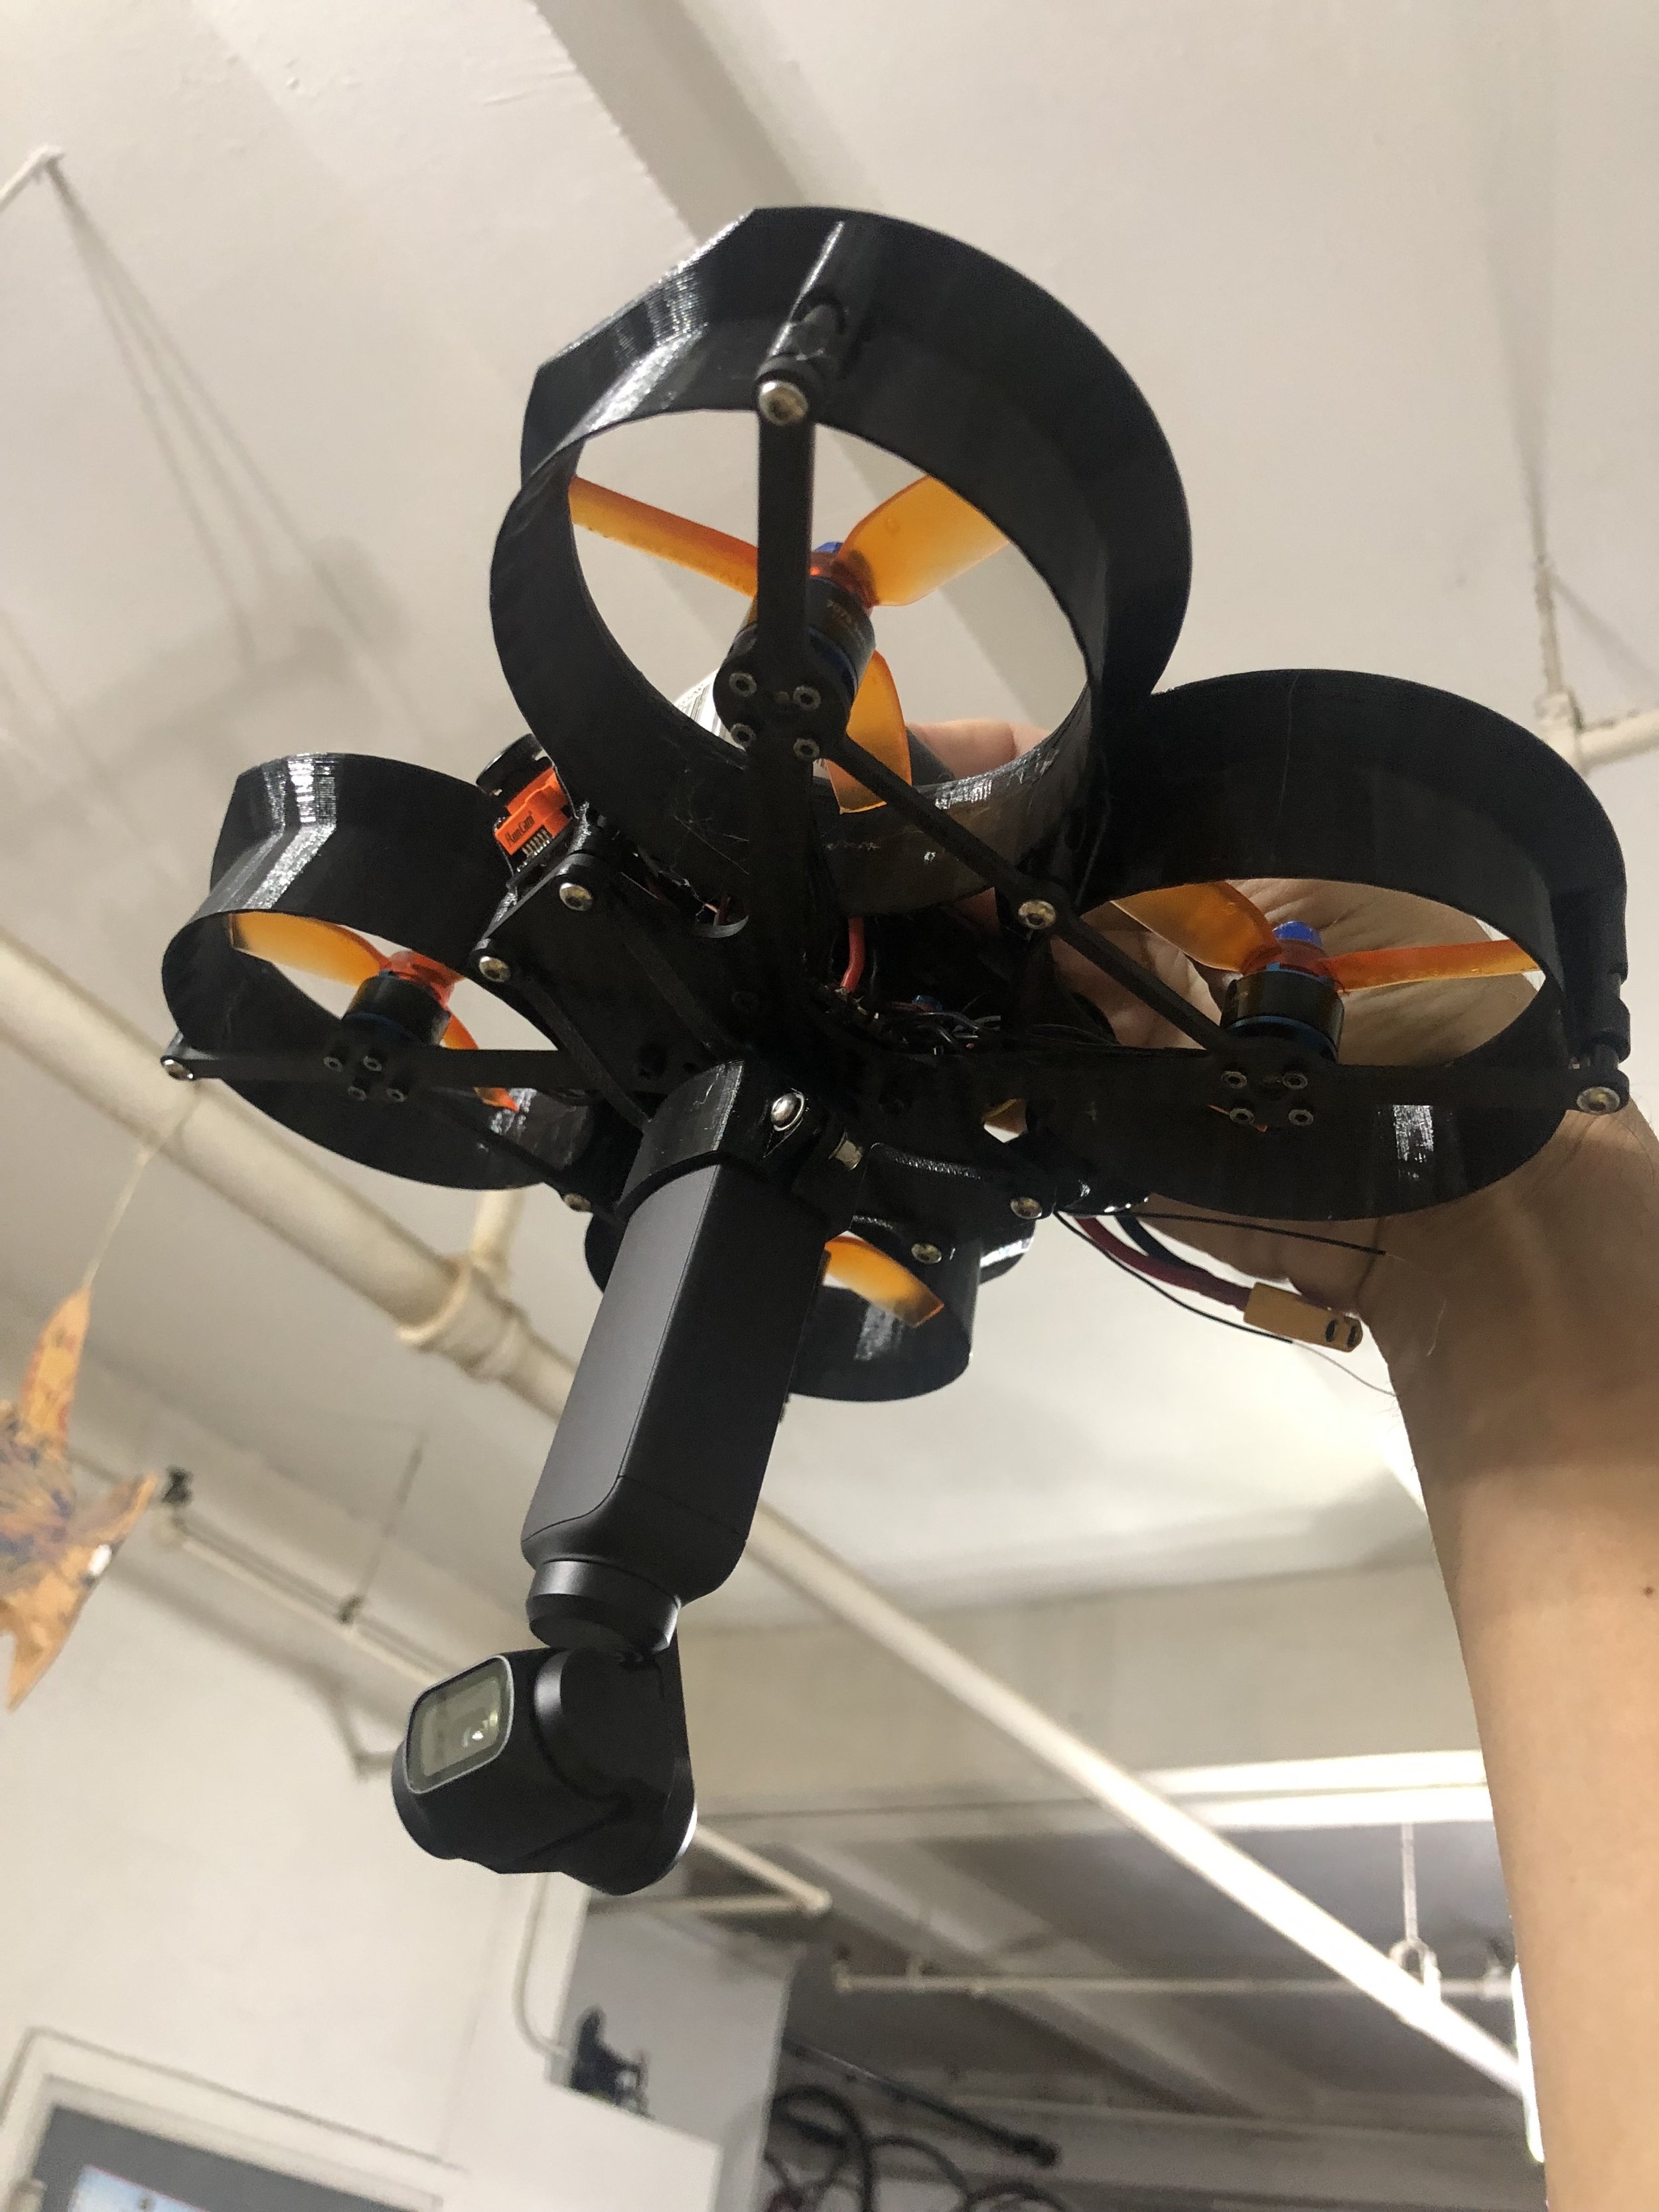
Meanwhile, the Osmo Pocket came out, and I immediately thought that its active tracker could essentially function as a camera operator in a dual operator setup. I’d been working on that for the Dualist, but was unable to get a video signal out of the Hero for the second operator (tbh I wasn’t working that hard, there’s always plenty to sidetrack me here). So I got an Osmo and made a dangling mount for the Dualist and tested it out in my apartment.
So, it kinda worked. The weather was terrible here so I couldn’t give it a smooth fpv flight, but the concept seemed sound. Then it occurred to me that the Osmo was just 3 grams heavier than a Hero, so why not put it on Squirt? I made another dangly mount – the arms are a little long so that the whole thing hangs down, giving the Pocket some vibration damping (I’d noticed a lot of vibes on other people’s drone/Pocket videos).

An M3 and a locknut cinches down the Osmo.
I took a lap around the apartment and it’s not too bad, definitely a viable option. As you can see I took off from a pair of barstools and landed it on the couch, a major drawback with underslung mounting. If I was shooting for real I’d have someone hand catch it. Of course it’d be safer to mount it another way, but the whole point is to have it track something and point straight down if necessary, so no guts no glory.
Quick Osmo side note: I was hoping this setup would be like an Alta8, where the camera gimbal has unlimited rotation and can yaw independently of the drone. Unfortunately the Osmo doesn’t have full 360 yaw, so you’d still have to yaw it at the subject with the quad.
I took it outside the next day, hoping to get some smooth fpv flyovers with the camera panning down and around, but it was incredibly gusty so all I could do was fight the wind. My plan was to fly in and out of my bag and let it function as the Osmo protector, but with the wind I spent half the flight trying to get it back into the bag. I would’ve been better off lifting the goggles and LOS’ing it back to a hand catch. Here’s that comedy of errors:
Anyway, the point is, you can fly the Squirt with an Osmo and get that gimbal’d look, and even get some tilt action with live tracking. It’s pretty amazing to think that a few years ago my gimbal quad had 10” props and lower resolution.
Diversion Over
Armando got his first. He noted that the duct was rounder, and he could get his props tighter to the walls. And he thought it flew better:
Was it the weight distribution, extra cross brace, better prop clearance, or placebo? Nurk got his and thought it flew better as well. This is with Hypersmooth on.
I’d love to definitively state that the flight improvements are verifiable, but quads are mysterious, man. Mine didn’t feel significantly different, but I always felt my V1 could handle moves like split s’s just fine. Yes you can probably squeeze out a couple more grams of thrust with tighter props, but the new cross braces take away a little thrust as well. What I can say is that the ducts are rounder and more durable, and weight is a little more centralized. And it flies nice.
The Elephant in the Room
So…all new and backordered Squirt orders will automatically ship as V2’s, pricing will stay the same. If you bought a V1 after June 1st 2018 you can upgrade to V2 with a 25% discount, just make a note in the order or contact me and I’ll refund you the difference. Yes I realize it sucks if you just bought a V1, but I can’t think of a more graceful way to make the transition. If you print your own parts you can make the upgrade for as little as $28.50, so I hope everyone thinks that’s fair. (BTW you can get half the benefits with V1’s by printing the slotted Hero mount and nipping the corners of the ducts.)
Conclusion
It’s been a year and a half since the Squirt was first designed. I’ve never had a frame catch on after such a long time, and it’s been really rewarding checking out all the cool content people are making with it. It’s become such a thing that the NYC Drone Film Fest even added a ‘Cinematic FPV’ category. I hope you’ll enjoy the revisions to the frame, and I look forward to the cool stuff the community will create with it.
Here’s some build tips.

4/25/19
Look at this! The fact that I’m tangentially related to this is just amazing to me. It makes me so happy that Squirt helped make this happen.
10/27/19
ReelSteady Go came along, and it’s amazing! However, it doesn’t work with Hero7’s unless they’re vibration damped. I already had a damped mount, but it took me ages to figure out a variable angle damped mount. The problem is that the pivot of the mount needs to be screwed together tightly, but the floppy dampening arms are too weak to use manually change the angle.
I finally came up with a system that uses plug-in 5x5mm arms. This separates the mounts from the damping arms, which does a couple nice things. One, it makes it easier to print these complex shapes, and two, if the delicate arms break you won’t need to print the whole mount. I could also make similar mounts for Ichabod Jr. and Geyser, so you could move the mounts from drone to drone.

Arms plug into slots in the back of the mount. The arms print flat, so they’re super simple to print.

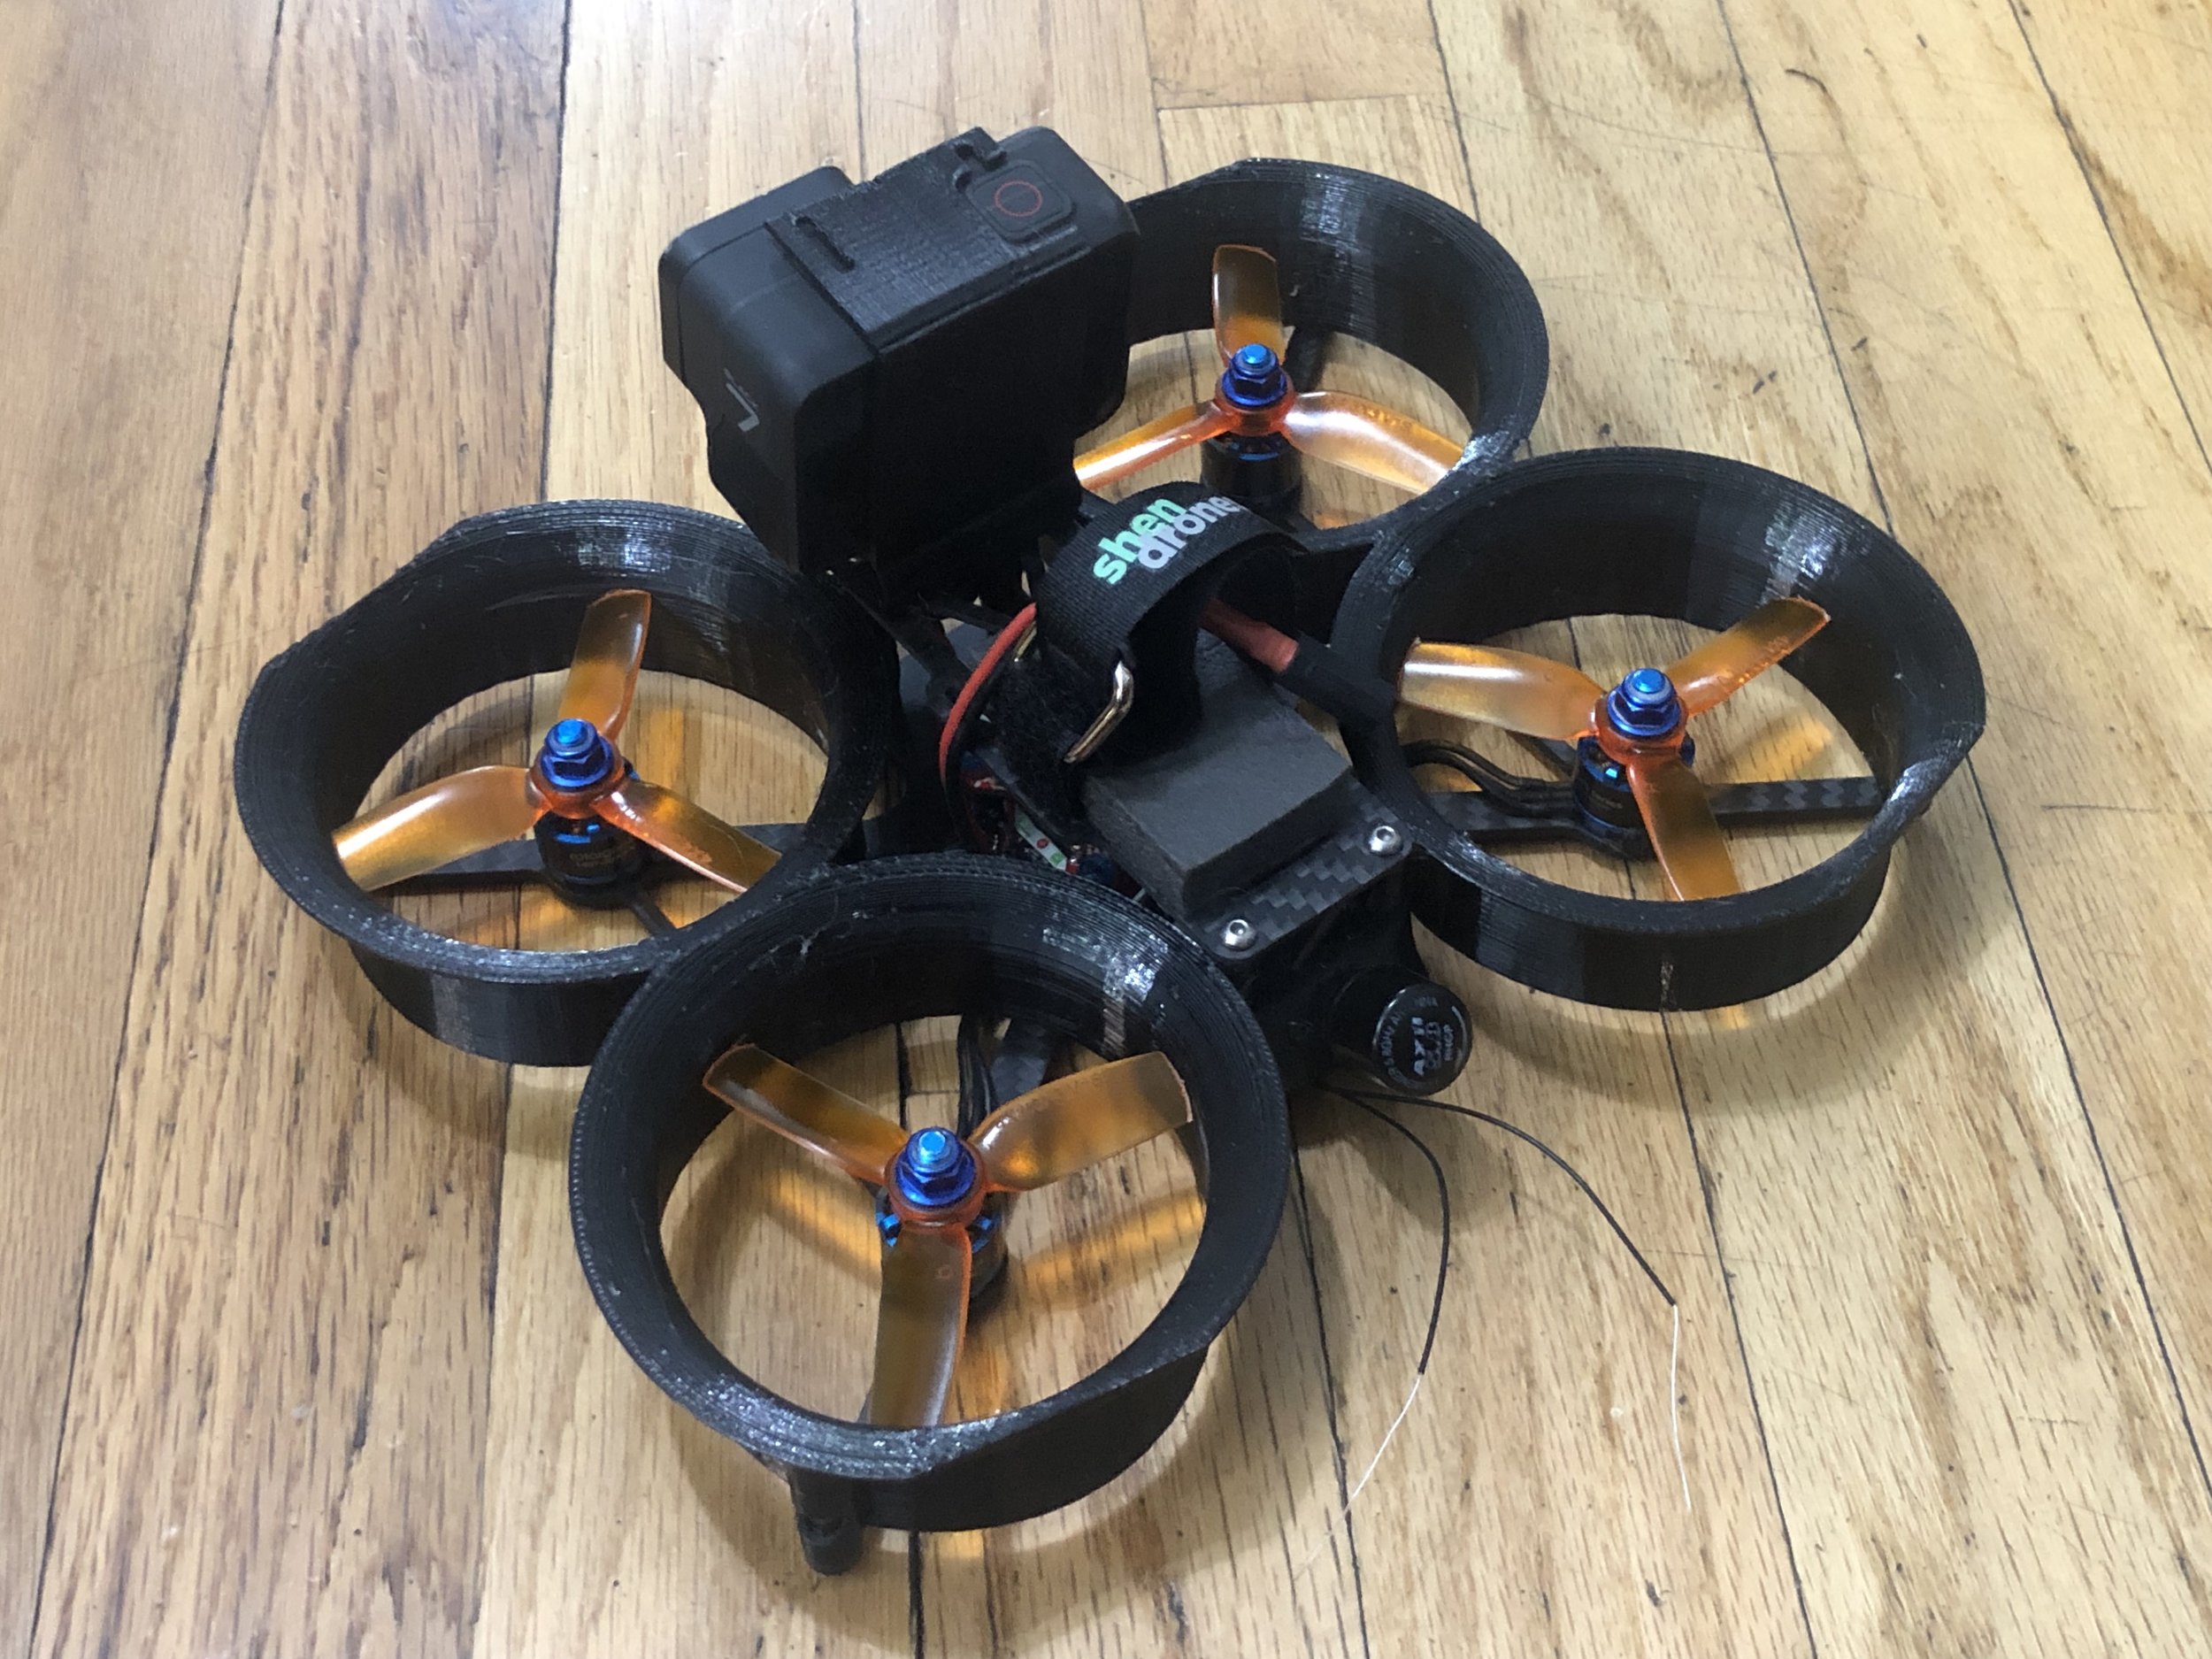
Unlike Ichy and Geyser, Squirt doesn’t have mounting points for the rear arms, so I made this piece which the battery strap slots through. You lock down cam angle when you strap down the battery.
And here it is all together.
These parts are up on Thingiverse.
The other big innovation that came along during this time was the DJI fpv system. I begrudgingly bought it because I have to keep up with new stuff, and was totally blown away by it. In fact, I find it really difficult to fly analog now.
My first solution for Squirt was to mount the air unit vertically, switch to 40mm standoffs, and have the air unit stick out the back slightly. This allowed access to the sd card as well as the usb port, but wasn’t as elegant as I’d like.


I wanted the air unit to be totally inside the frame, for aesthetic reasons, and to centralize weight. I added additional FC mounting holes further forward to make room for the air unit, and added holes in the top and bottom plates for the sd card and usb slots.

Much cleaner!

The upper piece is much simpler now, and it squeezes the antennas in, keeping them from coming unplugged. Note the forward location of the FC stack.
6S
Fincky worked with TMotor to make some Squirt motors, and of course I had to give them a try. Most intriguing was the 2700kv option, which would work on 6s. I paired them with a Newbee Infinity stack and moved the DJI air unit over. I fired it up right away and did a lap inside, and found it harder to maintain a consistent altitude with all the extra power. This could be fixed with a throttle cap, but I held off ‘cause I wanted to go full throttle with it first.
The next day I did some full throttle passes, where it neared verticality.

And here’s Control giving it a ride the next day. He ended up disarming it midair ‘cause he’s not used to the TX.
I get over 5 minutes with a 1050 6s, but I’m guessing an 850 would be ideal. If you’re building one up now I’d highly recommend going 6s.