Build Tips
Thicc 2.1
This is what’s in the hardware pack and what they’re for:
16 m3x7, upper motors
16 m3x5, lower motors
8 m3x16 and 8 locknuts, motor mounts
12 m3x25 and 24 locknuts, arms and legs
14 m3x9, main body
6 m3x20, dampers
8 m3x20 standoffs
When attaching arms and legs, first screw on the arms with one set of locknuts, then slip on the legs. Then you can secure the legs with a seconds set of locknuts. This ensures a tight clamp on the arms with no tpu in between the screw head and locknut.
Insider
This is what’s in the hardware pack and what they’re for:
8 m3x16 and 8 locknuts, for the arms
16 m3x9 for the motors
24 m3x9-12 for the body and the ducts
8 m3x12, 6 locknuts, and 8 washers for the dampers
12 short standoffs for the ducts
6 long standoffs for the body
Siccario
The base frame hardware kit contains:
32 M3x5 countersunk screws, motors
16 M3x18, motor mounts
8 M3x14 countersunk screws, arm tie-down tabs
8 M4x35 and 8 locknuts, body plates
14 M3x9, body plates
6 M3x20, dampers
4 M3x12 and 4 locknuts, arm braces
6 20mm standoffs
2 Aluminum FPV Cam mounts
Camera mounting kits contain:
4 1/4-20x3/8 screws and washers, camera
The Komodo kit also contains
4 M4x12 countersunk screws, to attach the brackets to the Komodo
Tips
When you start your build, attach the arms to the bottom plate with the carbon tabs as shown.

USB access is tricky. If you have it pointing to the side you can unscrew the side standoff and remove the side guard/antenna holder to reach it. If you have it pointing to the back you can add a USB extension cable. If you use the Matek 722HD you can add a plug at an accessible location.
As you can see you’ll need SMA extensions.
When you’re done drop in the top plate. Take your time and make sure no wires are pinched. Make sure your motor wires have enough slack and won’t block the M4 screws. Screw down the top plate with M3 screws in the standoffs. Once it’s secure you can cut off the zip ties and attach the M4’s around the arms. Double check the M4’s after a few flights and re-tighten if necessary.

The holes in the arms are a great way to route the motor wires, totally guarantees that they’ll never get in the props.

The fpv cam mount/air unit holder/splashguard is flexible, pull it back if you need to access the air unit. Feel free to chop off the guard if you want easier access to the air unit or if you’re concerned about ventilation for the air unit.

If you go with Alpha Gel add the clear spacer below it.
Siccario and Thicc Universal Cam Mount
Slide a M3 nut into the slot in the base plate, then attach the side pieces with a M3x12 screw. No need to over-torque this screw and risk damaging the carbon, this whole assembly will be firmed up once the camera plate is attached.

The aluminum blocks can be easier to thread into with the M4 screw from one direction more than the other. Give them a quick check before screwing them on. They’re symmetrical so just flip it if one side is more difficult.

Add the M4’s and washers and you’re done. Use one or two 1/4” screws to mount your camera, supplement with straps if necessary. If your camera has a 3/8” hole and a 1/4” hole, use this reducer bushing to convert the 3/8 hole to 1/4, and mount your camera with two screws.

Hydrophobe
Wrap the battery strap around the entire body! Those strap tabs are there to keep the strap from sliding off, not to hold the battery on. Ignore this and you will snap those tabs. The kit comes with an extra long strap for this very reason.
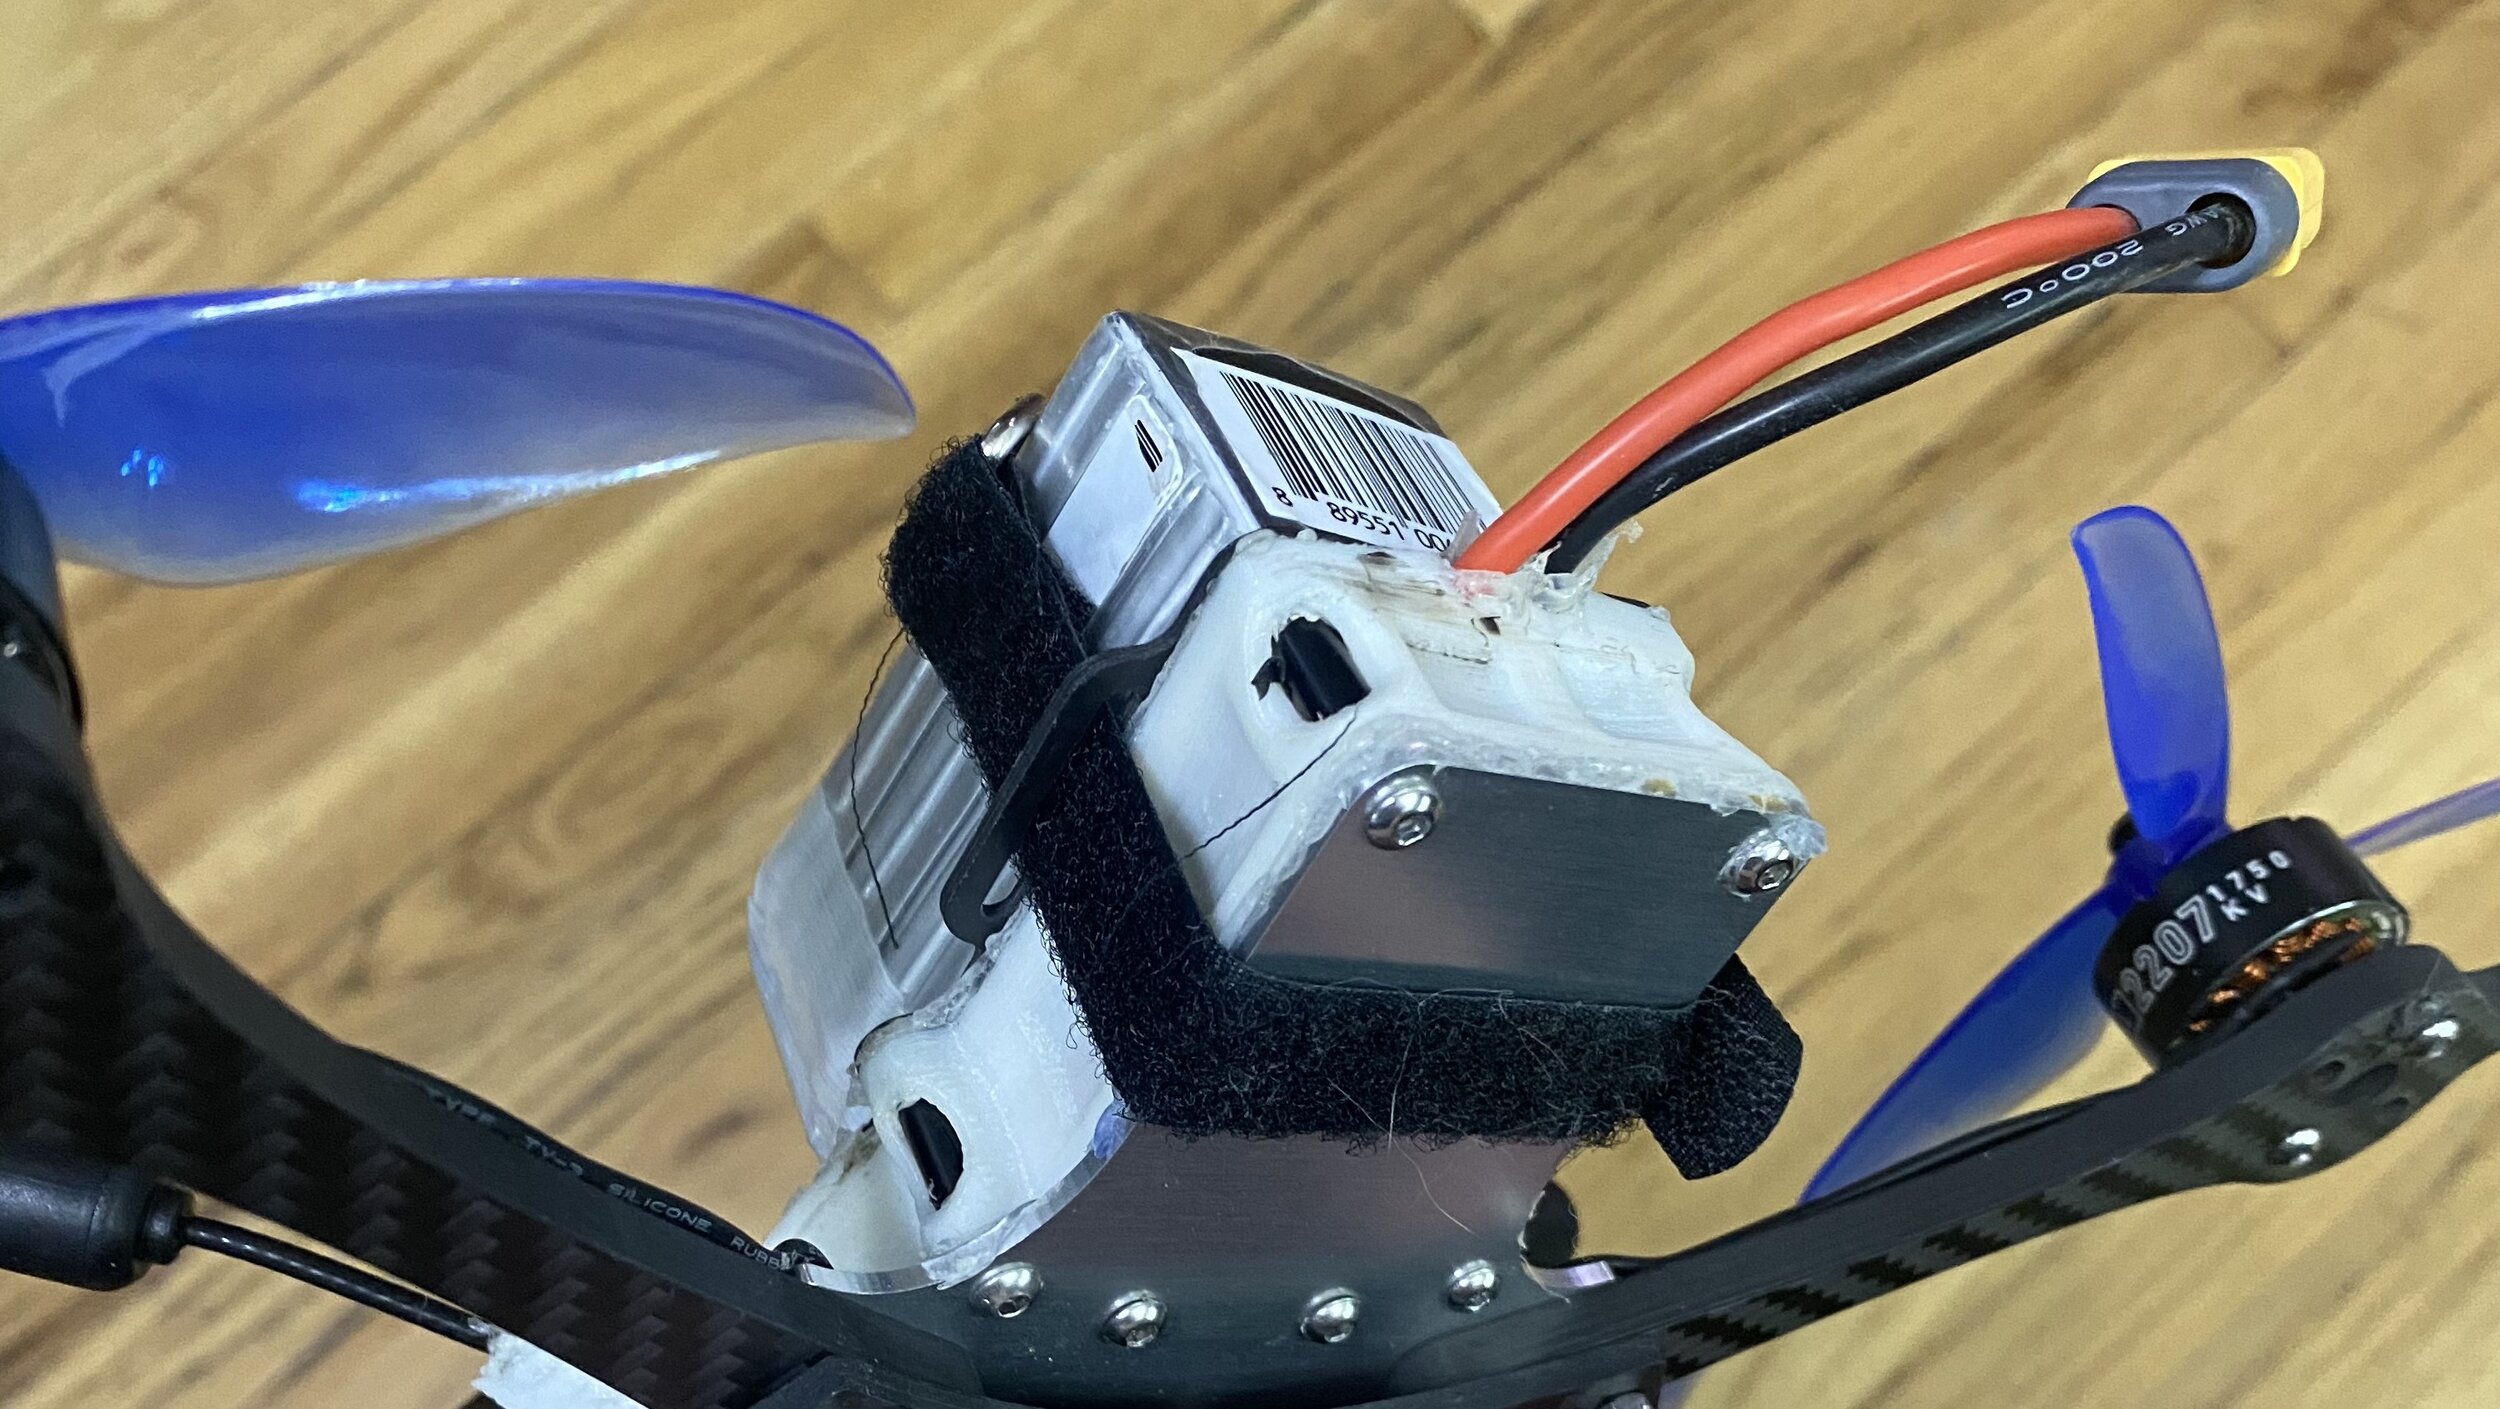
Use a piece of thermal gpu pad or a dab of non-conductive thermal paste between the esc and the aluminum plate. Beware darker color pastes, some have found they can interfere with the esc. Make sure the esc doesn’t directly contact the plate.
The Air Unit sits directly on the plate and doesn’t require any additional paste, do not use double stick tape for the air unit as it will insulate it from the heat sink plate.
Terraplane
This is what’s in the hardware kit and what they’re for:
8 m3x7 Motor screws that bypass the duct
8 m3x10 Motors screws that also secure the duct
8 m3x14 8 locknuts Arms
12 m3x7-9 Body
1 m5 screw + locknut Hero
6 20mm standoffs
Orient the ducts so there’s maximum clearance between the struts and the arms.

As you can see above, the arms curve out slightly. Make sure all four curve away from the center of the frame. The bottom plate has holes that give you access to screw heads, make sure you install it the right way.
Swol
Here’s what’s in the hardware kit:
32 m3x6 countersunk screws, Motors
16 m3x20 and 16 locknuts, Motor Mounts
8 m4x35 and 8 locknuts, Arms
22 m3x9, Body
4 m3x20 and 4 locknuts, Outer Arm Braces
4 m3x14 and 4 locknuts, Inner Arm Braces
6 m3x20, Cam Mount
12 m3x20 standoffs
2 aluminum fpv cam mounts
Put a carbon spacer above and below the outer arm brace.

For the inner brace, there’s a tiny hole on one side. That indicates the front (this brace is very slightly asymmetrical).

Slide the tpu collar over the end of the inner brace and tighten so that the tpu expands and holds the brace in place.

Compress the tpu collar to snug up the brace.
Ducted Thicc
Here’s what’s in the hardware packet:
16 m3x16: Motor screws (they go through the arm and the duct mount)
8 m3x14, 4 m3x25, 12 m3 locknuts: Ducts. The long screws go through the arm.
8 m3x16, 8 m3 locknuts: Duct mounts
12 m3x25, 24 m3 locknuts: Arms and landing gear. Like the regular Thicc, one set of nuts go directly onto the carbon bottom plate, then the landing gear slips over that, followed by a second nut.
14 m3x9: Main body.
6 m3x20: Cam mount dampers.
8 m3x20 standoffs.
8 short tpu spacers and 4 tall tpu spacers: These go between the ducts and the duct mounts and arms. The tall ones go between the duct and the arm.
Big Baby
Here’s what’s in the hardware packet:
32 m2x5: Motor screws
8 m2x10, 8 m2 nuts: Motor mounts
12 m3x10: Main body
4 m3x12, 4 m3 locknuts: Landing gear
4 m3x25 standoffs
1 m5x20, 1 m5 locknut: Hero mount
Big Baby only takes 4 standoffs. The middle position is for the antenna mounts, the screws go directly into them. The antenna mounts double as the air unit holder.

The antenna holders and the fpv cam mount wedge in the air unit. The antenna mounts take the screws directly.
Thicc 3.0
Here’s what’s in the hardware kit:
16 m3x7, top motors
16 m3x5, bottom motors
8 m3x18, 8 locknuts, motor mounts
8 m3x28, 8 locknuts, arms
4 m4x40, 8 locknuts, arms and landing gear
8 m3x9, body
6 m3x20, dampers
6 m3x20 standoffs
Attach the arms to the bottom plate with two m3’s and one m4, then proceed with the build.

Once the build is complete you can remove the m4’s and add the top plate. Don’t be tempted to skip the m4’s during the build process, the bottom plate will be excessively stressed if the arms are attached with only the m3’s. If you’re having trouble inserting the m4’s, DO NOT SCREW THEM THROUGH THE FRAME. This could damage the threads and force you to cut the screw later. Instead loosen the m3’s slightly and wiggle the arms until the m4 slips through easily.

The top plate bypasses the m3’s.
The m4’s take two locknuts, one presses against the bottom plate, followed by the landing gear, followed by a second nut.
Akira
Here’s what’s in the hardware kit:
16 m3x7, top motors
16 m3x4, bottom motors
12 m3x18, 12 m3 locknuts, motor mounts
8 m3x28, 8 m3 locknuts, arms
4 m4x40, 8 m4 locknuts, arms and landing gear
16 m3x9, body
6 m3x20, dampers
6 m3x20 standoffs
2 aluminum fpv cam mounts
Just like Thicc 3.0 above, attach the arms to the bottom plate with two m3’s and one m4, then proceed with the build.
Once the build is complete you can remove the m4’s and add the top plate. Don’t be tempted to skip the m4’s during the build process, the bottom plate will be excessively stressed if the arms are attached with only the m3’s. If you’re having trouble inserting the m4’s, DO NOT SCREW THEM THROUGH THE FRAME. This could damage the threads and force you to cut the screw later. Instead loosen the m3’s slightly and wiggle the arms until the m4 slips through easily.
The m4’s take two locknuts, one presses against the bottom plate, followed by the landing gear, followed by a second nut.

Legato
Here’s what’s in the hardware kit:
1 50mm and 1 35mm standoff, for the nose assembly
2 nose plates, 1 GoPro tabs mount, 2 aluminum and 1 carbon links, for the cam mount
3 m3x9’s, 1 m3x7, 1 m5x20 for the nose assembly
16 m3x12, motor screws
4 m4x20’s, 4 m4 locknuts, 4 m3x18’s, 4 m3 locknuts, for the arms
16 m3x9’s, for the body
6 20mm standoffs