Hovercraft
I bought my nephews a hovercraft one Christmas. They opened it up, set it down, and didn’t play with it for even one second. Which was ok, I guess, more for me. My only regret is not bringing it home with me, ‘cause I’m sure it languished in a closet for years before getting tossed.
Flash forward a decade or so, and I’m binge watching Peter Sripol’s channel. He had a cool printed hovercraft with one lift fan and one thrust fan and a rudder for steering. I thought it’d be a fun Solidworks exercise to draw up a version with one lift fan and two thrust fans, because servos are anathema to quad people. I have spare 1104’s and 1404’s from my Pterominis, so I figured I could whip something up cheap with spare parts.
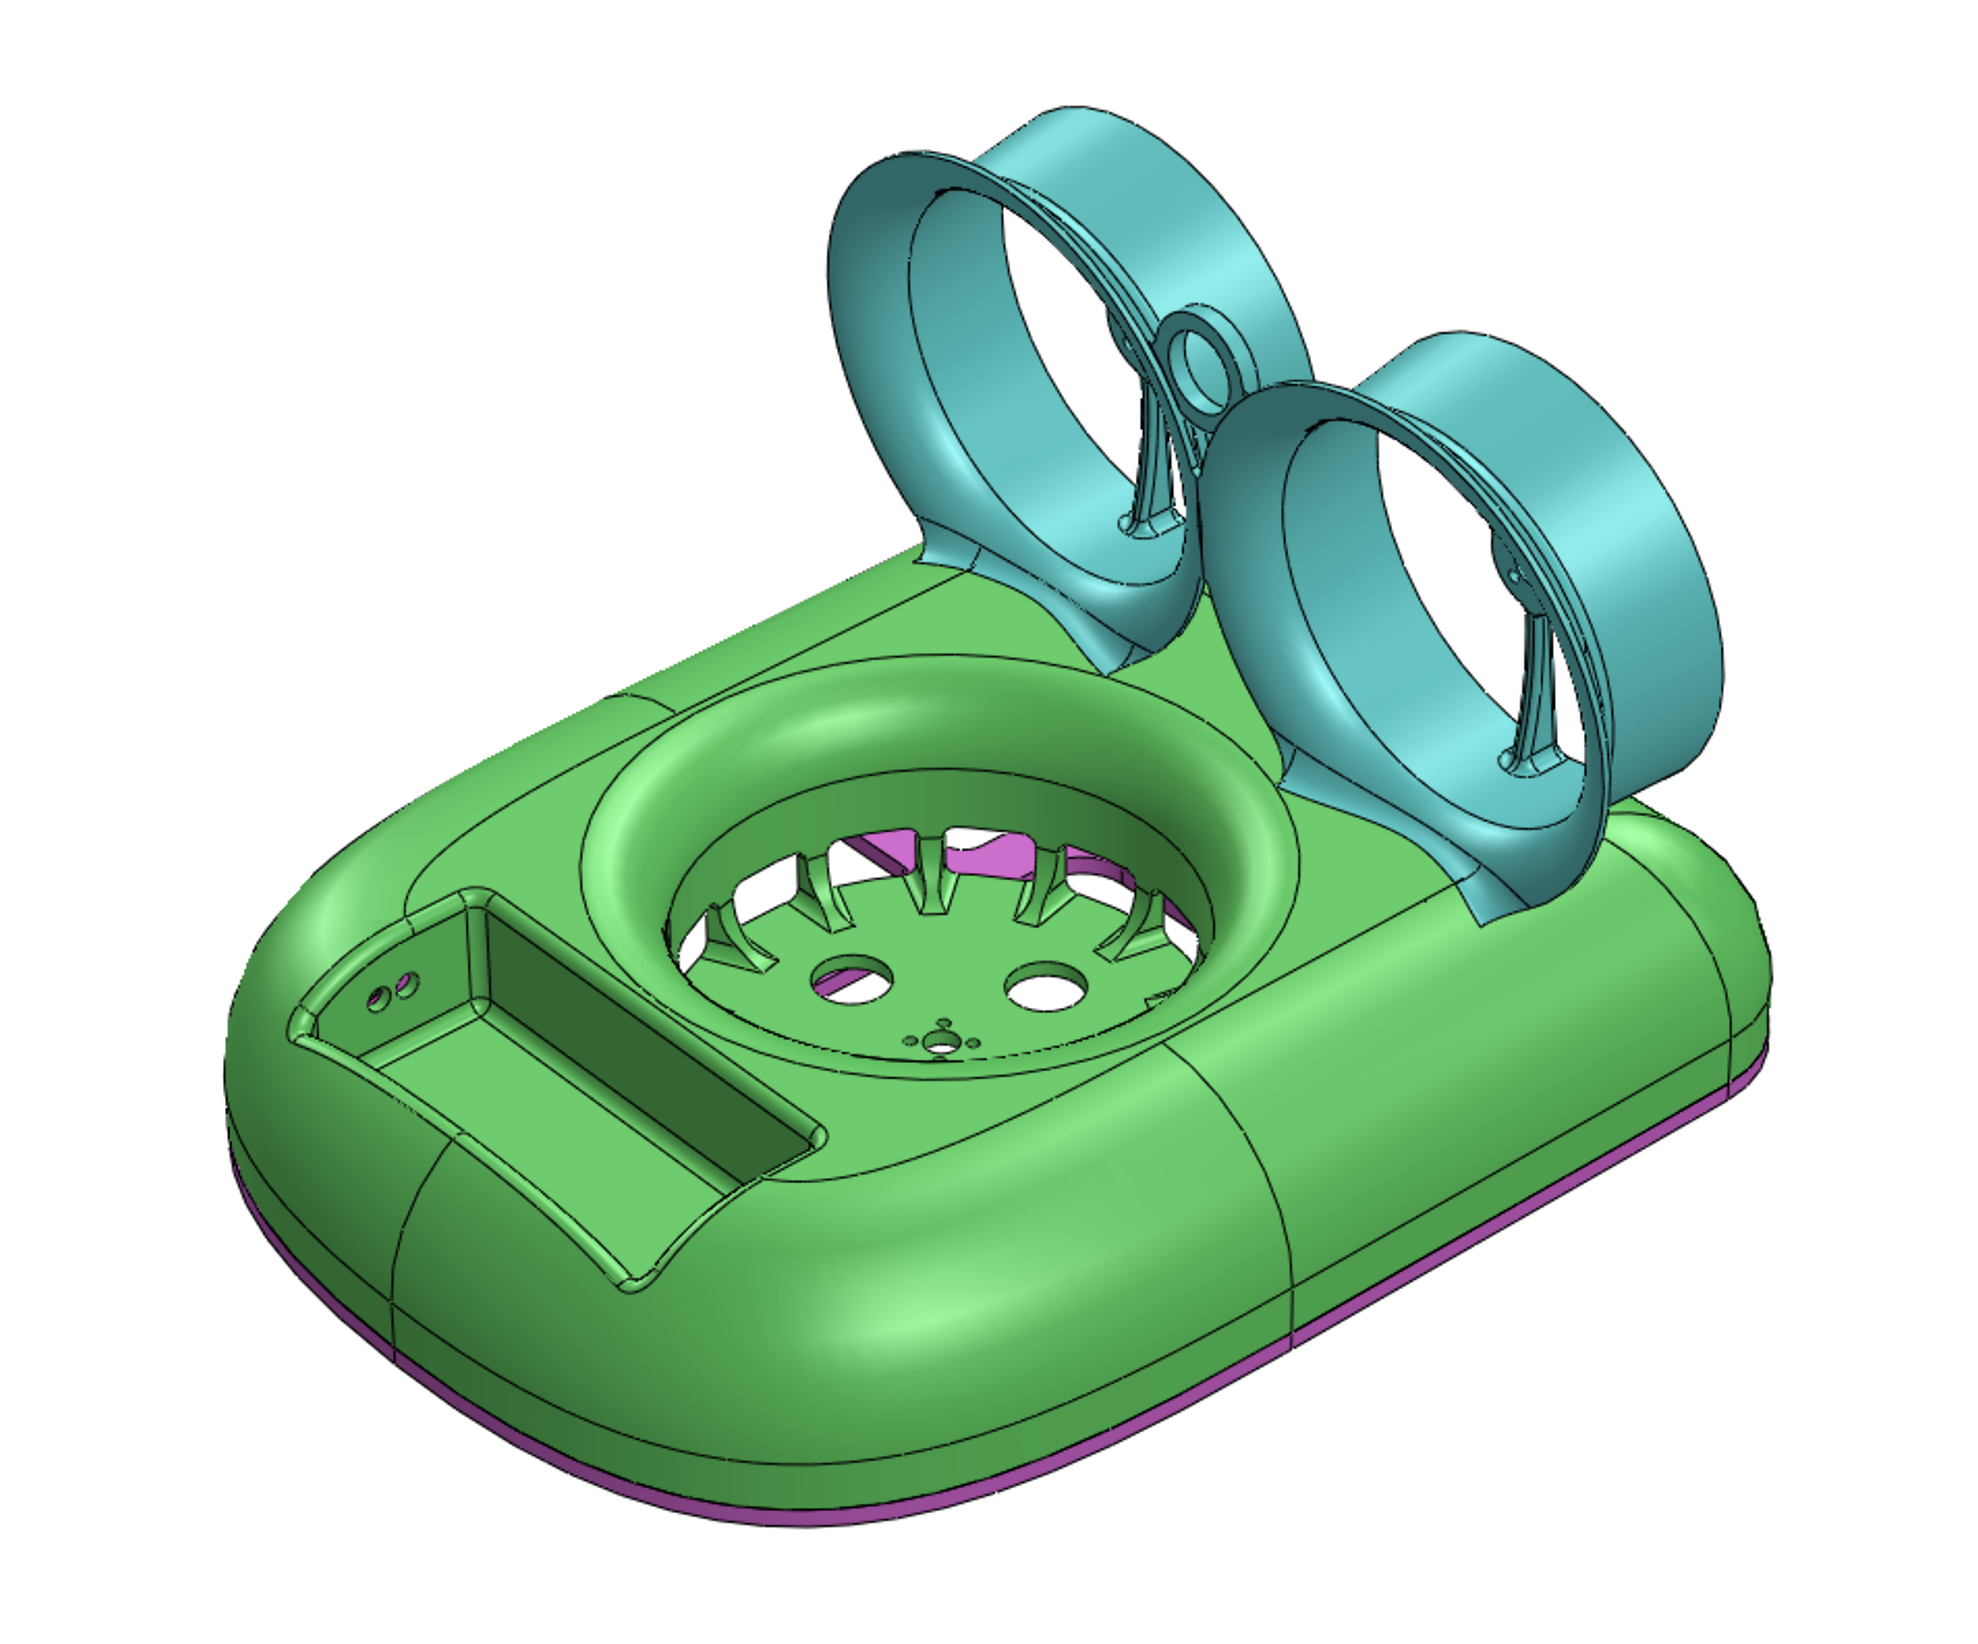
My first thought was of course to design something sleek and curvy, but soon I realized that a flat top would make it print well upside down. The lift motor’s mount, which is in line with the top, would print much cleaner if it was printed on the bed instead of supports. So my sleek body turned into a simple extrusion with a big fillet.

Spot the glaring mistake.
The lift motor would be a 1404 driving a 3” prop. I’d learned from the balloon drone that I could get a little more lift from the accelerated air rushing into the prop, so I made smooth transitions for that duct. I also cut out a battery bay specifically for the Tattu 3 and 4s 650’s I’ve been using for the Pterominis.
I gave the thrust motors’ housing a bit of ducting so that it’s more than a cowl. For the Squirt and Dualist I made the ducts a little small so you have to cut props and make them as tight to the duct as possible. Here I gave it more clearance ‘cause it’s just a damn hovercraft and we don’t need the extra hassle. I also tilted them down 5 degrees so the thrust line will be closer to the CG, which should reduce their tendency to drive the nose down with throttle.
The main body has to be fairly airtight, so I went ahead and made dedicated holes for every wire. This was also the point where I realized that the weight saving holes in the battery bay would’ve been a major problem.
The whole thing came together pretty quickly. I couldn’t fit it in a 200x200 build volume, so it’ll have to be a 2 piece print, or printed on a larger machine like my Craftbot. I added a rudimentary frame for a skirt. I figured I’d test with a simple skirt made from weatherstripping, then move to a proper inflated skirt if things went well.


The original plan was to make use of my spare individual esc’s, which have been rotting in a bin since I started using 4in1’s. But then I started thinking about how clean it’d be with a 20x20 stack, and the idea of a ‘cheap hovercraft with castoff bench parts’ started going by the wayside. I added studs for a stack and ordered a HGLRC stack.
At this point my Craftbot was running 24 hours a day printing Squirt ducts (thanks to Nurk blowing it up), so I split the main body into 3 pieces and printed it on my Form2. The result was gorgeous, of course, but I knew it’d be brittle.


Meanwhile, the HGLRC stack got caught in USPS’ Christmas rush and didn’t arrive for weeks. I grew impatient and took apart one of my Pterominis. I cut the heads off some M2.5 screws and hot glued them into the studs in the frame and fitted the stack. The rest came together real easily, especially since half of the soldering was already done in the original Pteromini build. I hadn’t planned on fpv’ing this right away, but the stack had a vtx so I went ahead and poked 3 extra holes with hot nail and hot glued the camera on the ducts.

I added weatherstripping to the sides for some cushioning, and I think it looks even cooler with it.


So simple inside!
Next it was time to write a custom motor mix for it. The plan was to have the lift motor only respond to throttle, and have it mapped to a slider so that I could give it just enough thrust to hover and then leave it alone. The thrust motors would respond to pitch and yaw only, and mapped to the throttle stick. The bonus of using a flight controller instead of individual esc’s is that the gyro can now assist in yaw, which could possibly make it more precise and snappy.
The mix for the lift motor is 1 0 0 0
The mix for the left thrust motor is .001 0 1 1 (you can’t have 0 for throttle)
The mix for the right thrust motor is .001 0 1 -1
So if your lift motor is on esc #1 then the cli command is ‘mmix 0 1 0 0 0’. You’ll have to enter all four in sequence, just enter all 0’s for the esc that isn’t in use. Mine looks likes this.
mmix 0 .001 0 1 1
mmix 1 .001 0 1 -1
mmix 2 0.001 0 0 0
mmix 3 1 0 0 0
Next map your throttle stick to pitch and yaw, and you’re done. I made a custom curve for elevator so it’d use the full throw of the stick (so it goes from 0 to 100 instead of -100 to 100).

Finally, Time to…Drive?
I fired it up and was amazed at how well it worked. You arm, give it enough lift to lose friction, and then pilot it with the left stick. I didn’t have much room but was still able to do quick 180’s in the space I had, even fpv. It’s cool how it’s piloted like a quad: pre yaw into the turn, and power it through the arc. I left the next day to do a drone workshop with Frank Costello (aka Toasta Mahogey), and he had a good time LOS’ing it.
With just one lift motor, there’s always the question of whether its torque will put the craft in a constant spin. It will spin slowly once it lifts up, but once you start driving it around it tracks nice and straight. It really seems like the FC is compensating for the torque imbalance.
Yaw Sidebar
I wrote that previous paragraph before making the custom curve. I tried it again days later and discovered that the lift motor’s torque doesn’t spin the whole thing at all. Was it because there’s more authority with the proper curve? That’s my guess but I’m not sure at all. Nevertheless, it’s kinda cool to see it so locked on yaw.
Yet Another Yaw Sidebar
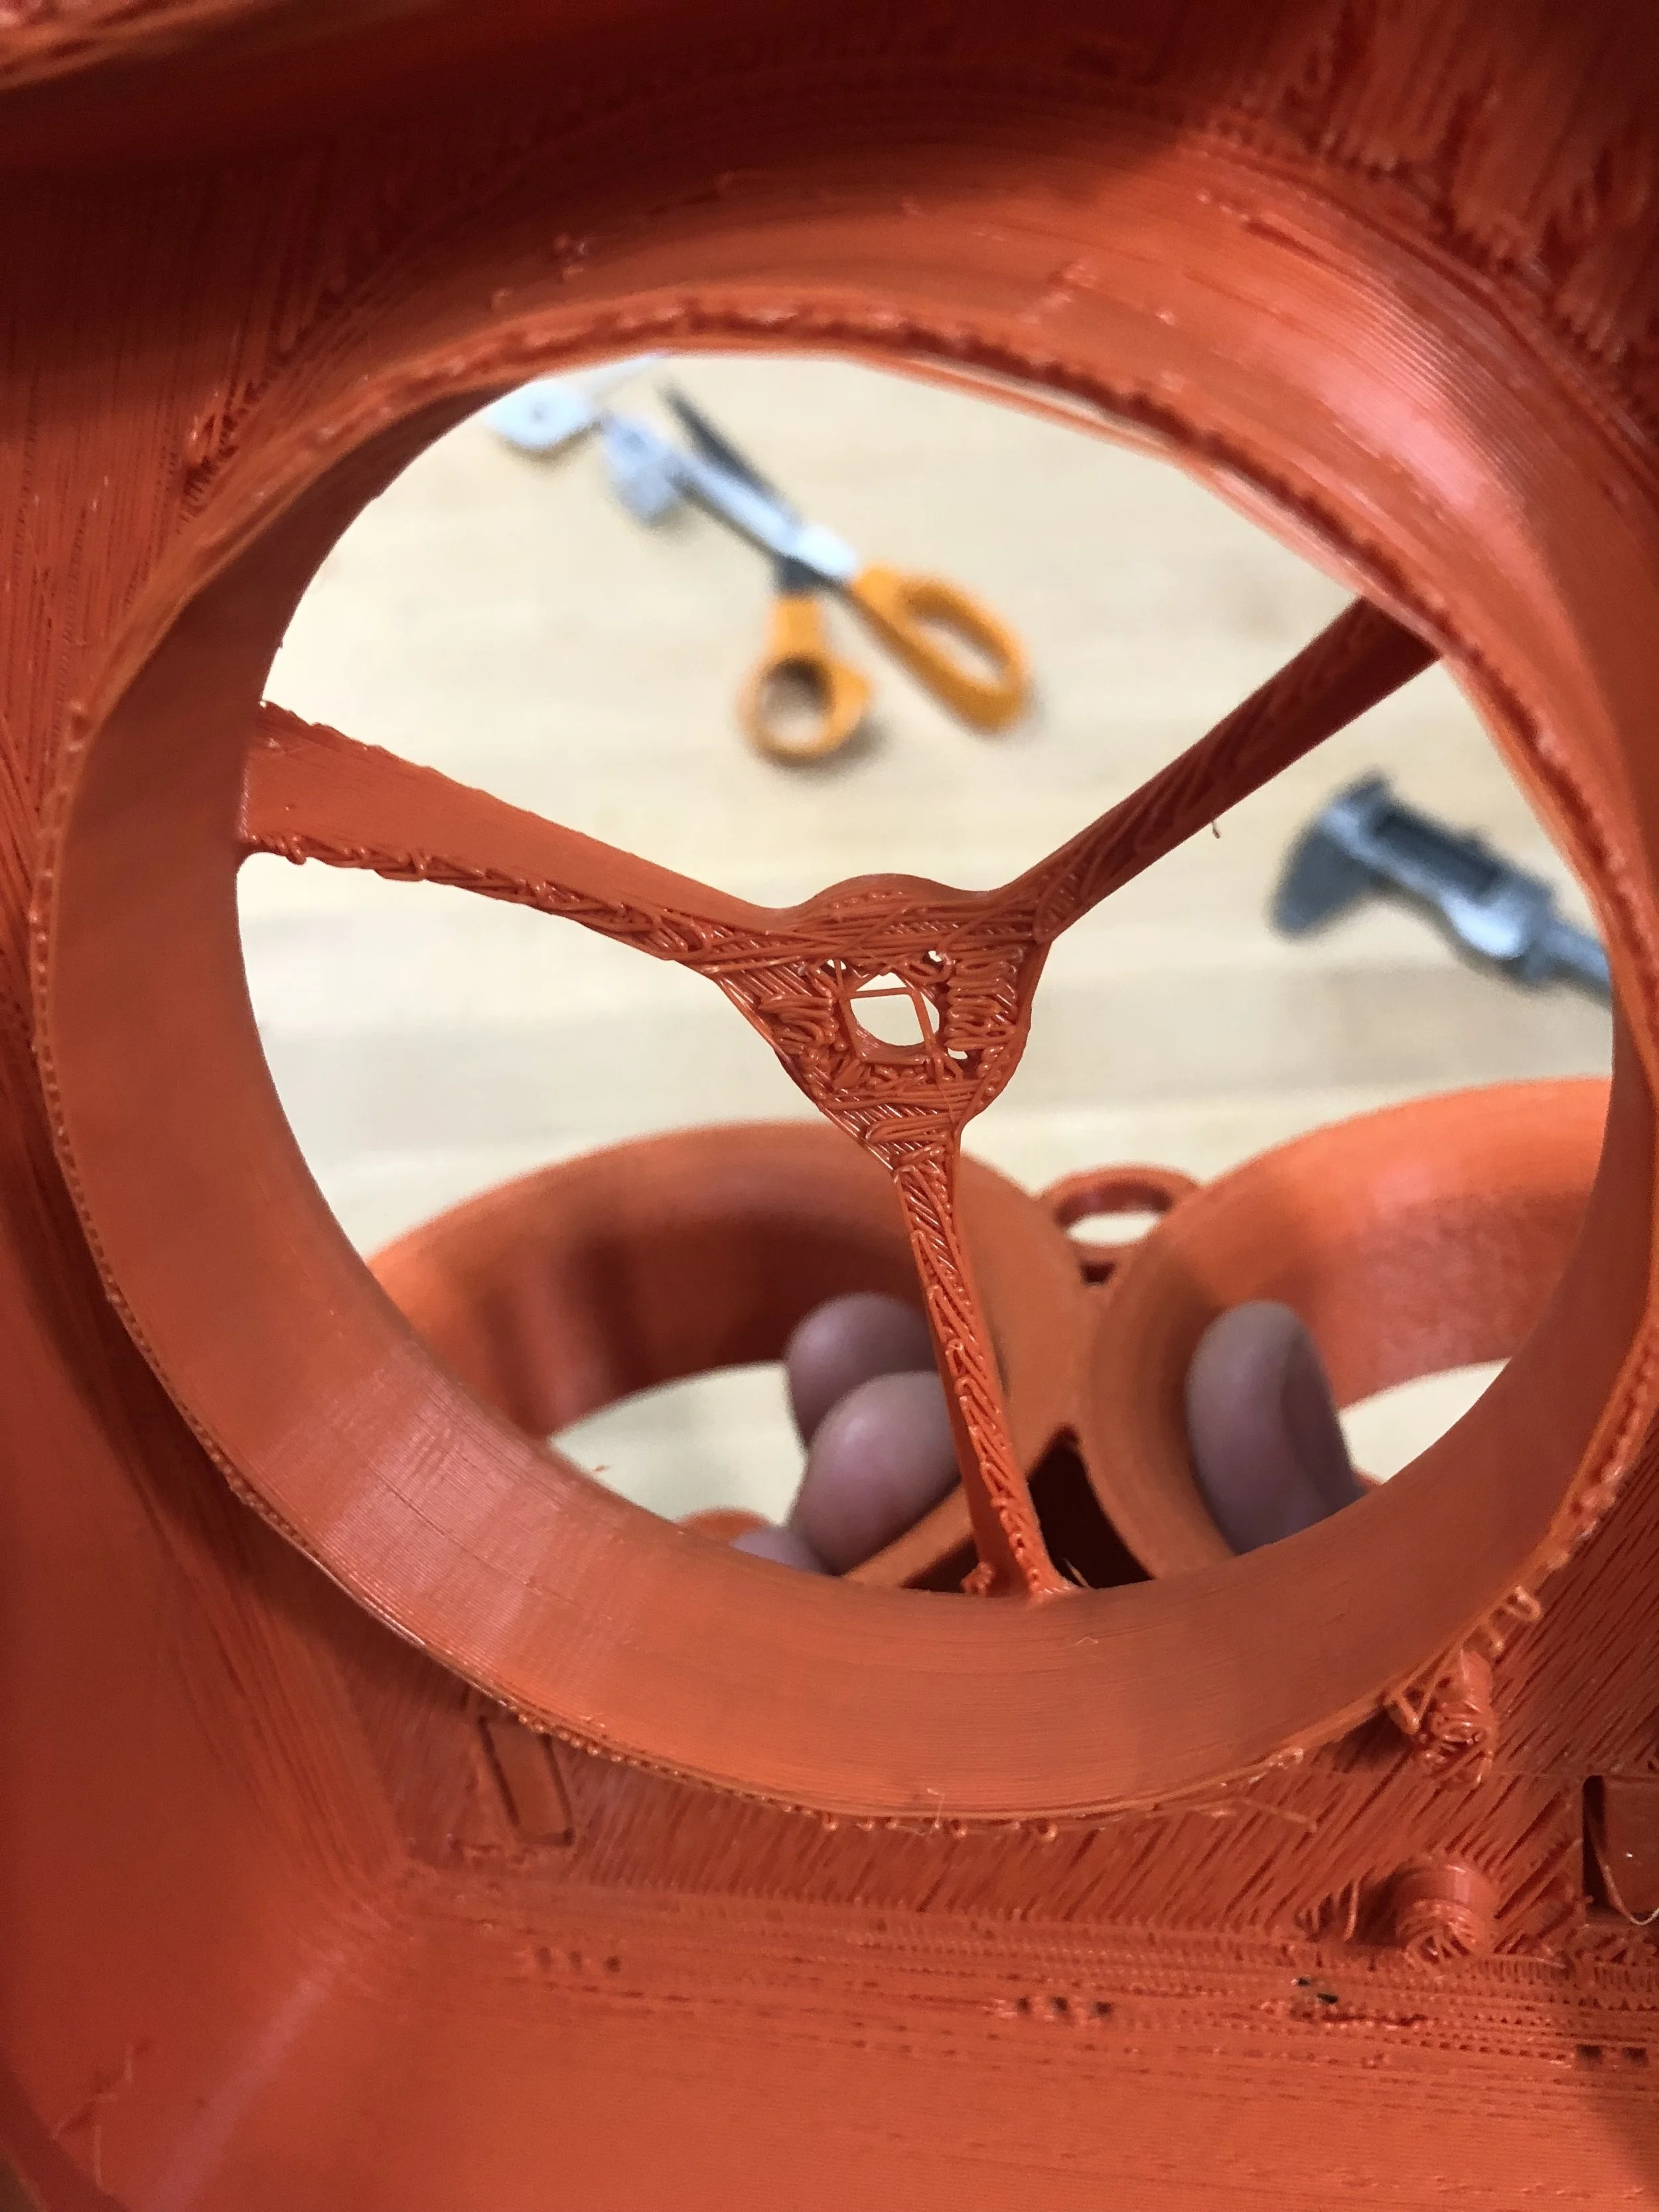
Someone accused me on Instagram of having stolen from Tom Stanton. I’d seen his hovercraft but had totally forgotten about it. This led to massive binge watching of Tom’s channel. Another Instagram user suggested angled vanes to counteract the torque, an idea Tom implemented for his paraglider. If you look closely you can see I angled the struts for the motor mount, but I think they’re probably way too small to do much, and ultimately not necessary.
I went right from the workshop to St. Louis to fly in the City Museum with Nurk, Mondo.fpv, Shawn Ames, and Flying Francis. There was a perfect space there, a big empty room with a polished floor and pillars for pylons. Here’s Nurk fpv’ing it.
I got carried away the next day and bashed it good, sending fragments flying (the SLA print was really too brittle and had been repaired quite a few times already). I got home and started printing nylon versions.
3d Printing Fever: Catch It!
The original intent of the design was to have it print upside down, with supports for the gradual transitions. I know full well that it’s bad to have a big tangent transition up from the print bed, but I didn’t want to compromise the design. Well, it didn’t print so nice that way.

Motor mount is nice, but everything else is nasty.
So I tried printing it the other way. The shell’s nicer but the motor mount is printed on supports and doesn’t get real solid for a couple layers.

Best thing about this gigantic print? I get to kill off this ugly Matterhackers nylon.
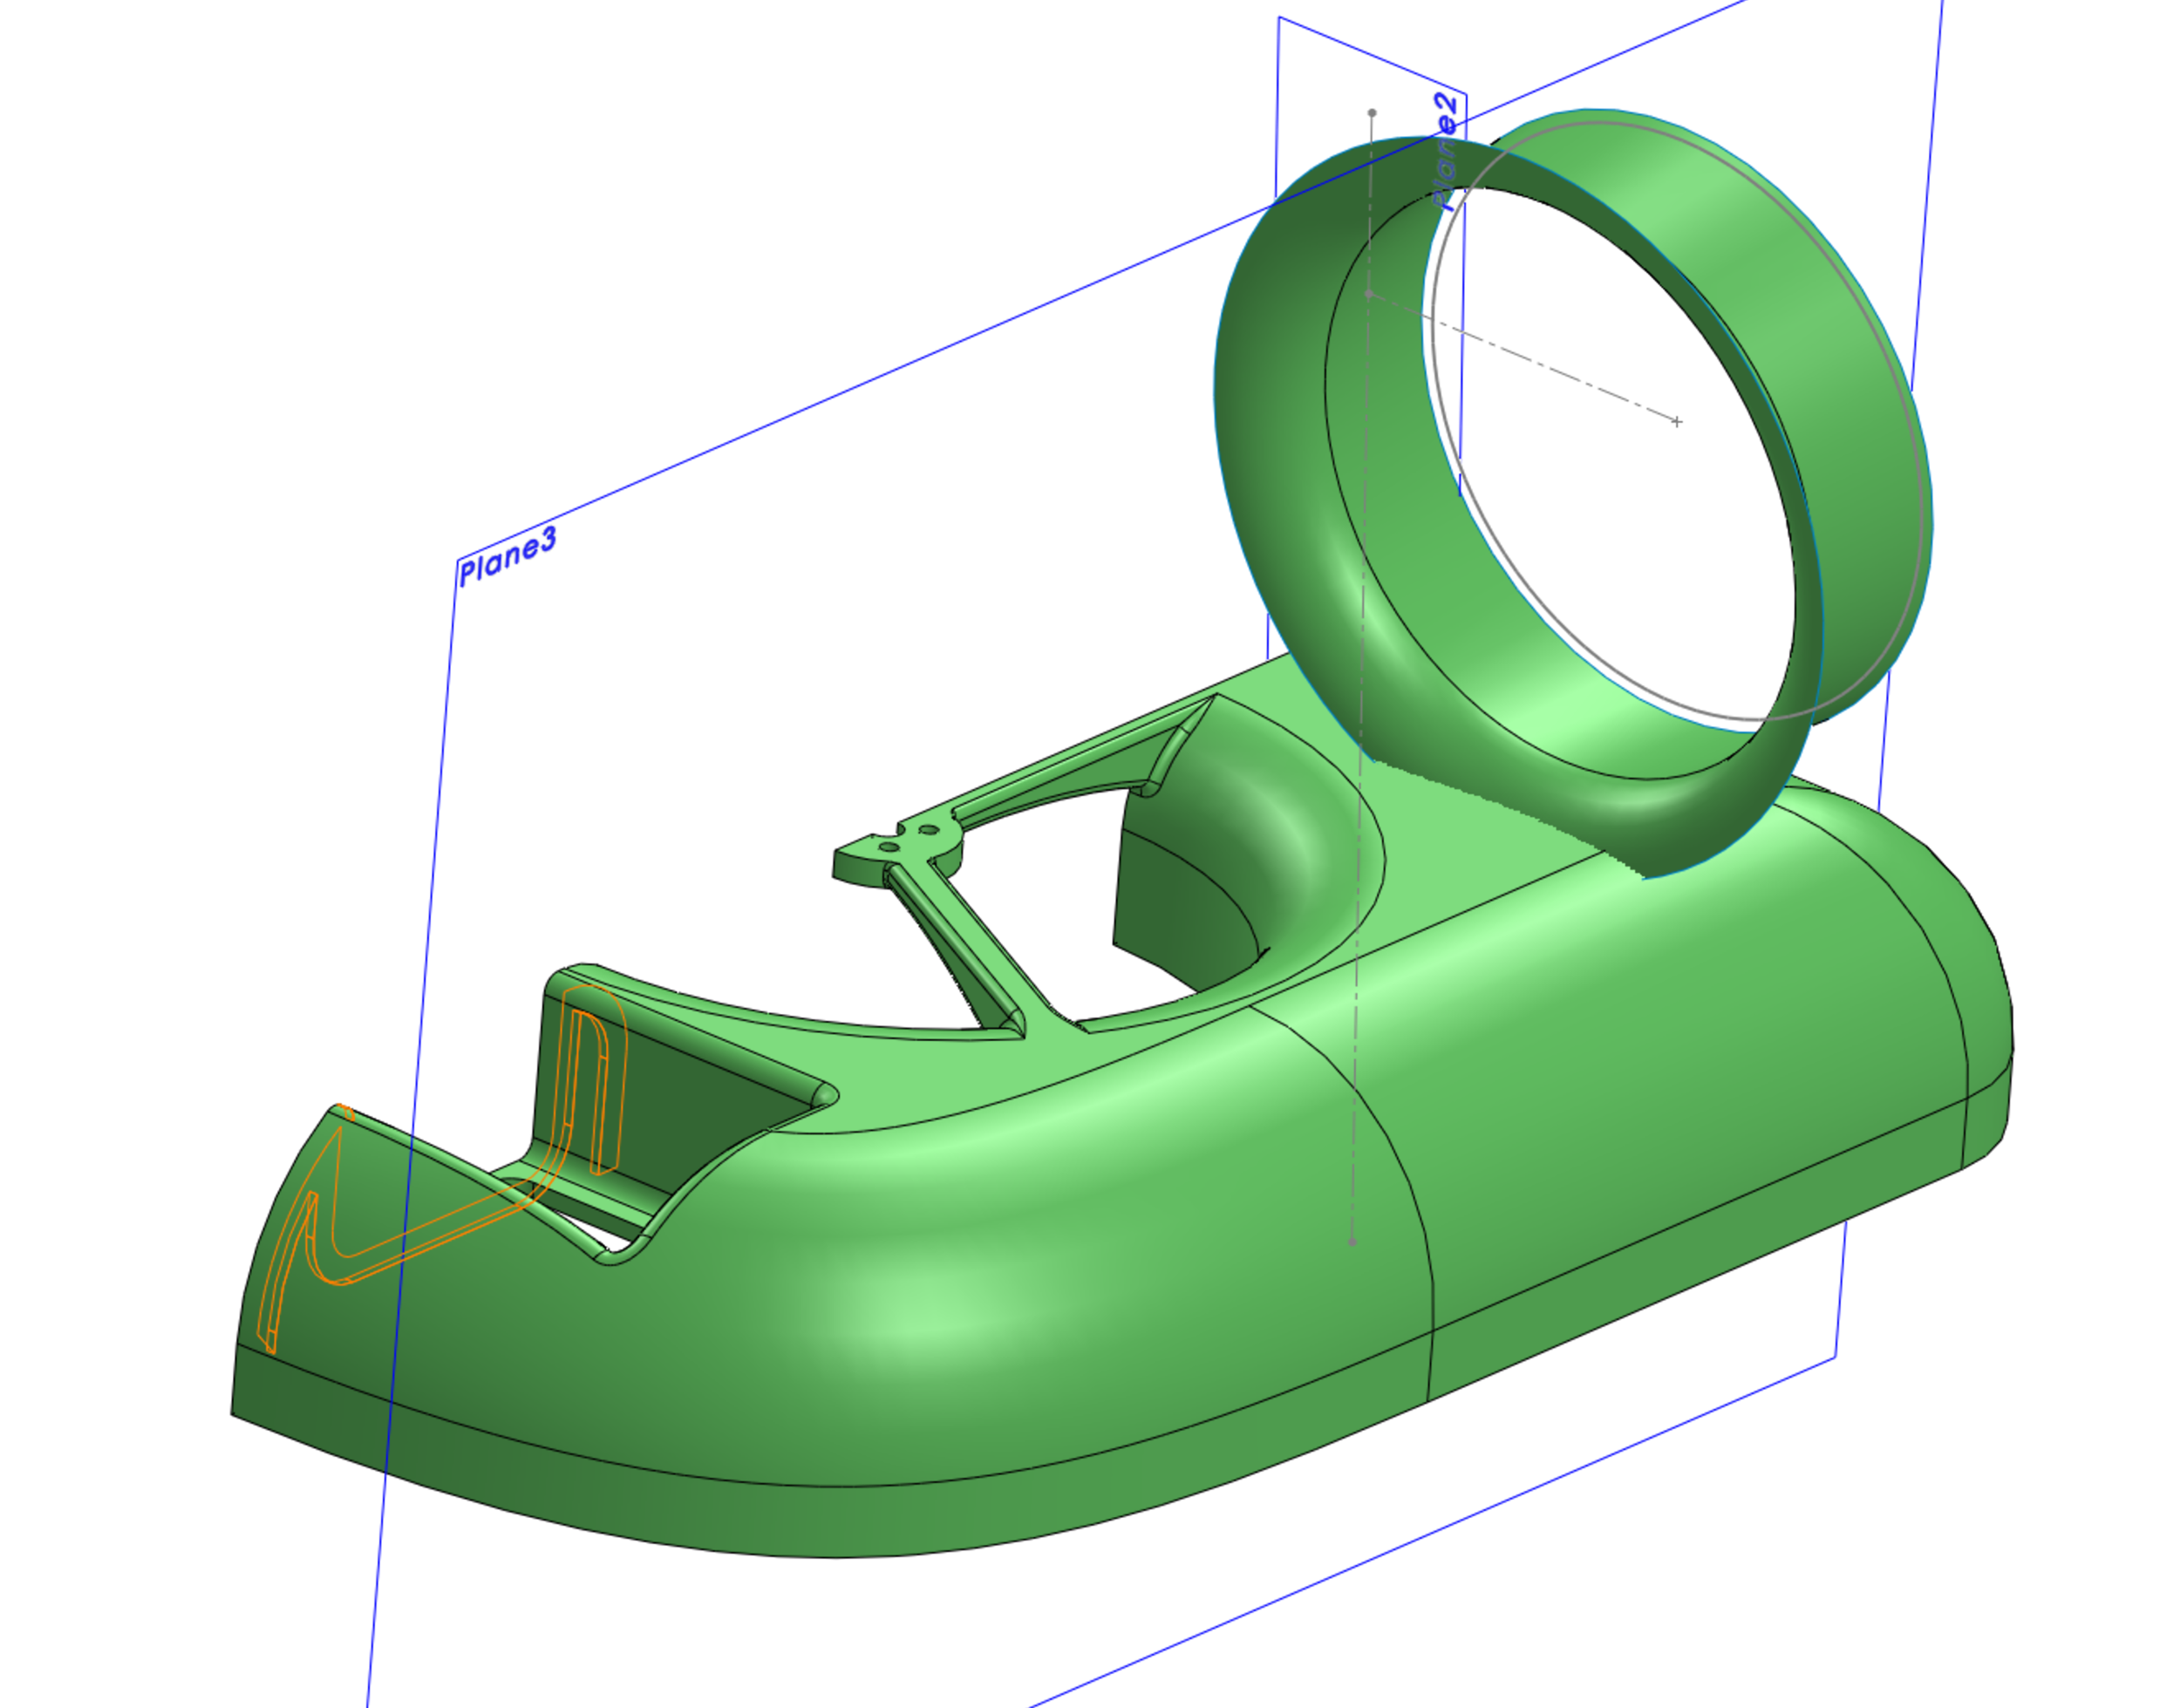
Then Instagram user mrpottersmith had the genius idea to move the motor mount to the bottom so it’d print on the bed. This meant I could extend the cowl and use it to direct airflow. I directed most of it sideways into the skirt, with some going straight out the bottom.

I really wish the design required less support to print, but I think this is the best solution and worth the time and material. I made a skirt using Peter Sripol’s technique:

Cut a piece of heavy duty trash bag 2 1/2” larger than the frame. Apply hot glue to the inner ring and glue it to the sheet.
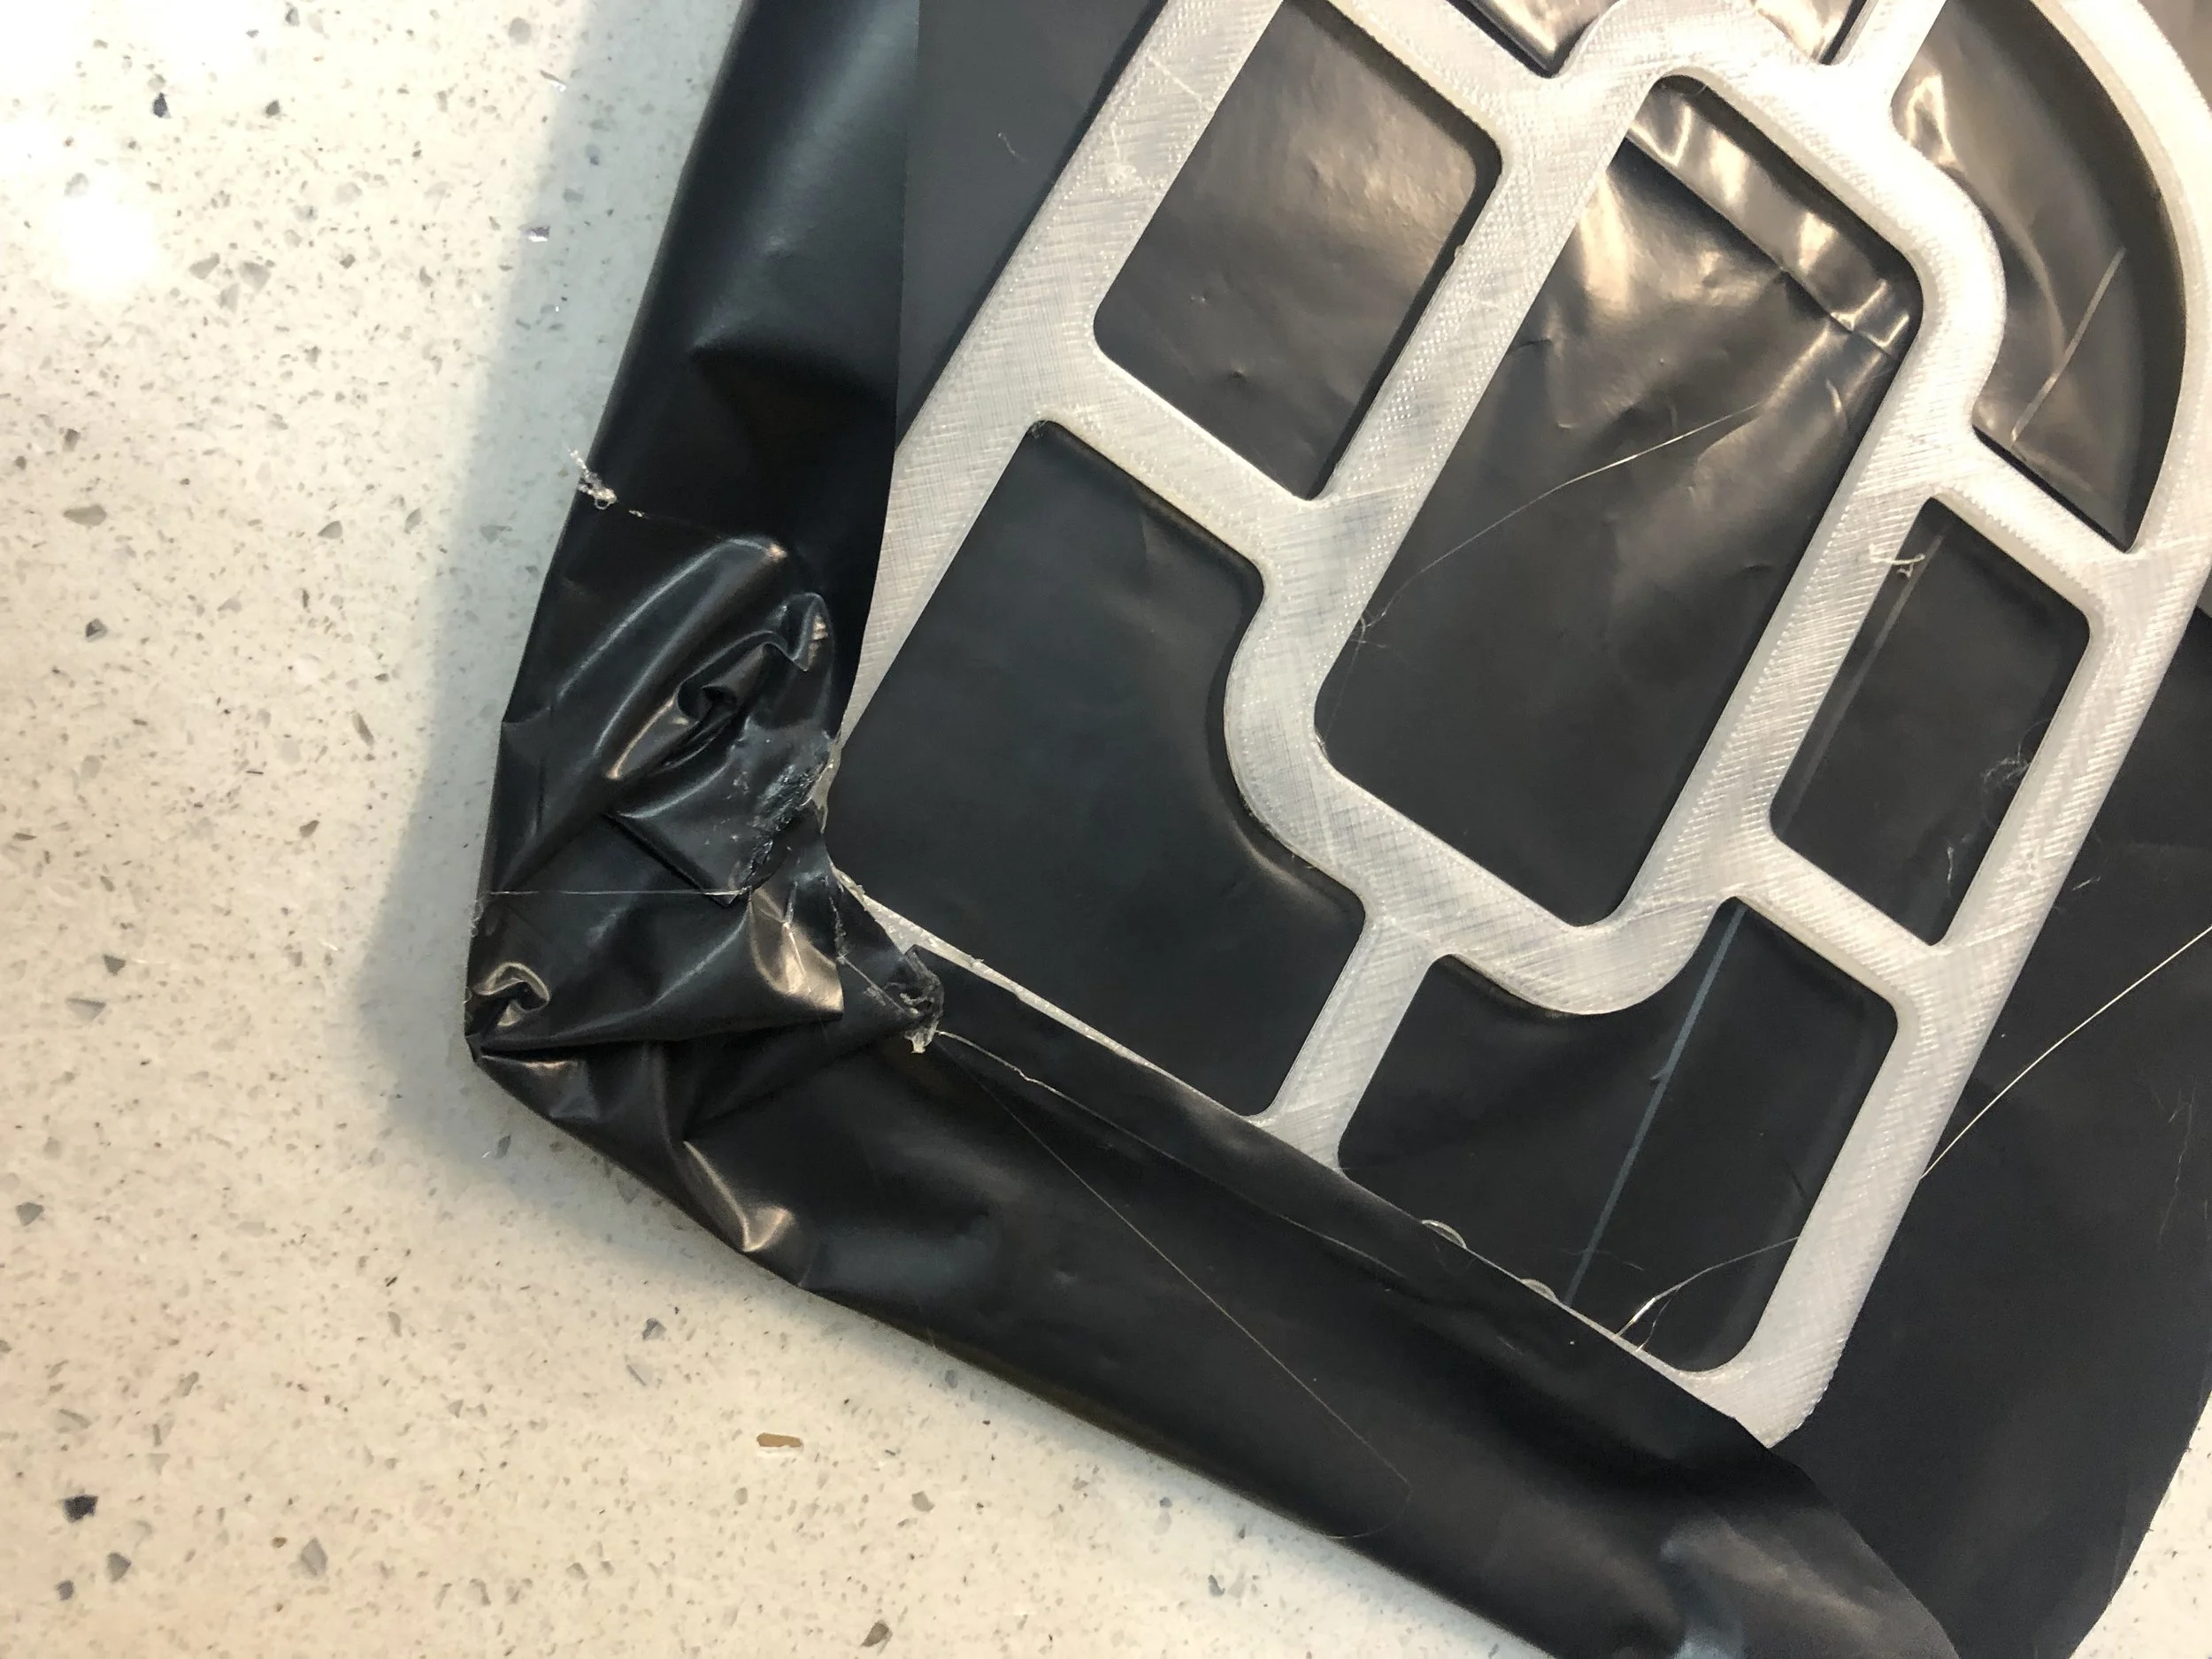
Fold it over and glue it to the outer edge. Work your way around the edges.
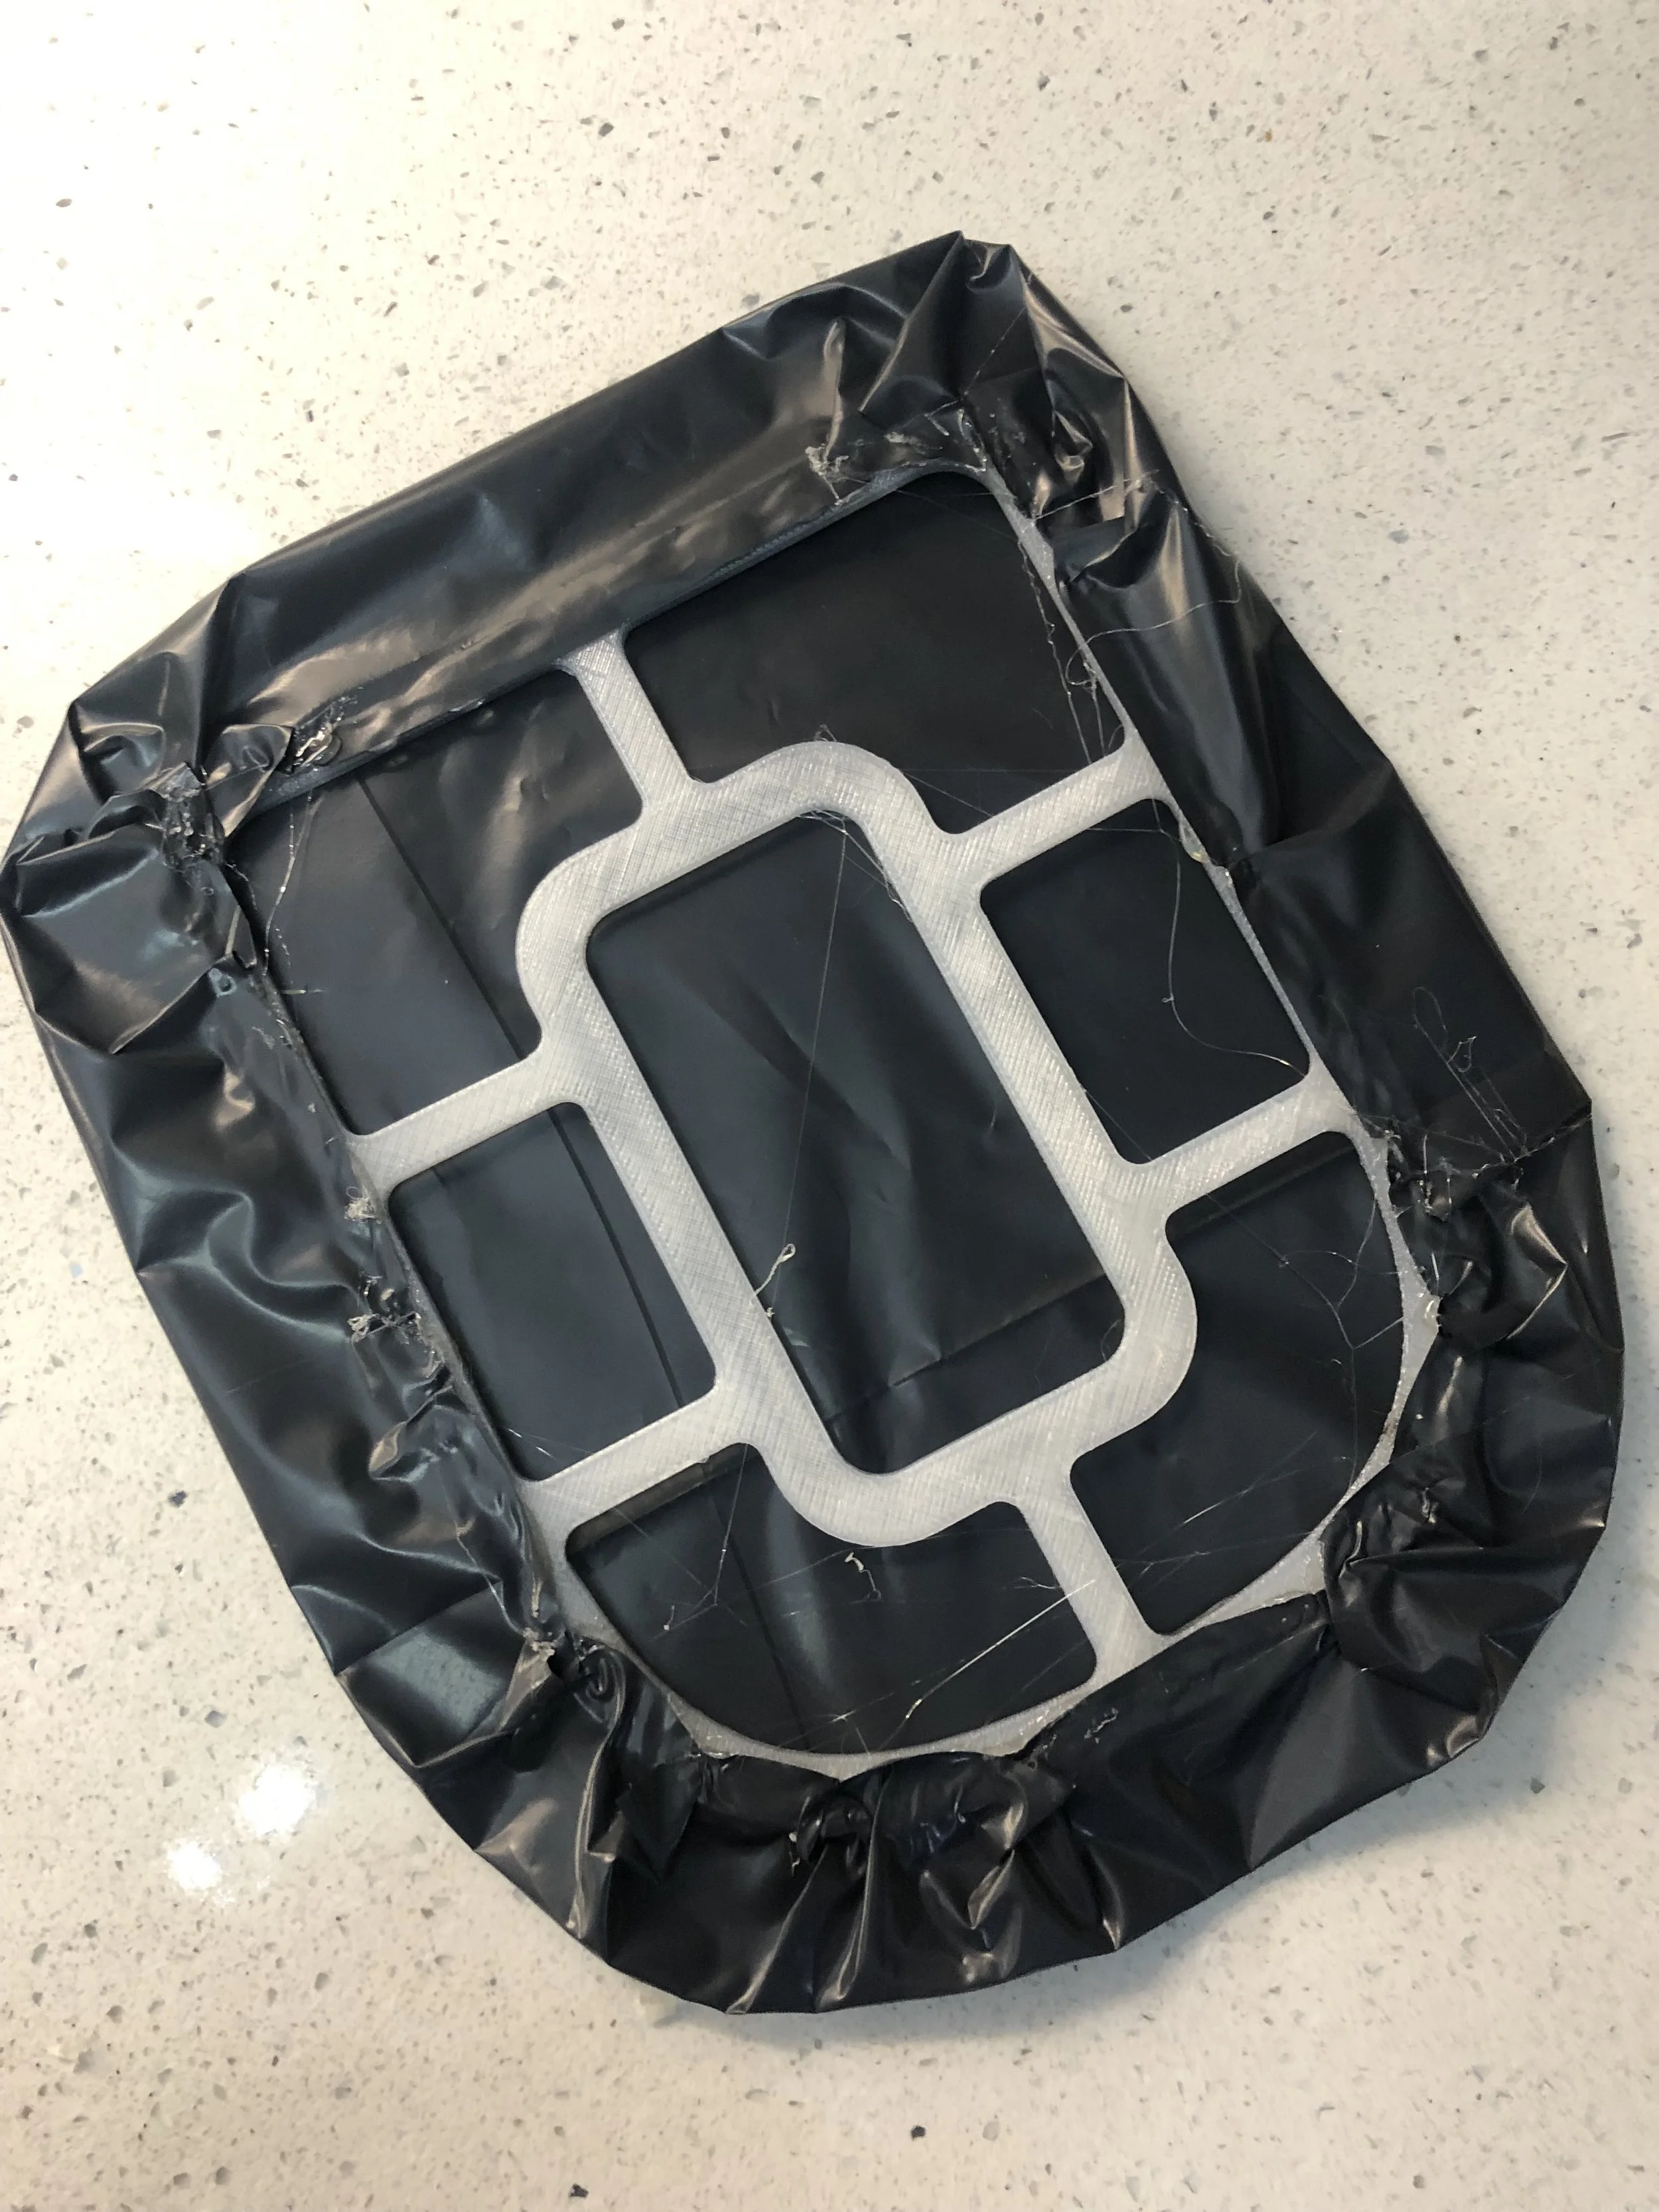
All done. Make sure no glue has oozed out and glued the frame to the bottom layer.

Cut out the middle and you’re done. Super ghetto but it works.

Hot glue the whole thing to the frame.
It was so cool to see the skirt inflate for the first time after working on this for so long.

I double stick taped a Hero to the battery and recorded a brief run. I wish I was back in that room in the City Museum so I could carve big sweeping figure eights, but you get the general idea here.
STL’s are here. There are one and two piece versions, and the main body has a version with a .6mm ‘raft’ around its outer edge to keep the print from curling. Just cut it off after printing. You can always have your slicer produce a real raft, but this uses less material.

So there it is, a CAD challenge that turned out to be pretty fun. I really enjoy driving this thing around, and I think it’s because you drive it by summing force vectors, which is a nice reminder of high school physics class. Maybe I’ll build one and give it to my nephews.
But Wait There’s More
I wasn’t going to sell these, ‘cause they’re such a bear to print. But I finally got it dialed so now I don’t have to account for all the failures, and can now price it reasonably. So if you can’t print your own, you can get one here. Also, I’ve been practicing. I never imagined it could be so fun and so precise. It’s incredibly rewarding when you nail a turn perfectly.
Quad Camp (5/10/19)
I went to SafetyThird’s quad camp in May, during which Michael Hornbeck (@doingthedoings) built a huge hovercraft. Mike was using huge impeller-looking fans taken from appliances on big motors, and he was planning on using an fc and programming it just like mine. Unfortunately he wasn’t able to make the fc send full power to the motors, so he ended up taking out the fc and wiring the esc’s straight to the rx. He let me pilot it a bit and it was eye opening.
First of all, it had a slight constant yaw thanks to the torque of the lift motor. Once I got it moving I found it strange and un-locked-in, and I couldn’t pilot it at all ‘til Mike pointed out that without an fc, it was up to me to counter the craft’s yaw at the end of a turn. Once I realized that I was able to drive it around pretty well, and it gave me a lot of appreciation for what the fc was doing in mine

Mike’s skirt inspired to me to ditch my skirt frame and glue the ripstop right to the main frame.

Fold the sheet into a wedge and cut a hole right in the middle.

Glue it to the center section.

Cut evenly around the frame and start gluing. I wanted to try a tighter skirt so there’s just a one inch offset.

All done. A little too tight, but drives fine.
And here’s a video to verify the fc’s work. The second burst of throttle at the end of each turn is from the fc, not me, all I’m doing is returning the yaw stick to neutral, not overcorrecting.