Hydrophobe
Gab and I made the Pequad, a waterproof floating quad for marine research. So, of course, you know where this is going. We had to make a 5” cine quad that can endure Gab’s wet rainforest shoots and cover water sports as well.
I once attempted a waterproof frame and I tried to do it the cool way, with the drone frame doubling as flotation. I failed miserably at being cool, so with the Pequad I went the uncool way, with the frame sealed and waterproof but not voluminous enough to float on its own. Pool noodles or custom hot wired floats kept it from sinking, kinda ghetto but super effective. What was super cool, however, on the Pequad, was the heat sink that kept the components from overheating in the airtight chamber.

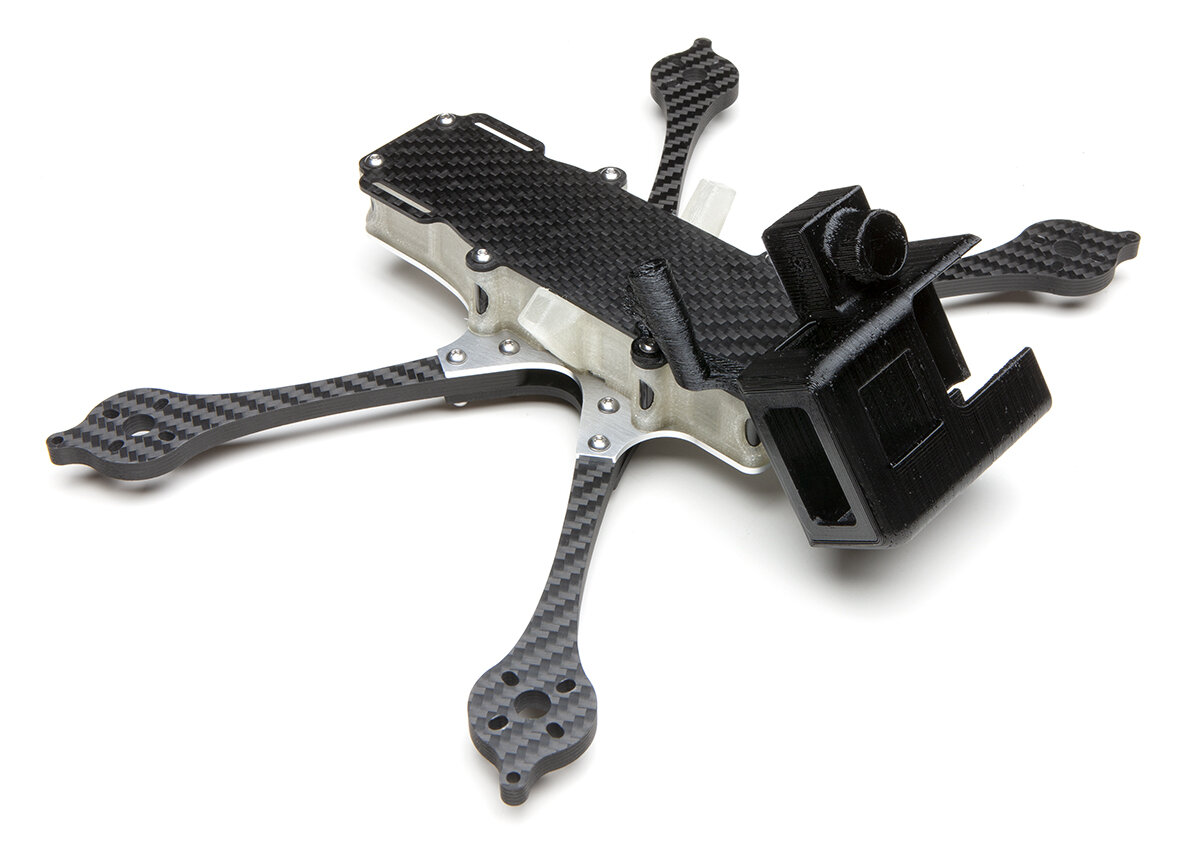
Now, Pequad is a large 7” frame. I figured that on a smaller 5” quad, I could simply make the middle plate aluminum and mount the vtx and esc to it with thermal paste. No need for a complex 3d cnc’d heat sink.
I drew up a 5” frame, using Ichy Jr’s Hero mount. I made the bottom plate 3mm carbon to compensate for the more pliable aluminum mid plate. The stack is just over 20mm, so that I could embed 20mm standoffs in a TPU skirt, with a little extra height to squeeze the TPU nice and tight. The skirt is 2mm wide at the top and bottom for a better seal, tapering down to 1mm in the middle to save weight. My build was full DJI so the only things piercing the skirt were the motor, camera, and power leads, as well as the air unit’s antennas. Gab’s using DJI for video and Crossfire for control, so he’ll have one more thing coming out of the skirt.

The parts came in, and I quickly discovered that I sent an older version of the aluminum mid plate to the factory. The outline was fine but the fc holes were in the wrong place. I used the plates as drill guides for each other. I also tapped the holes so that you could (hopefully) screw in the fc screws with plumber’s tape for a watertight seal.


The first iteration of the skirt had the DJI antennas fully enclosed. It was so hard to get them plugged in that I changed it to the open design shown in the rendering above. This got them away from the carbon and aluminum as well.

Make sure bottom out the standoff so it’s just below the top of the skirt. This means the top plate will compress against the TPU instead of the standoff.
Anyway, the frame is…kinda hot. Something about that combination of white tpu, black carbon, and silver aluminum. Here’s some sexy sexy pics.


There’s that super thick 3mm bottom plate.

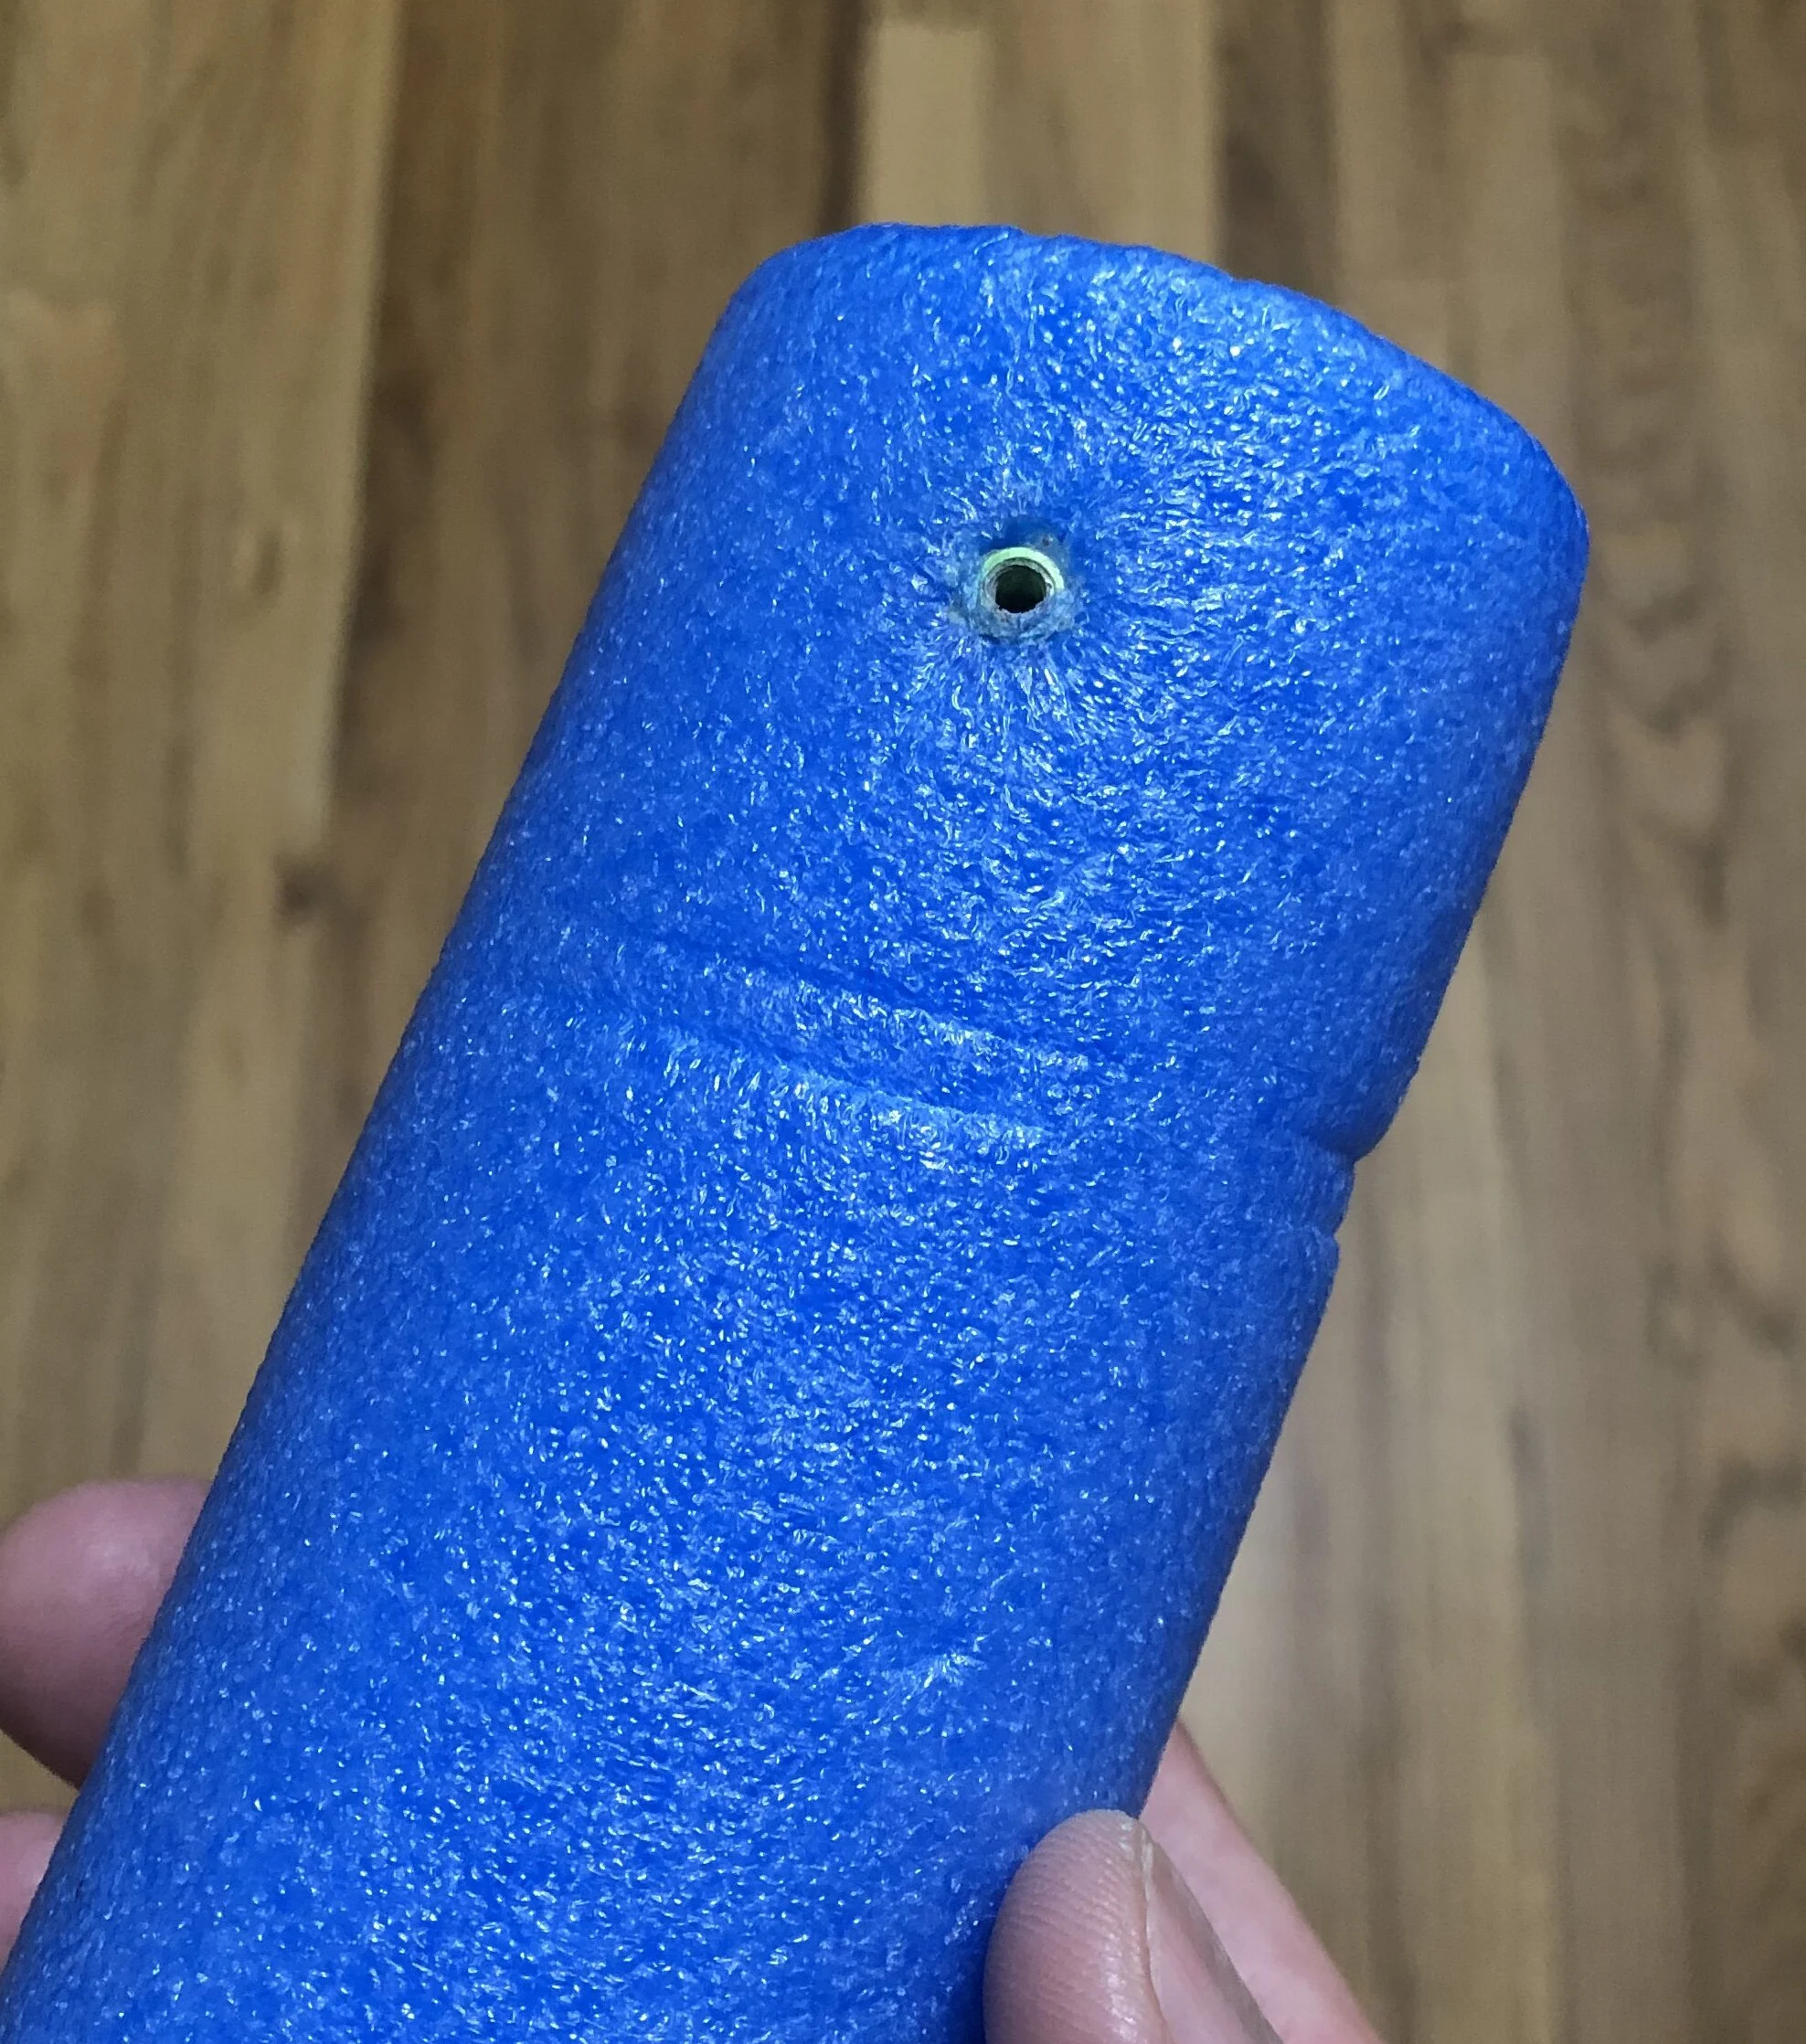
I might eventually have hot wired foam floats made, but for now these pool noodles will do. There’s 40mm standoffs epoxied in them, super simple and effective.
Soooo high tech.

20x20 only. It’s tough enough wiring this thing up in the enclosed space. Once I got a good dry fit I reattached the skirt with silicone.

And she’s all closed up, with the redesigned skirt. I’ll pump silicone into the antenna arm holes to seal them up. Note how the battery strap goes around the whole frame, so jolts won’t stress the seal.
I took it out across the Hudson to the Jersey side for its first dunk test with an old friend from my photo days. Not being a quad guy, he walked right in front of me on the first hover, blocking my vision and making me drop it in the river upside down. Oh well, I wanted to see if it’d turtle over in the water anyway. Sadly, I quickly discovered that there’s no connection with the antennas under water, so I fished it out and tried again.
When I armed it only three motors spun. I thought that it might’ve taken on water, but it turned out the muddy water had clogged up one motor, so I worked it loose and rinsed it out in the river. One minute into this beautiful new build with all new parts, and I’m already dunking it in the Hudson to clean it up.
Once the motor was freed of the grit I was able to get some flights in with water landings.
You can definitely land and take off safely, but if you end up upside down you’ll have to go retrieve it. After a few more flights and a few more attempts at turtle mode it took on enough water to not arm any more. Still, it was a good start. With a better sealing job and conformal coating it should be pretty reliable. In reality, you’d never want to land in the water, as you’d end up with a wet lens and unusable video anyway. The floating feature is really just a peace of mind thing for flying over water.
I got it home, opened it up, and stuck it in the lower compartment of my filament dryer. Couple hours later she was all well again.

Next I waited for a rainy day. Gab had already flown through clouds, snow, and rain with his, so I knew it’d handle it just fine, but I wanted to try it myself. (Check this Insta post from Gab). Being a non driving Manhattanite, there weren’t a lot of options for a flying spot with some shelter for me. I chose this playground with a bus stop just outside. It was a good plan until the winds turned around and drenched me.
Meanwhile, Gab was busy shooting snowboarders. Check out this Insta clip. Make sure to turn the sound on to hear how little throttle is being applied. He’s flying with massive negative tilt so he can descend the steep grade at snowboarder speeds. I have no idea how he can fly so well with negative tilt.
He may not be landing in water or flying in rain but it’s nice to be able to fly through and land in snow again and again and not have a worry about the electronics. He used to bring 4-5 taped and conformal coated rigs to these shoots and go through them as they failed one by one. This time he made it through on one rig.

So, I know I can fly in rain and land in water (at least a few times). Next I wanted to see if I could submerge it for a while. I stuck it in a pan and…it wouldn’t arm. Back into the filament dryer, and the fc and esc are fine, but the air unit wouldn’t turn on. I thought I’d killed it but then I realized it was just the 12v regulator which, enclosed in heatshrink, was still wet. A few more minutes in the dryer and all was good. Phew.

My first attempt at sealing was with silicone, and in taking it apart I noticed that it bonded with the carbon but not the tpu. Gab suggested Goop so I used that for the second go round. I also half submerged it to test the bottom seal before putting on the top. I found it took a lot of Goop to get every last leak. Since this was a proof of concept I forgot about aesthetics and piled it on. I got the bottom half sealed, put on the top, and submerged it again. No dice again. Waterproofing is hard, man.
So, maybe you’re a ninja with waterproofing, but I’m unable to make it perfectly submersible. The power leads are especially problematic since they flex. So as far as I’m concerned, it’s good for rain, spray, snow, and quick water landings. Just don’t expect your electronics to stay dry if you crash upside down in water.
I assumed that the fpv cam would get ruined, but so far it’s held up. Lots of silicone!

Meanwhile, Gab and I worked on shaving a few grams off the frame. We slimmed down the aluminum as much as we could, and milled out the center section. We slimmed down the tail as well, resulting in a 20g loss, down to 201g.

Save a couple grams, leave a spot for thermal paste…
A quick note on esc mounting. A kind tester mounted his esc flush against the aluminum, and it shorted out. Don’t do this! Leave a gap and fill it with thermal paste, but don’t let your esc directly contact the aluminum.

Clear TPU should stay almost as cool as white, and you’d be able to see if you’ve taken on water.

I added an Immortal T mount, since the hot combination these days seems to be running DJI for video and Crossfire for control.

And here’s a skirt for analog or the Caddx Vista. That’s a 17mm enclosed tube for the antenna.
