Rapture
I'll never be accused of being a savvy businessman, and my tendency to instantly obsolete some of my existing designs is testament to that. A smart businessman would sit back and let a model sell for a year before making changes, but if I don't design then I'm merely the Shendrones stock boy, and who wants to be that?
So if I'm to be a responsible adult, I'd have to work on a totally different frame, and something popped up after Sebring. A couple local guys came back and couldn't stop talking about how cool Shaun Taylor's plus quad looked in the air – there's my opening.
I've dabbled in plus quads before, but back then my thinking was to make the frame as small as possible. Mitsuko was almost as small as a 4" rig could possibly be, had massive authority, was hell to tune, and always felt like it was just barely under control, which kinda made it exhilarating to fly. Then long frames came around and it made much more sense to treat pitch and roll differently – stable on pitch, snappy on roll. A long plus is the logical next step.
Ark Nabbit thought that the long plus format may give the rear prop the cleanest air, and suggested pushing the rear prop even further back for cleaner air. I countered that a smoothly shaped aeropod would send much less turbulence to the rear prop than a flat top plate, so I moved ahead with a symmetrical design.
There's one last reason to try a plus. Mifune might be an X, but in reality it's more like an asterisk, in that the main fuselage is another element. The plus' fuselage would blend right into the front and rear arms, potentially saving material and weight.
The first thing I whipped up was kinda like a plus Orca, so we called it the Plorca, and it came in 4" or 5". Testers went out to the crew and the general sentiment was, at first, "it's a quad". Then over time the guys grew to really love the way it tracks and holds a lean.


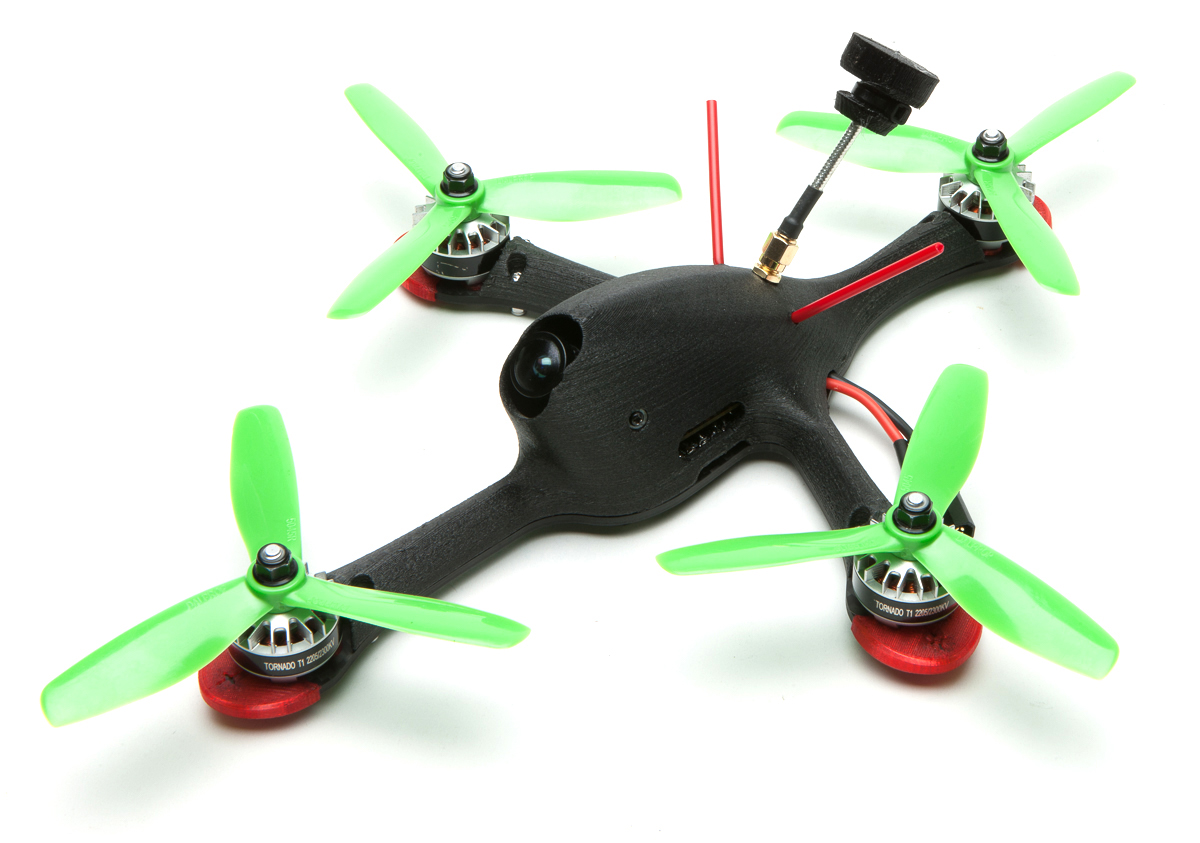
Nylonx pod is hawt.

The design seemed done, but for one thing. With the side arms emanating from the middle, it's almost impossible to avoid the battery strap slots. This creates a real weak spot for the arms, and sure enough, I managed to break one in a collision with a fence.
With the Plorca flying well, thoughts naturally drifted to a full canopy version. Emax just came out with some really small 30 amp dshot ready esc's, and I thought they'd be great to fit vertically inside the arms for maximum drag reduction. So the next step was a plus Mifune that incorporates everything I've learned since the original.
I wanted to try something extremely low profile, so I dropped the fpv cam down just above the baseplate, and moved the fc stack back to make room. I still hadn't solved the arm/battery slot problem, but at least now the arm's reinforced by the canopy.

The Mifune has bolts threading into nuts on the main body, while the bolts on the ends of the arms thread directly into the 3d print. I reversed that here, with bolts threading into locknuts at the ends of the arms and threading into the print in the middle. The other big change is that with the esc's mounted vertically the arms are now just 12mm across, which should result in even more thrust savings. I'm going to say it's 'aero and narrow' in the infommercial.
The last 'feature' of the frame was a total lack of usb accessibility – the arm's right there. I put a Furious Passado in there so at least I could stick tune with OSD, but this was hardly ideal. But hey, it's an experimental prototype, right? Tellingly, several team pilots asked to build Plorcas, but no one wanted try a frame that only took one brand esc and had no usb access.
My build turned out to be incredibly tight (I hadn't thought about the space taken up by esc wires!) but I managed to cram everything inside. I used some old XNovas and the result was gorgeous. The boys dubbed it Miplune.

See the esc's in the arms?
But then one motor turned out to be bad, and a few flips on takeoff later it was rebuilt with Brother Hobby motors. I transferred the pids over from Plorca and it flew great right out of the box. With a switch to PT1 and gyro filters turned off it was a dream, just the smoothest quietest quad ever.
I found the Emax esc's to be a bit fragile, and I didn't want to create a design that could only use them. If I used a 4in1 then I could make the arm fairings lower for some weight savings.
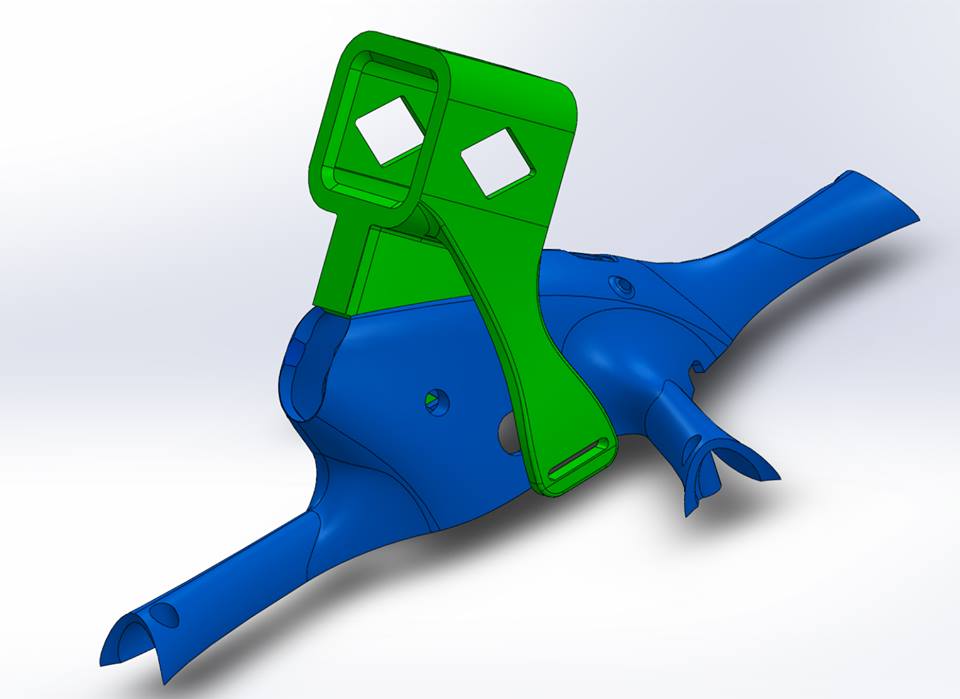
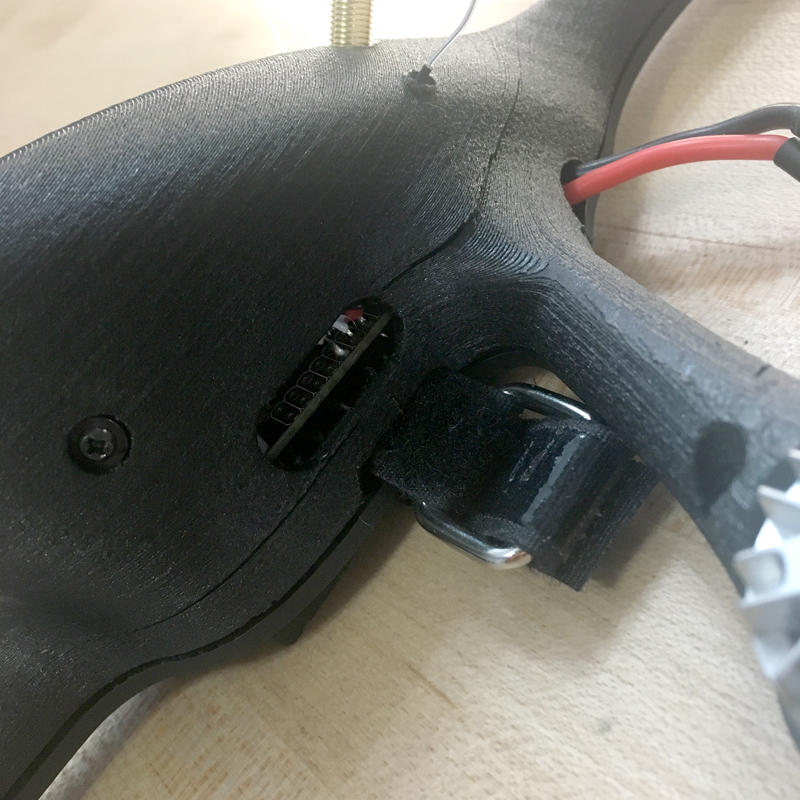
Then it occurred to me that if I swept the arms forward then I could have access to the usb, and I could also run the strap around the entire frame Orca-style and completely eliminate the strap slots. And it'll look cool!
The front prop was in view with the super low profile canopy (I don't even notice it while flying, but why not fix it), so I moved the fpv cam back up, and moved the fc stack just slightly ahead of center. Everything else flowed from there.

I just love how the entire pod has a tangent transition to the carbon, making one seamless shape. As much as I love Mifune it has a few hard transitions between the carbon and the pod.

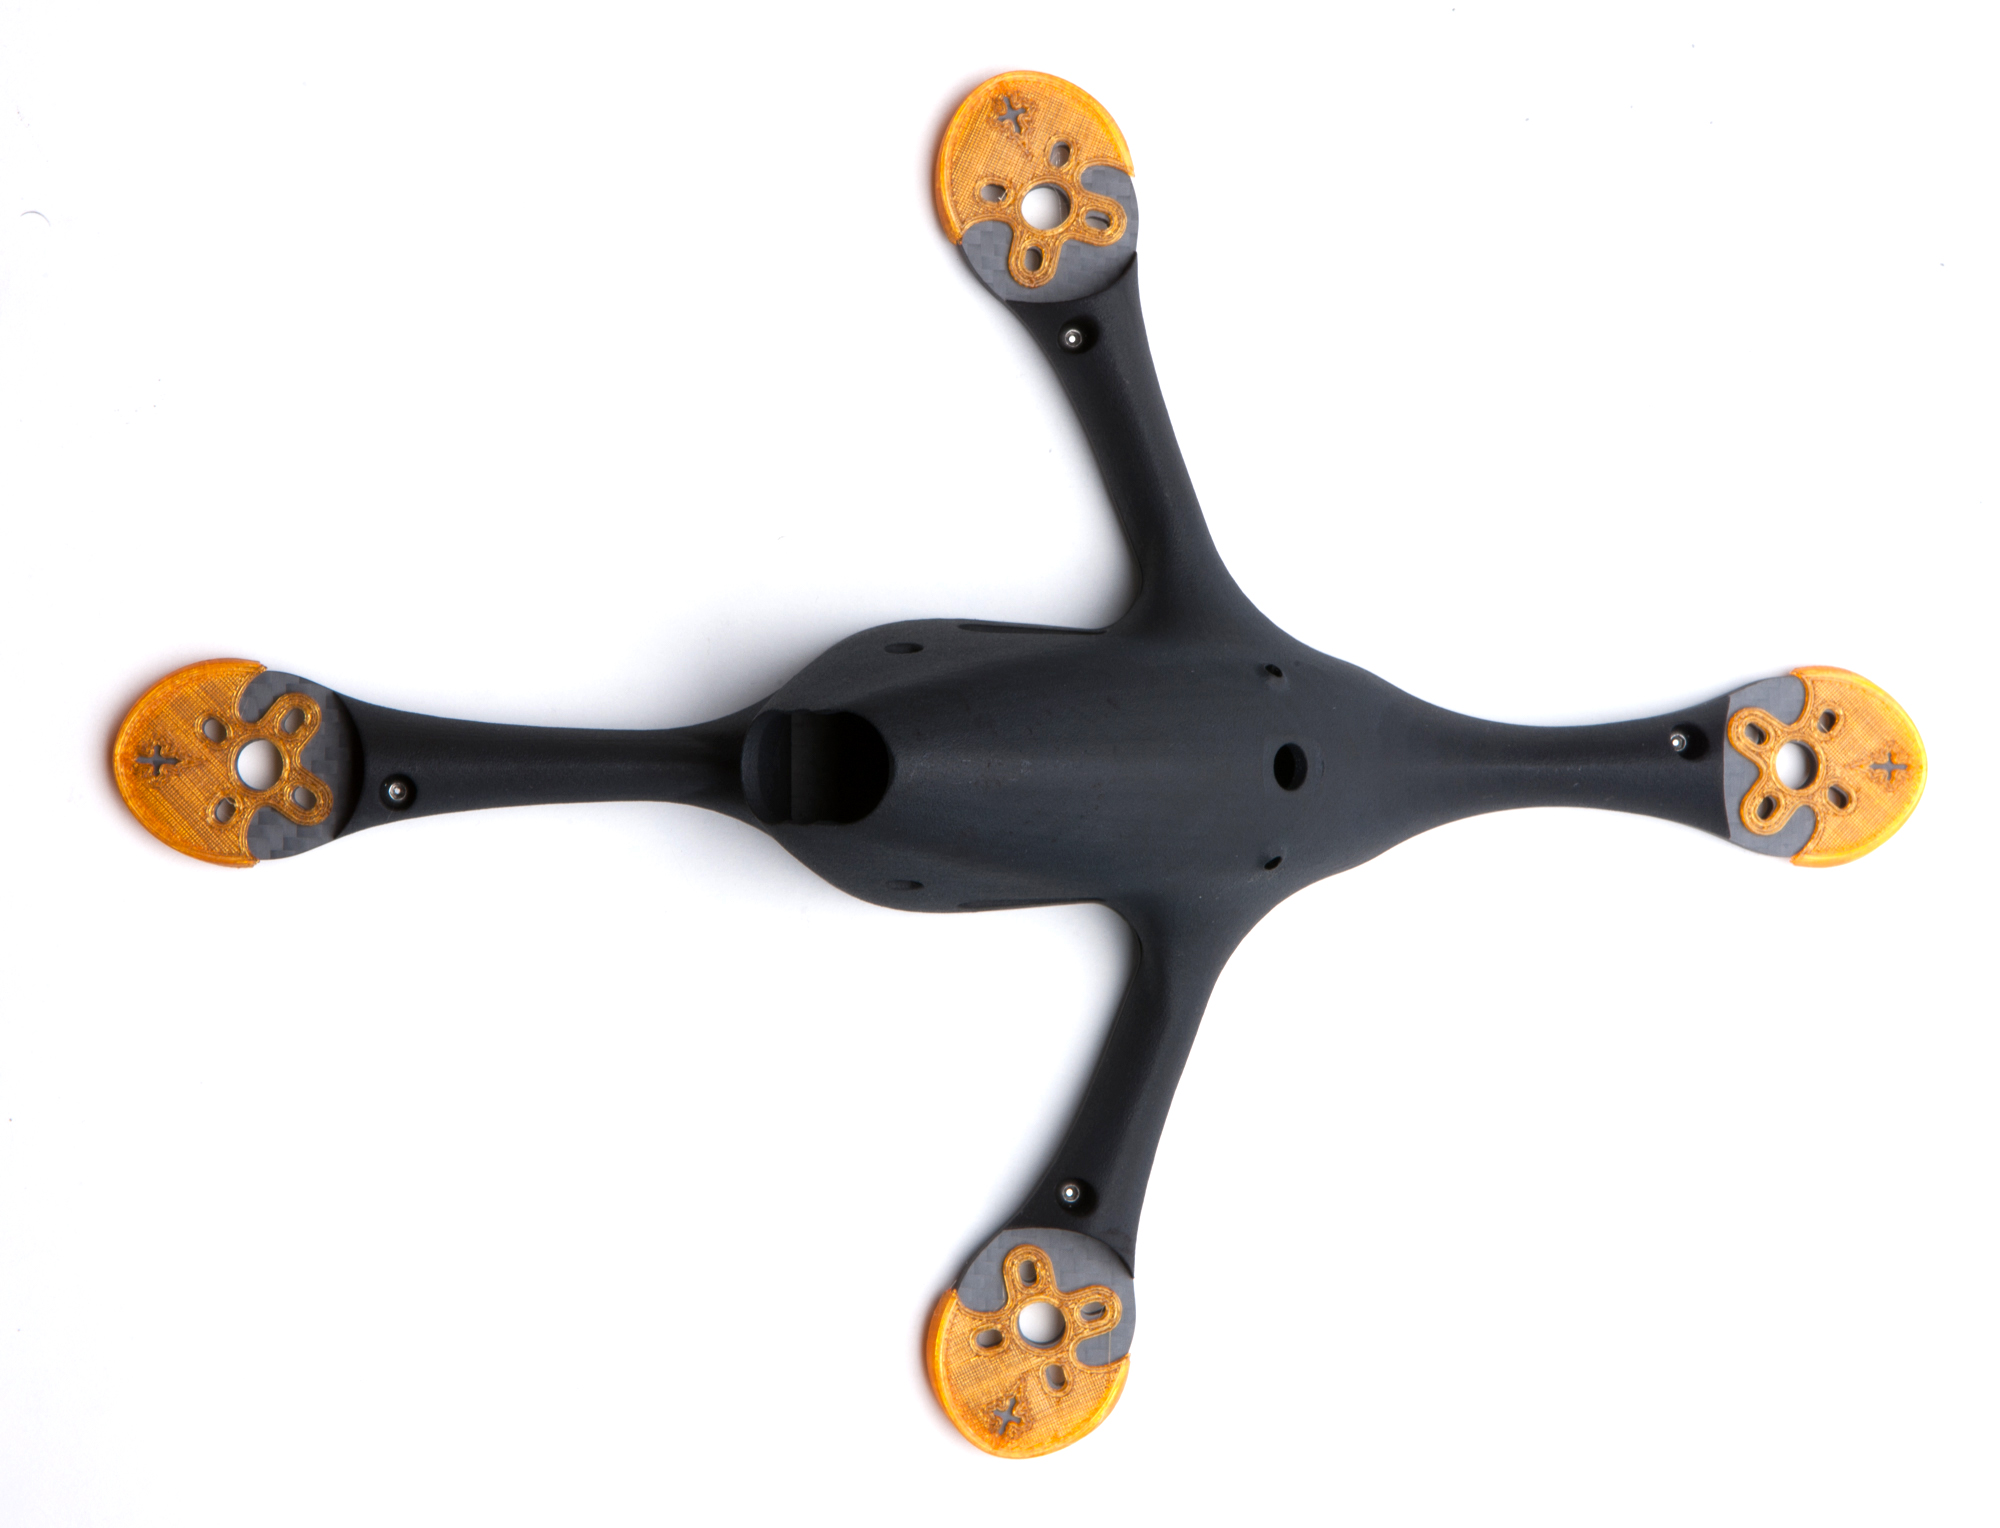
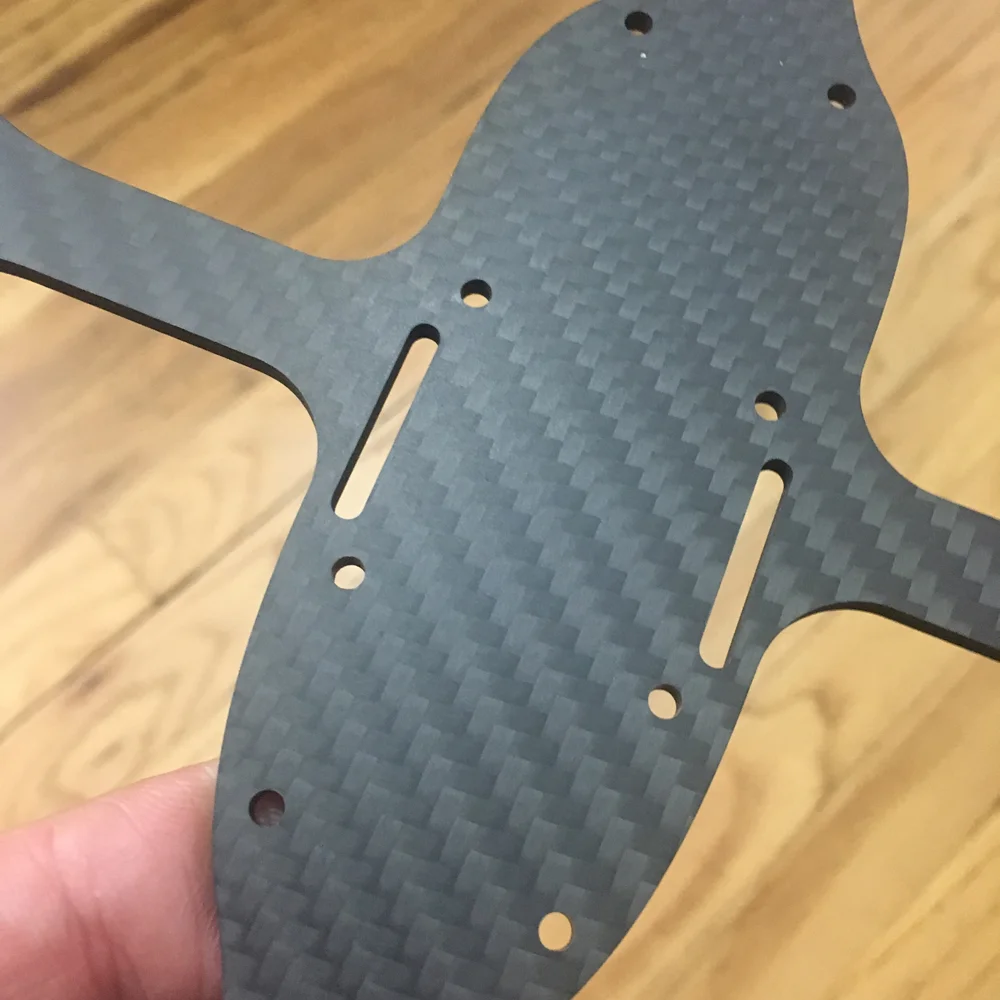
Now the bottom plate has no cutouts, just m3 holes. It's 3mm thick so every bit of strength gained is a plus. The lower arms shaved 10 grams off the canopy.

New canopy vs old, the new one is black.
Meanwhile I got to enjoy Betaflight's new PT1 filtering with the previous build while waiting for new carbon to arrive. I wish I had a working KK2 build so I could feel how far we've come, this thing just flies so well.
I also clipped a branch and smoked an esc, further confirming my choice to go to a 4in1 in the next iteration.

Damn esc took out the Kombini too. The smoked nylon pod's still going strong.
I kept flying and enjoying the Miplune 'til new carbon showed up. I was a little excited when it arrived to say the least. I grabbed some motors from an older Flaco build, a new Aikon 4 in 1 30a (it's just the right form factor for this, since it doesn't protrude past 36x36), and took the rest from Plorca. A Kombini isn't ideal to use with a 4 in 1, but it interfaces so easily with the Passado I couldn't resist. The worst part of the build is having to extend every single motor wire, thanks to the odd plus layout. Even with a triple stack everything fit under the pod easily. Even though it was specifically designed to fit a triple it was a relief to close the canopy the first time.

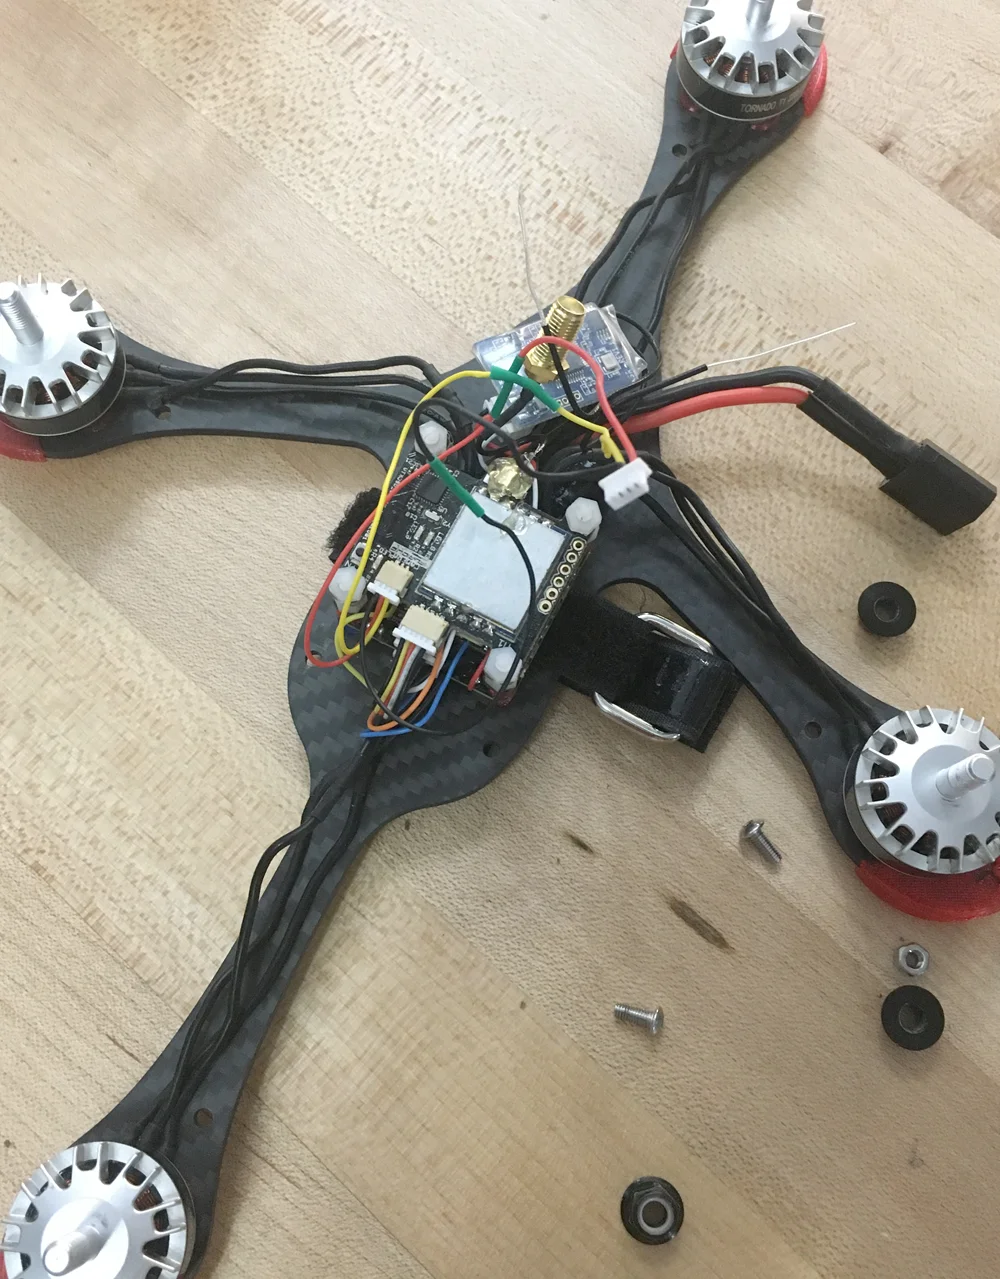
They're all clean builds once the canopy goes on.

Using the same settings as Plorca, it maidened beautifully. One motor was warm, so I turned the second gyro filter back on, and it went into a death spiral and split the canopy. Try as I might I just can't get prints as strong as Chris Griffin's.
So it was back off with the second filter and it flew great once again. Meanwhile, just out of idle curiosity, I decided to try a canopy with some Ninjatek Armadillo I had lying around. Black and red Armadillo look pretty flat but blue is iridiscent for some reason.

I'd been really into Nylonx since Micheru for its incredible strength and stiffness, but Micheru was a standalone frame. Here, in tandem with a carbon base, Nylonx might be too stiff and brittle. Armadillo is close to Taulman 645 for stiffness, and its more than stiff enough to lend the 3mm base some support, so I was hopeful. Plus, there's colors and striping possible...

Striped Armadillo Mifune. It did not last long.
Sadly Armadillo didn't turn out to be as impact resistant as 645, so pretty striped pods will have to wait for some better future filament. I got to spend some extended time flying it with a 645 nylon pod at S3's quad camp and loved it. I rarely get to practice with gates so it was really great to fly a course for an entire day. I always forget to DVR my flights so here's some 3rd person view of it in flight courtesy of Flo of FloRotors. (Full disclosure: I had about 15 batteries on this course already and Flo had just shown up. Flo's normally twice as fast as me.)
Meanwhile, I beefed up the fillet between the front arm and the body – I haven't broken it yet, but that's clearly a spot that'll take a lot of hits. I also gusseted the inside of the canopy at the same spot.
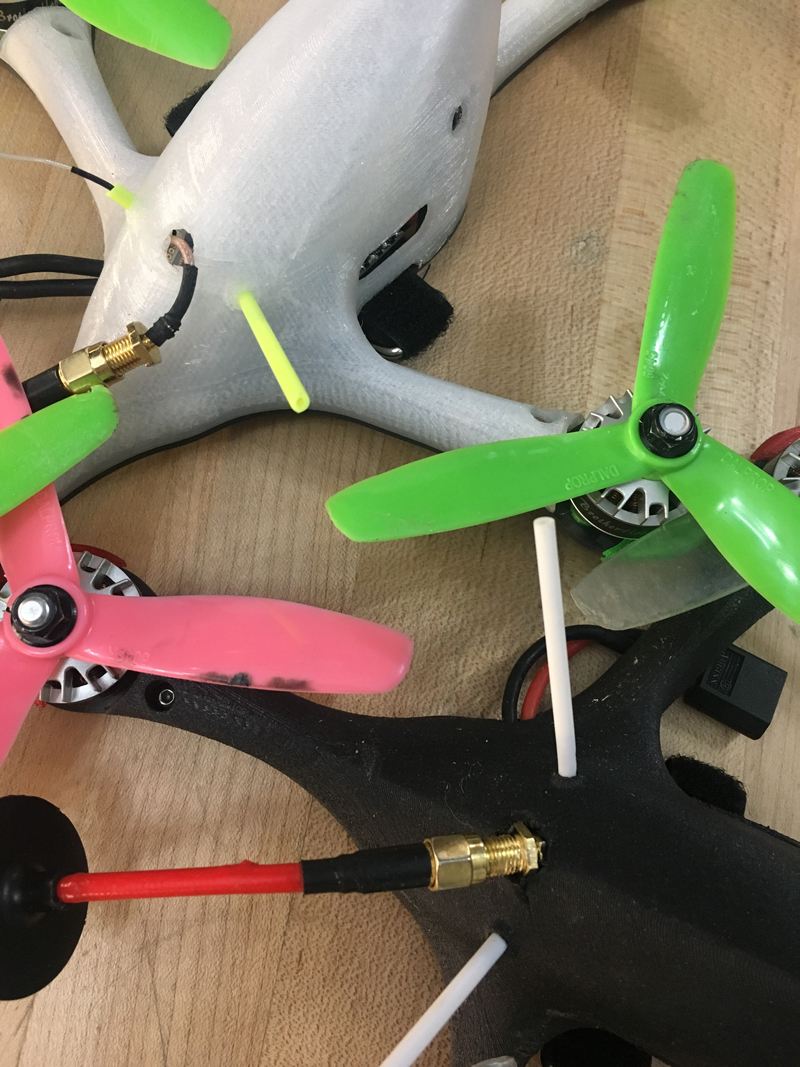
I put a hex recess on the inside of the SMA hole so the pigtail nut could drop right in and not spin in place. I was sooo proud of this, and then...
I rarely have two of the same build, but I love this one so much.
Clip a gate and the pigtail gets yanked out of the pod. That hex nut just doesn't have enough of a shoulder for those high speed impacts. This was a particularly annoying flaw as it was impossible to push the pigtail back in without destroying the pod. So, out with the hex recess, and in with a reinforced hole. Use a washer if you have this style pigtail, 90 degree SMA's are fine.
The frame was feeling pretty close to finished at this point. Legacy, XY, and MetallDanny (!) all loved it. Here's Danny with it:
Then a customer, Leconte Damien, wrote to tell me about a kevlar nylon filament. I ordered a couple rolls, sent one off to Chris Griffin, and started experimenting. It took me forever to get a decent print (I had to find ways to make the Craftbot print over 260 degrees), and when Chris got his roll he pumped out a beautiful pod first try...and then he snapped it.

The yellow kevlar printed real pretty.
Chris never got a print he found acceptable. My print seemed rock solid until a particularly abusive day at the FPV Addiction field. I came home to find a split in the pod, and when I removed it it was noticeably more pliable. We'll keep experimenting with the filament but for now it seems Taulman 645 is still the champ for strength and layer adhesion, perhaps because it doesn't have carbon or kevlar additives?
More Material Experimentation
Finally, I did a test with the HP Jet Fusion printer, and boy was it pretty.

Looka that resolution!
This stuff is even more precise than SLS, with strength about on par with 645. It's also quite a bit more expensive so I think I'll offer it as an upgrade, mostly for aesthetics.
Fun with Antennae
I'd tried putting a whip inside the Camba, mostly because the battery holder eliminated most of the obvious places for an SMA (video wasn't great but definitely flyable). The fully 3d printed Micheru was also meant to be a frame with all antennas inside, if only it flew well... When Mike (Control.fpv) told me about Axii with ufl connectors I had to try it here – who isn't sick of destroying antennas?

Get your foot out of the shot!
Video was substantially better than the whip in the Camba, and seemed to be pretty consistent no matter how I flipped the quad around. It did seem to deteriorate at about 50 yards. I was worried that the carbon, being so much closer, would block more of the signal, but that didn't seem to be the case. Shane (Mellowfpv) said that an RF engineer told him that carbon blocking isn't as bad as you'd think, since the signal doesn't emanate from the antenna in a linear way and can wrap around the obstacle, so maybe that's what's happening here. This is certainly a good option for preserving your antennas for practice, though for a race I'd want the best possible video.
I also tried Malte's (XY.fpv) trick of taping the RX antennas to the canopy, with no ill effects.

So then I just pushed them inside the canopy willy nilly and had no problems that way either.
It's counterintuitive that the quad looks stranger without antennas sticking out out of it, but I'm sure I'll get used to the sleeker look. And I hope that the rear prop is even more efficient now with absolutely nothing in front of it. I'm also looking forward to not having to replace antennas and antenna tubes every time I whack a gate too hard. Needless to say YMMV so test carefully before you try this.
Back to Testing
The first HP Fusion print's M3 holes were a little too big for the screws to thread into, so the canopy was attached by only the four outer screws (which thread into locknuts). This was totally my fault, I forgot that with each new process you have to ask how you have to compensate for small holes. This made the interface a little looser but totally flyable.

There'd normally be four screws threading into the print around the main body.
I bashed it about a bit, intentionally and unintentionally, and it did fine. Then I totally miscalculated a wingover-ish move and drilled a bank of lights and disarmed, followed by a nice long freefall. I was sitting under that very light and it made a very impressive 'bong' sound indeed. When I found the quad I was surprised to see that the carbon cracked, but the print was fine. Would the carbon have fared better with the support of the four inner screws?

Can't believe I hit those lights.
For now it seems that the HP Fusion print is pretty damn strong, and and with the holes resized and the inner screws incorporated the entire frame is tightened up again.
Naming
A lotta guys thought it looked like Jesus at Quad Camp, and fedpv nicknamed it Lazy Jesus. I wanted to name it after Marco Pantani because of this:

Talk about obscure...
Then I went back to the cross thing and considered 'Ascension', and ended up with 'Rapture', 'cause the imagery of someone being spontaneously airlifted to heaven cracks me up. I asked Pam to start work on the sticker but I soon realized that I was annoyingly micromanaging her so I just did it myself.

HD Cam Mounts
I knew all along that the Rapture would accept HD cam mounts just like the Orca's, but chose to be lazy hoping that no one would request it. No such luck. So it was back to the grindstone.