Mako Build Guide
Quick tips on building your own Mako.
Thanks to all the pods I've been building smaller and smaller, so Mako is relatively easy to build in comparison. Still, I'd consider this an advanced build with everything direct soldered and depinned.
First of all, the bottom plate isn't symmetrical. There's ziptie slots at the back to cinch down your power leads, to take stress off the solder joints at the pdb. So make sure you're building it right side up. You can thank Josh D for this handy little feature.

Next, plan out your fc orientation. Note that the cutout is off center. Boards with the usb centered can have it go left or right, but boards with off centered usb's can only go in one way.
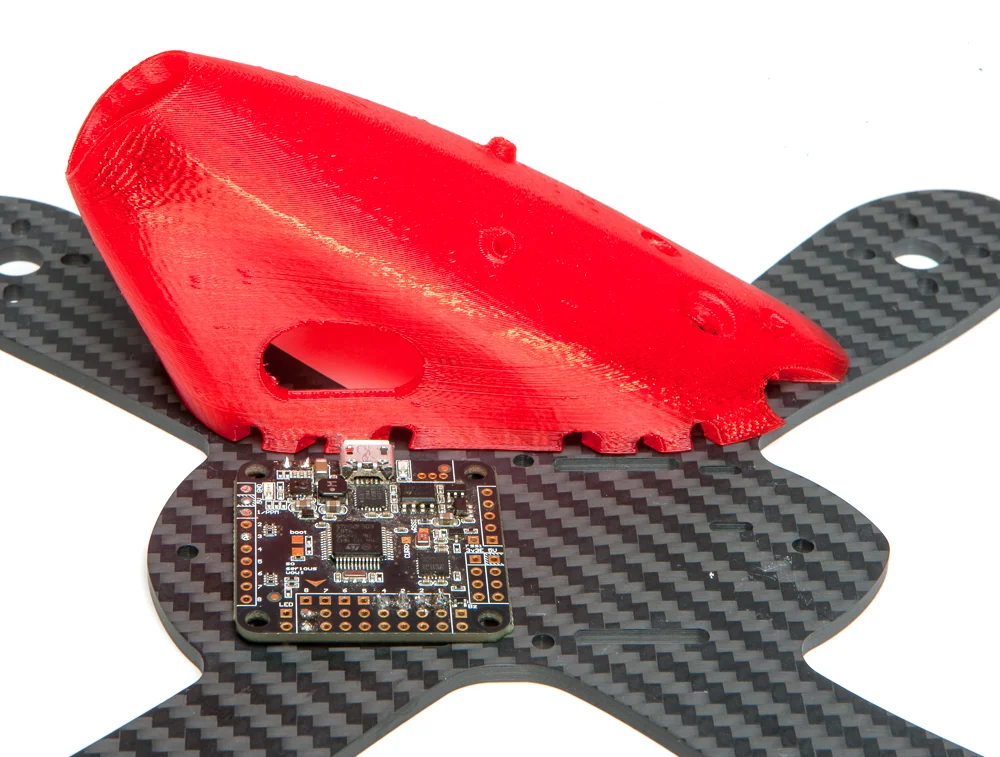
The cutouts for the esc leads are nice and small. Mark the location of each cutout with a pencil and make sure your leads go directly over them. If the leads aren't perfectly aligned you won't be able to screw down the canopy.

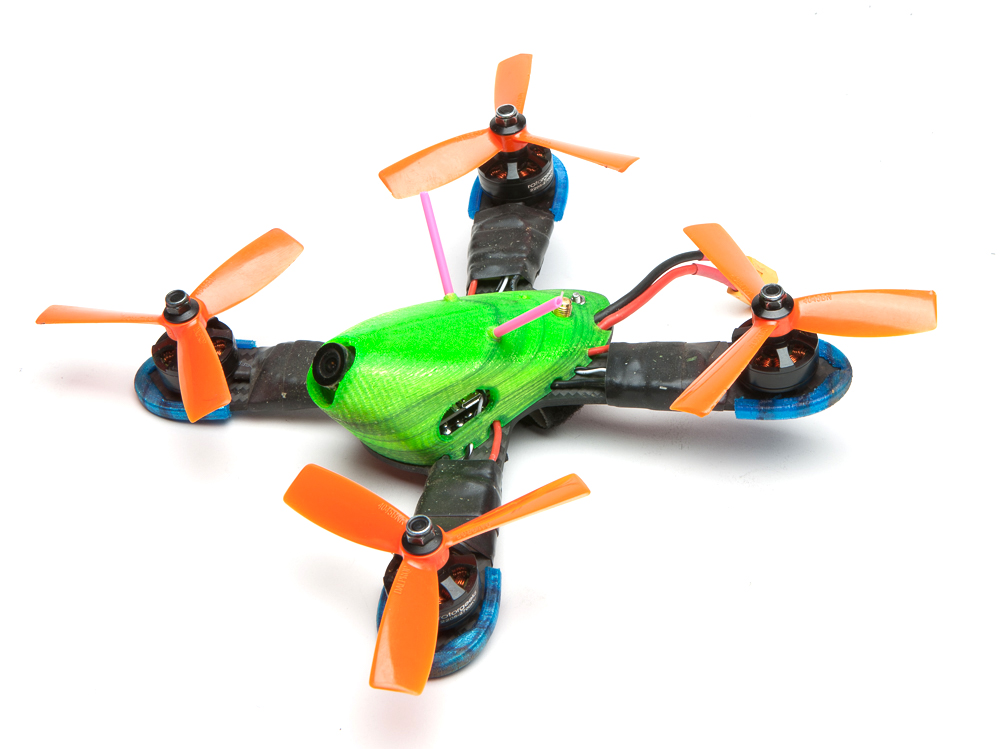
Aside from that it's a pretty standard build. Here's my beat up prototype for reference. The fc stack goes: nut > pdb > 4 or 5mm standoffs > fc. I tempted fate on this build with no nuts under the pdb, it just rests on top of the strap (not recommended). Also, note that due to the off center placement of the fc stack, two straps are required. As you can see I'm lazy and so I use silicone self fusing tape instead of heat shrink on the esc's.


I apply a little bit of glue to the lens barrel and let it dry, so the lens stays put better. The notches are at 30, 40, 50, and 60 degrees.

90 degree vtx's snap right in to the canopy. The fpv cam snaps into the nubs.
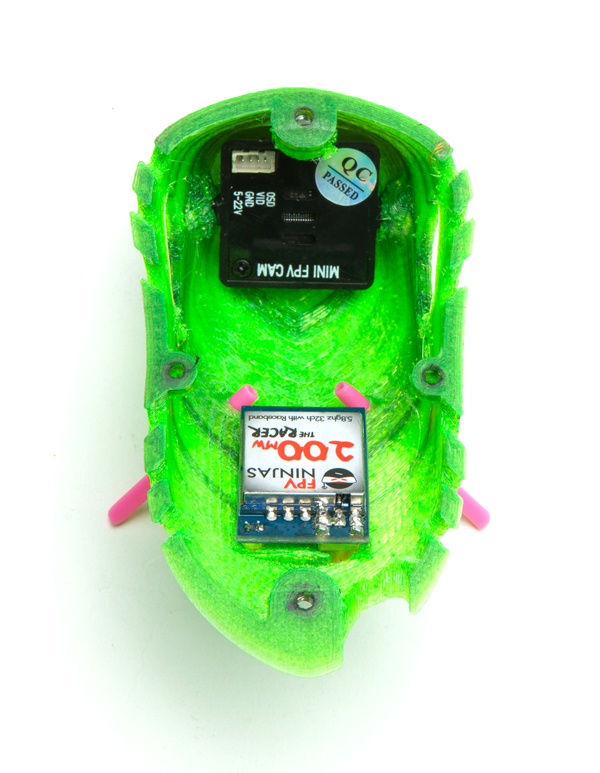
The vtx push button lines up with the hole in the canopy.

For V2 pods, slide the nuts into the slots front and back.

Drop nuts into the front and back of the canopy and screw it down. The screws on the sides thread right into the TPU, they're meant more as guides – the front and rear screws do the heavy lifting. Stop turning the side screws as soon as the canopy bottoms out.

And that's about it. The stl for the booties are here. TPU is really strong stuff and easily modified. If you run components that don't slot together the same way feel free to trim away the canopy.